Okra is full of vitamin B, C, folic acid, and even calcium. Studies also indicate that okra contains anti-diabetic properties that can help in lowering blood glucose levels. Despite all the health benefits, some people still turn away from okra mostly due to its slimy mouthfeel.
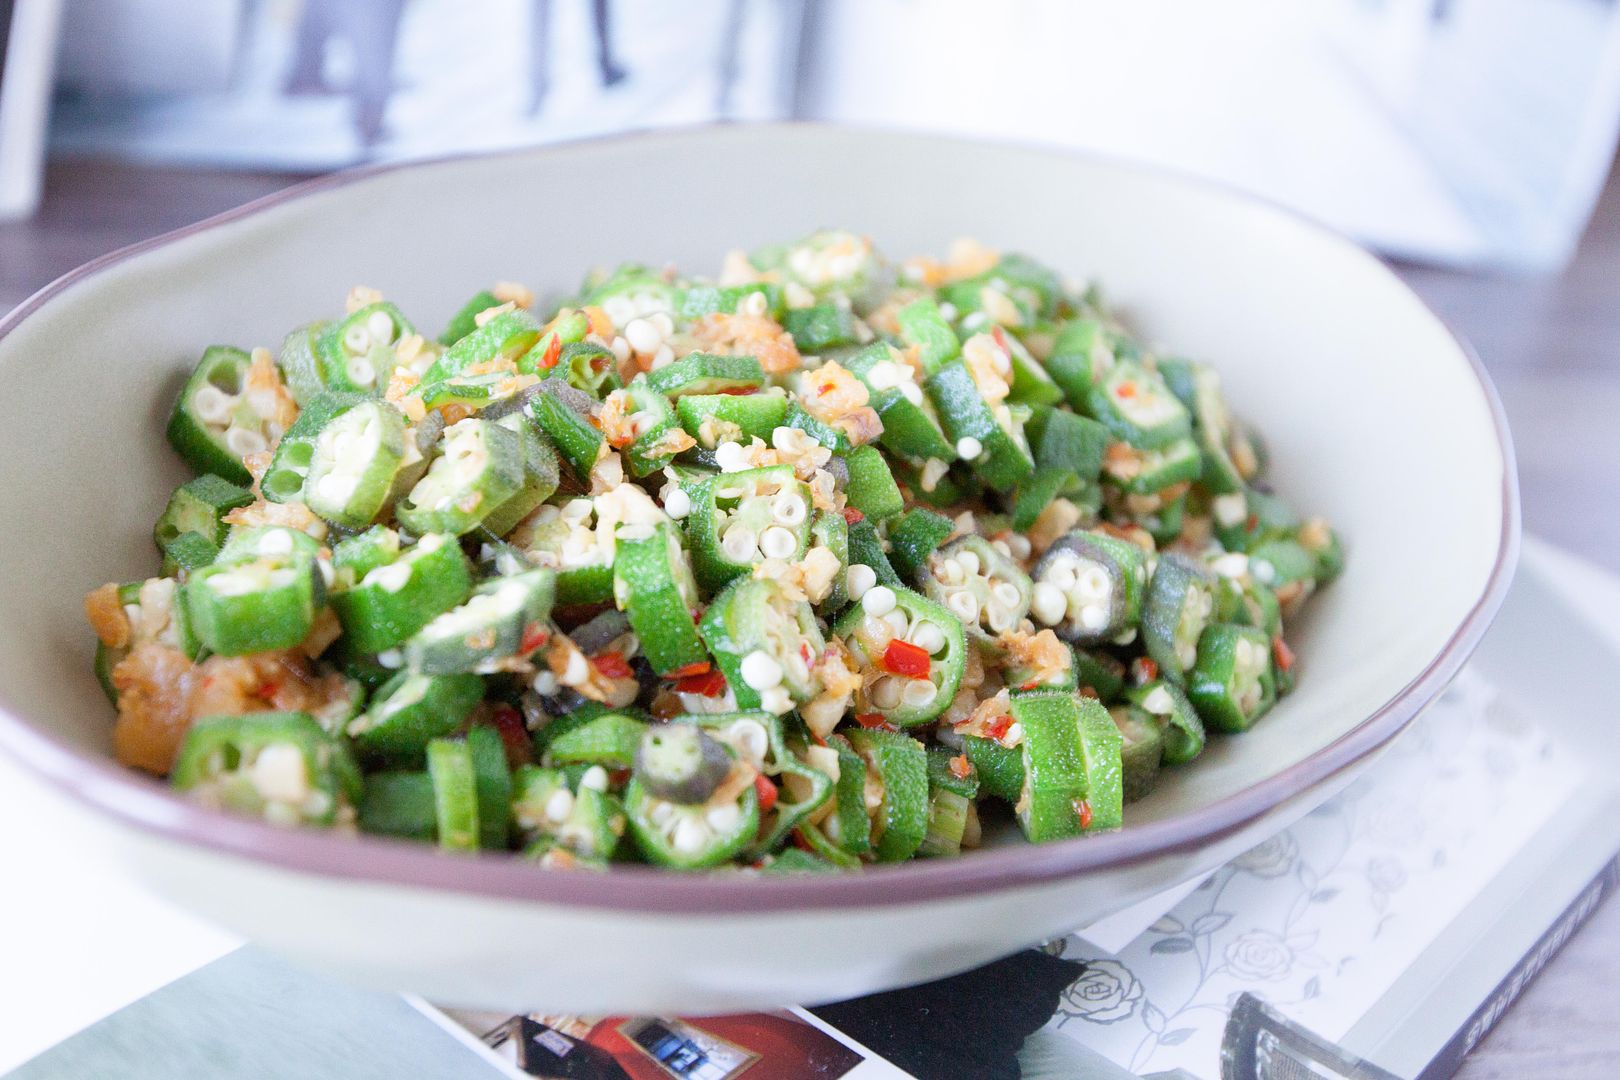
Worry no more, instead of simple boiling, steaming, or using okra in soup, we are going to stir-frying it this time. The best part about stir-frying okra? It can significantly cut down the slime. Also when paired with aromatic dried shrimps, okra further transforms itself into a rice-killing dish.
Stir-fry okra with dried shrimps (蝦米炒秋葵) -
Ingredients?
- 2 to 3 tablespoons dried shrimps
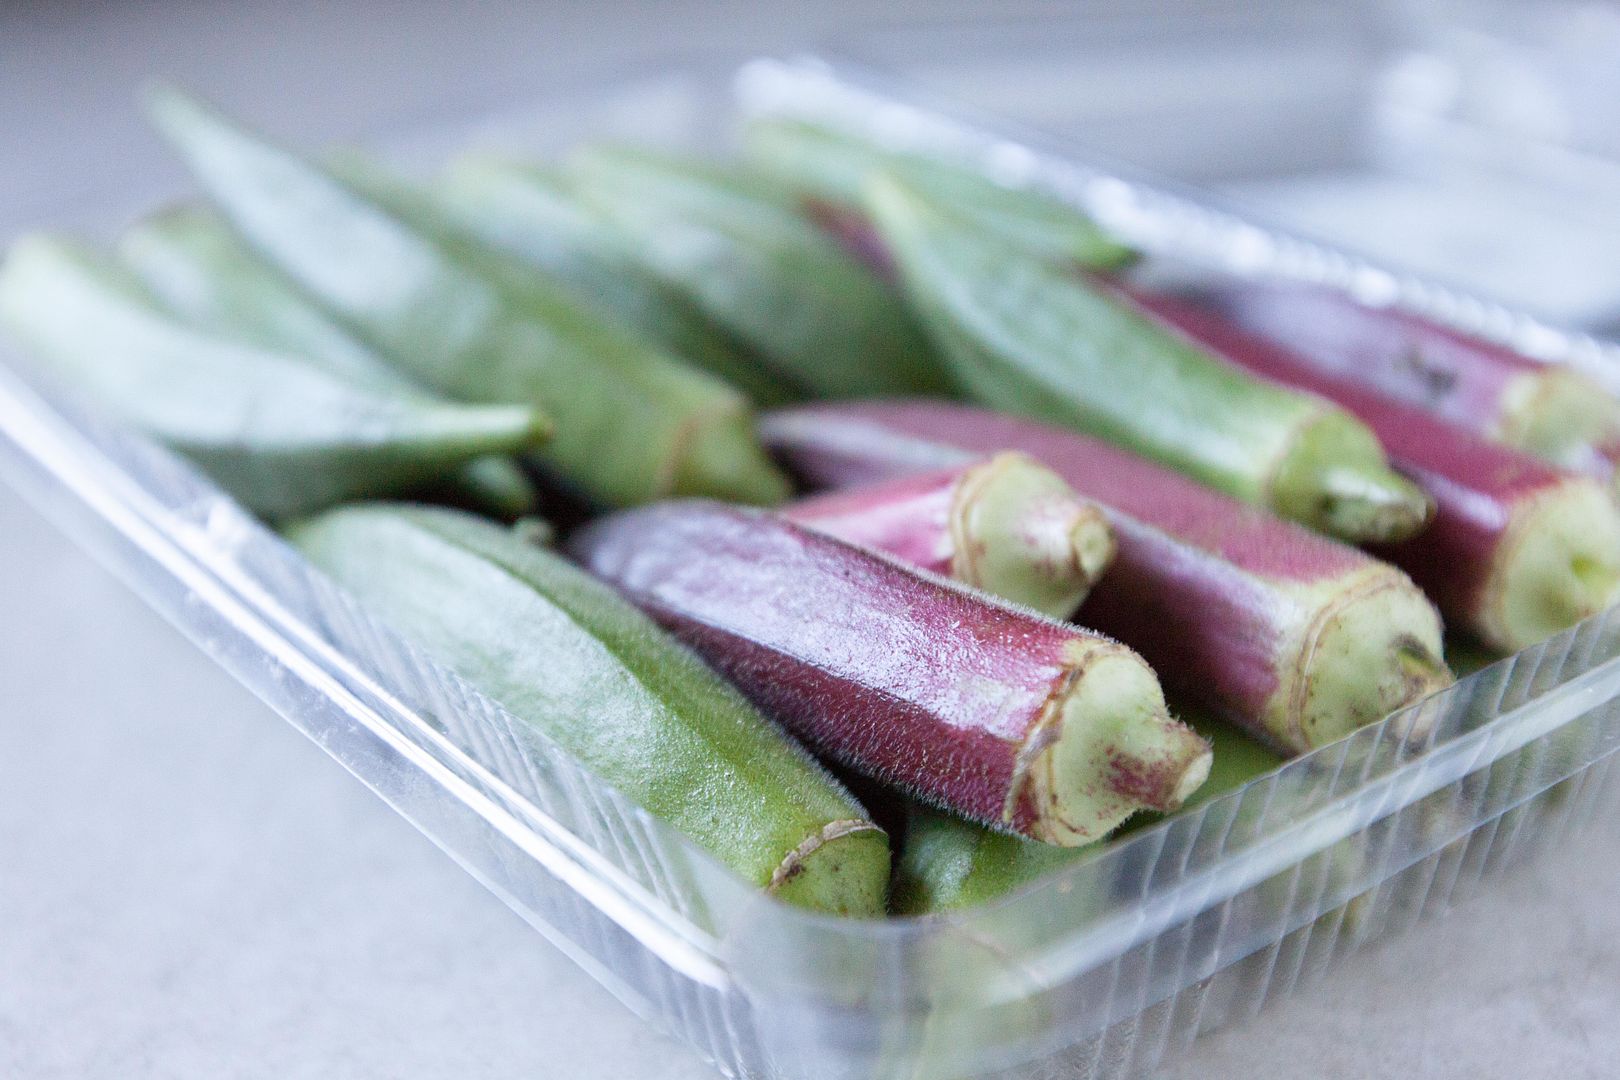
- 250 grams/about 20 to 25 okra
- 4 garlic cloves
- 2 red chilies
- 2 tablespoons olive oil
- 1 teaspoon salt
- 1/8 teaspoon black pepper
How?
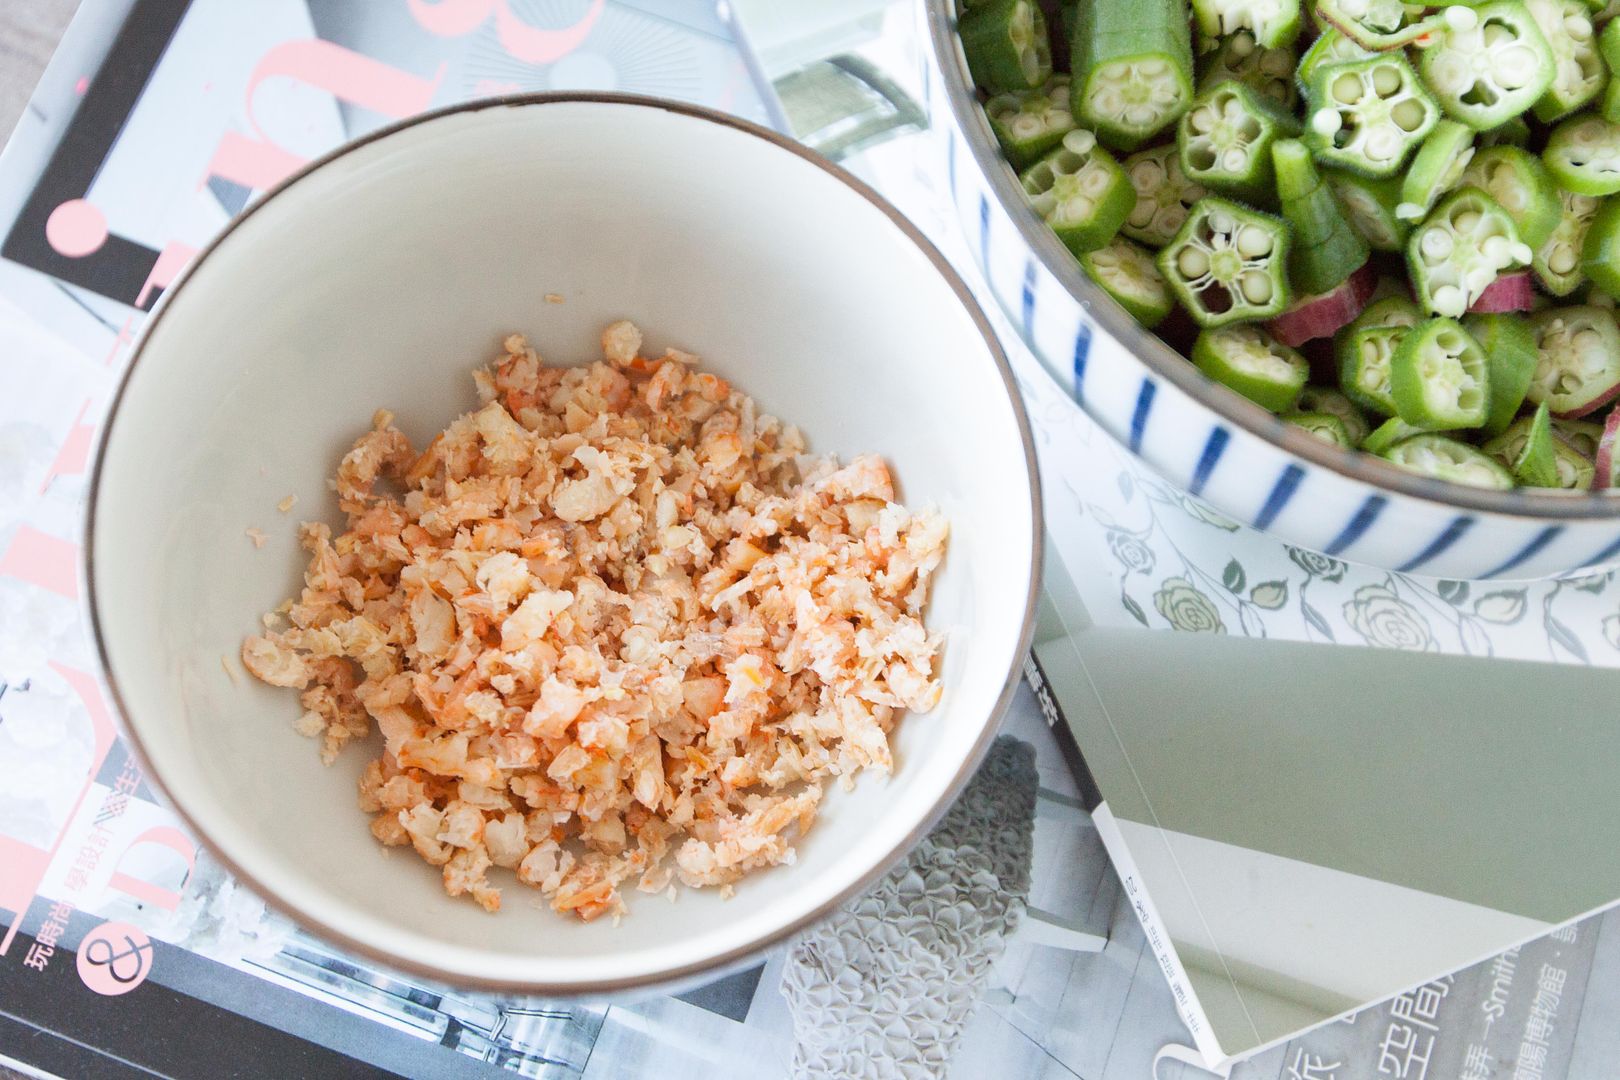
Rinse and soak the dried shrimps in cold water for about 10 minutes. Drain and pat dry with kitchen towel. Finely chop the shrimps. Trim off chili stems and finely chop the remaining section. Peel and finely chop the garlic cloves.
Trim off the tougher end of the okra then slice into little star-shape.
One way to prepare the okra is by rubbing it with salt to remove the thin hair. That might be necessary if serving the okra after boiling or steaming. However, we are making a stir-fry dish and the okra I'm using here are pretty tender. It's ok to skip the rubbing step.
Drizzle some oil to the pan and turn to medium high heat. Add in pat dried shrimps and cook till bubbling and aromatic. The color will turn slightly browned but careful not to burn the shrimps. Add in chopped chilies, garlic pieces, salt, and black pepper. Keep cooking till aromatic but not burning the garlic.
Add in okra and mix a little. Cook till okra reaches desired texture.
Even though okra is the main ingredient here, but this dish's success depends on dried shrimps. Make sure you sear the shrimps well. Lower the heat slightly in order to fully sear the dried shrimps if needed.
Other recipes using okra:
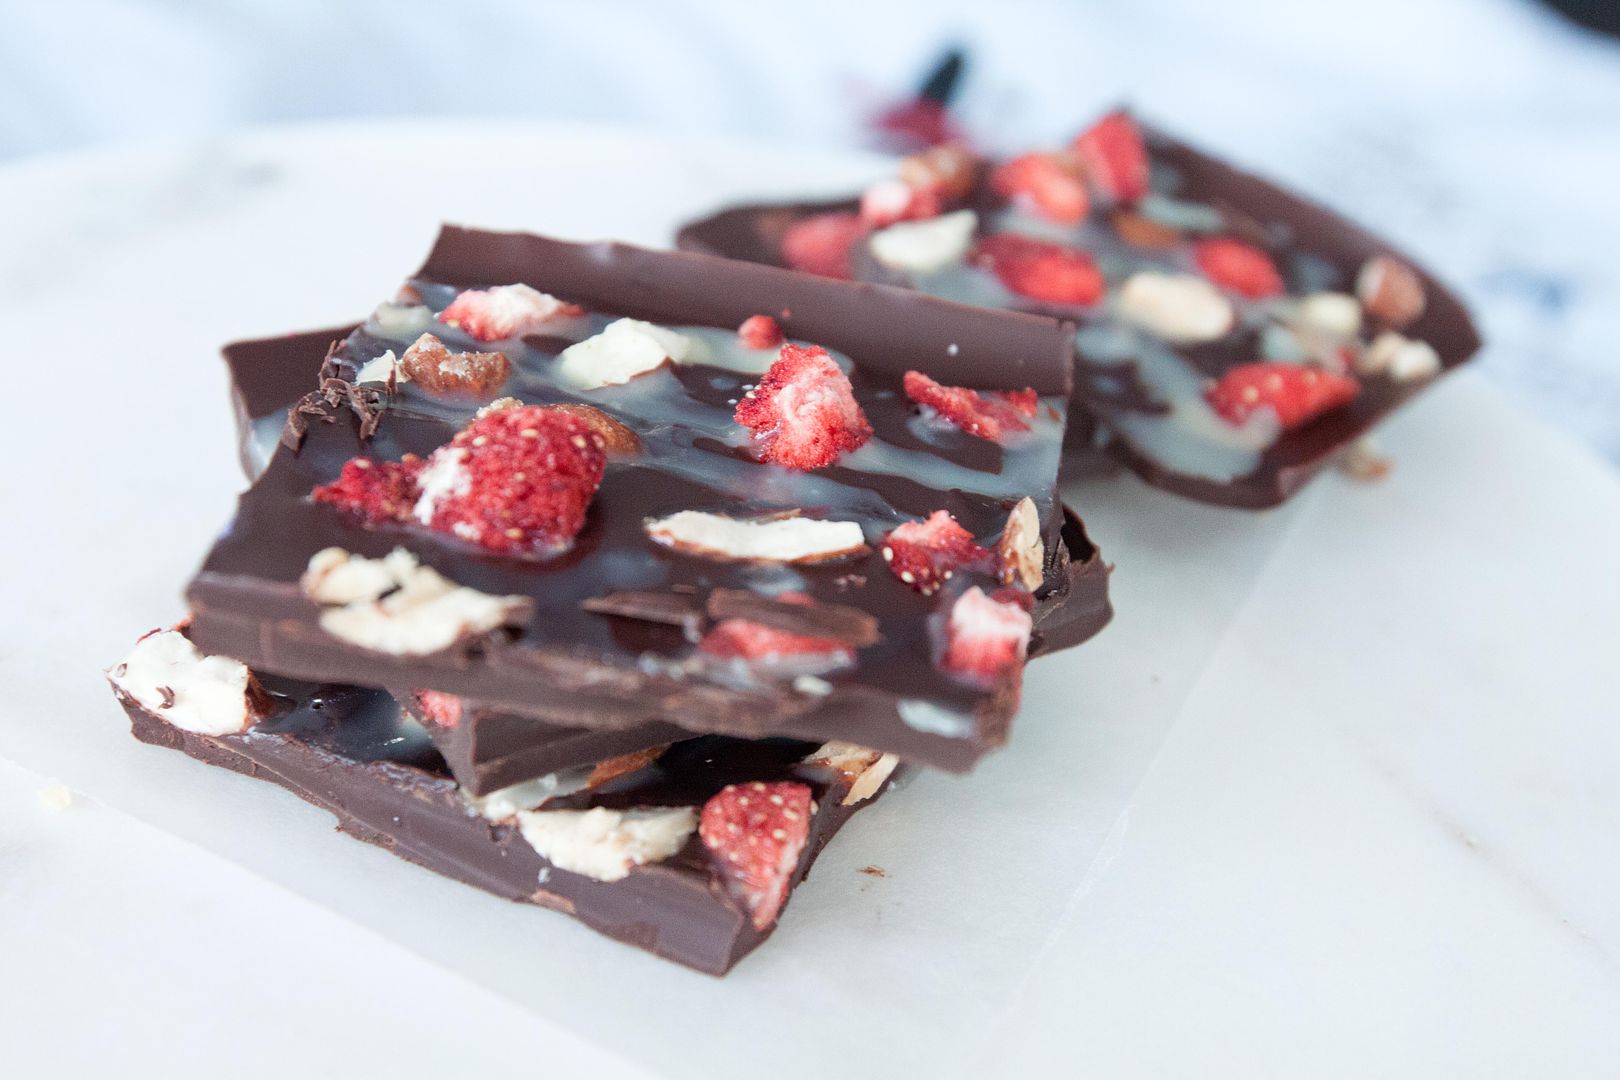
This is a similar recipe post from the earlier version of dark chocolate with candied violets and hazelnuts. Since all the candied violets brought from Vienna were gone (oh no), freeze-dried strawberries came into play.
Black and white chocolate bar with almonds and freeze-dried strawberries -
Ingredients?
- 167.5 grams or 6 oz dark chocolate bar (I used 82% dark chocolate)
- 25 grams white chocolate
- 30 grams freeze-dried strawberries
- 20 grams crushed roasted almonds (salted version even better)
- 1 to 2 tablespoons milk or heavy whipping cream (optional)
How?
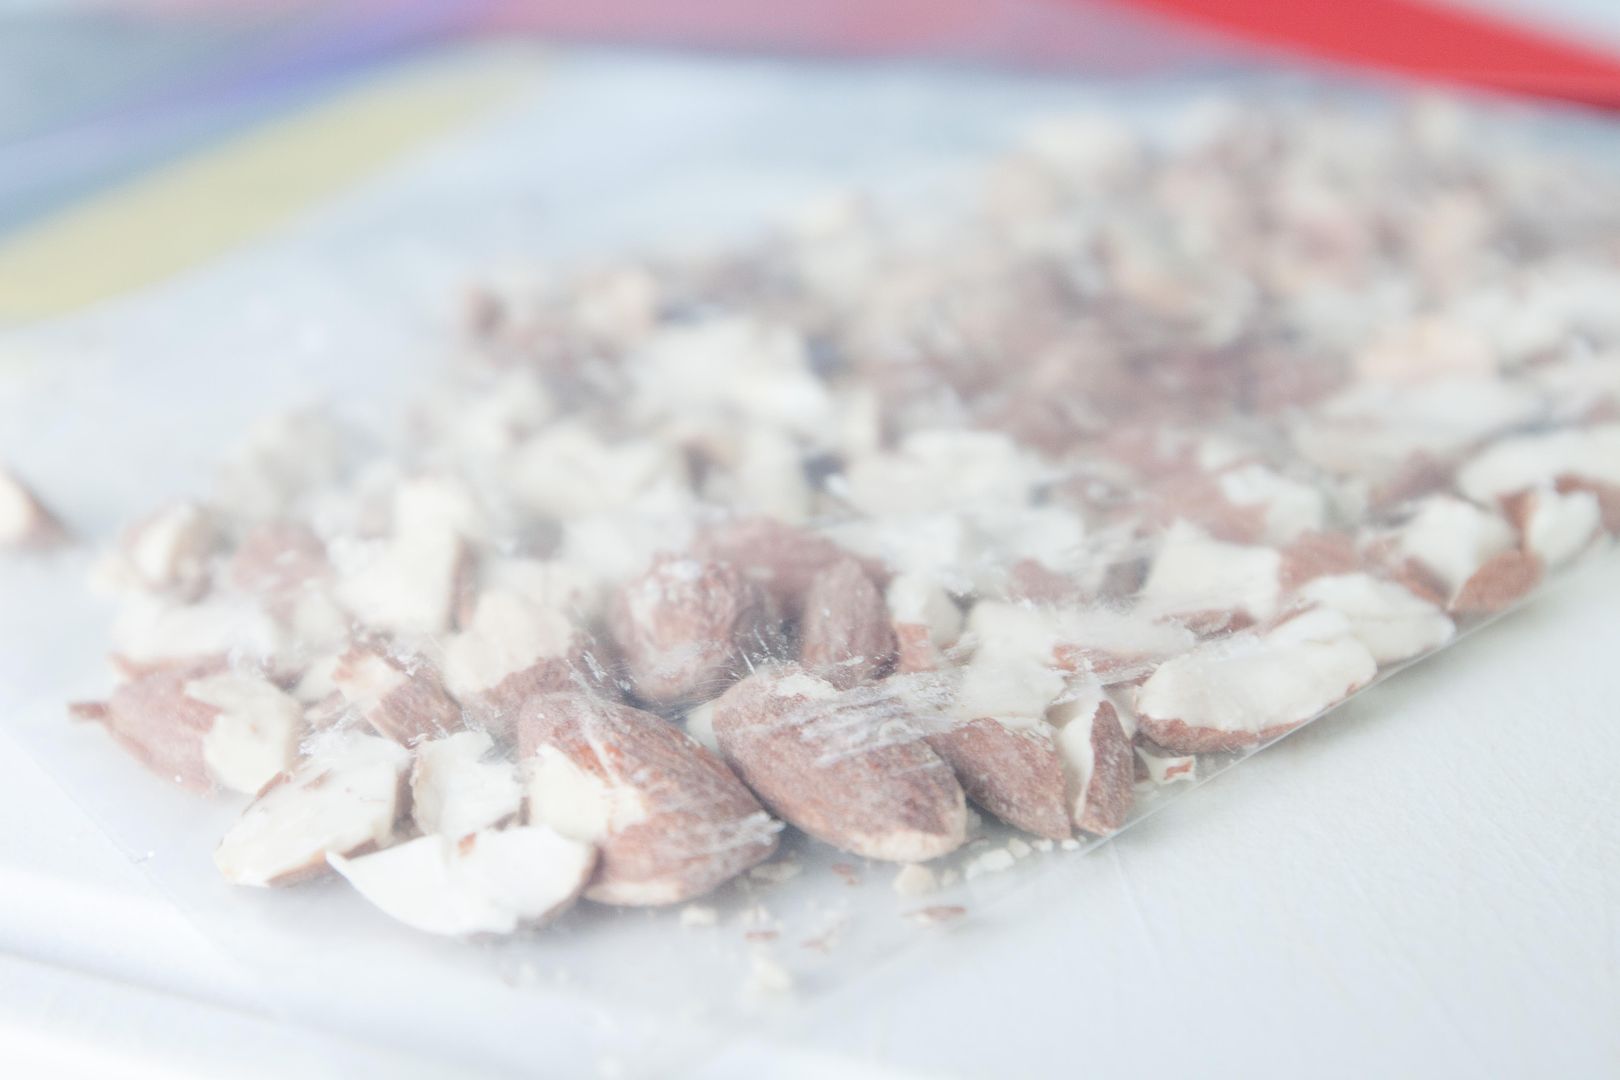
Transfer the freeze-dried strawberries to a Ziploc and gently smash them till breaking into smaller pieces.
Do the same with almonds, smash till whole nuts breaking into smaller pieces.
Line a baking dish with parchment paper. Use double boiler and melt the dark chocolate and the white chocolate separately. As for the white chocolate, if it can't melt nicely, try to add a tap of warm milk or heavy whipping cream then stir till incorporated. I used some skimmed milk for mine, not the best option but that was all I got in the fridge. As a result, my melted white chocolate looks a bit more diluted than usual.
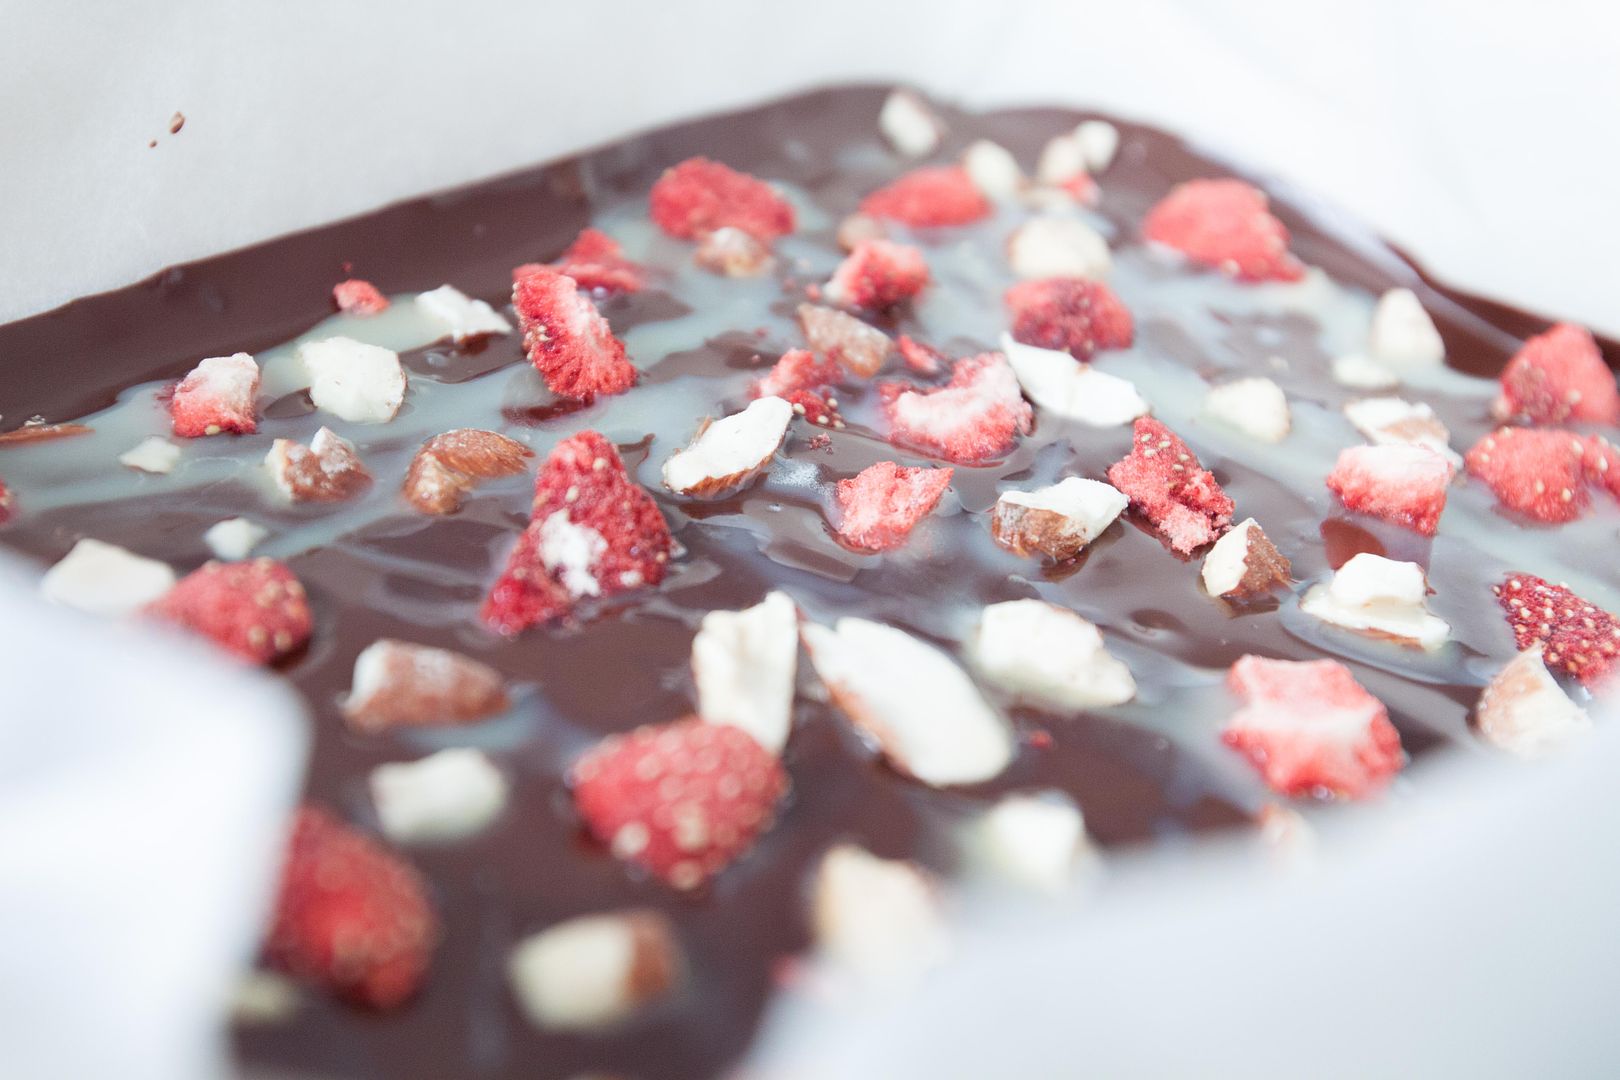
Pour the dark chocolate into the baking dish first then drizzle the melted white chocolate over to form an irregular pattern. A medium baking dish should do the trick. Just make sure once pouring in melted chocolate, the thickness resembles chocolate bar instead of spreading to a thin layer.
Garnish with crushed almonds and freeze-dried strawberries before the chocolate sets.
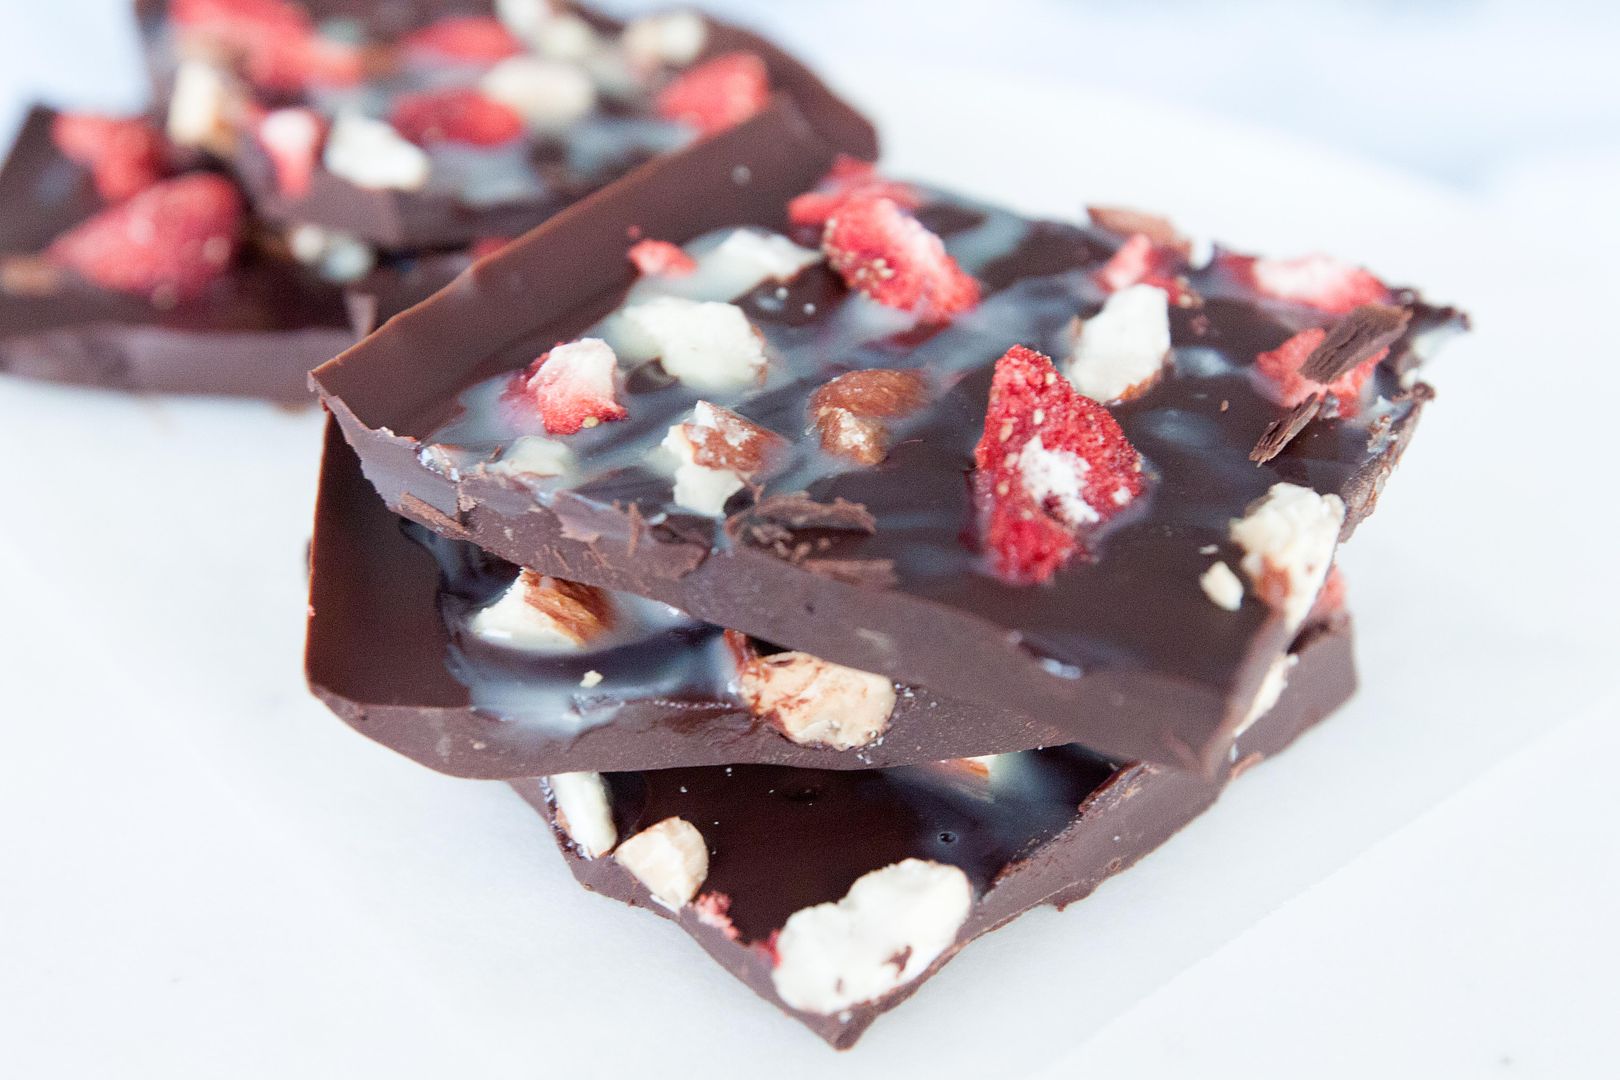
Transfer the baking dish to the fridge for at least 2 hours. Once ready, take out the chocolate bar and break or cut into smaller pieces.
Be creative with the toppings, it doesn't have to be freeze-dried berries. A more accessible fruity ingredient such as raisins and even figs can add a nice touch to the chocolate bar. Keep in mind that we are using bitter-ish dark chocolate and sweeter white chocolate, so which ingredient works better with these two?
Other dark chocolate bar recipe:
One duck breast should be enough for two people, but if you would like to indulge a little, go for two duck breasts. Don't worry about the glaze, the portion for the glaze listed below should be just enough for two duck breasts.
Maple glazed duck breast with some duck fat potatoes -
Ingredients (for two)?
- 1 to 2 duck breast
- 1 potato
- 1 small onion
- 1/2 lemon or other type of yellow citrus
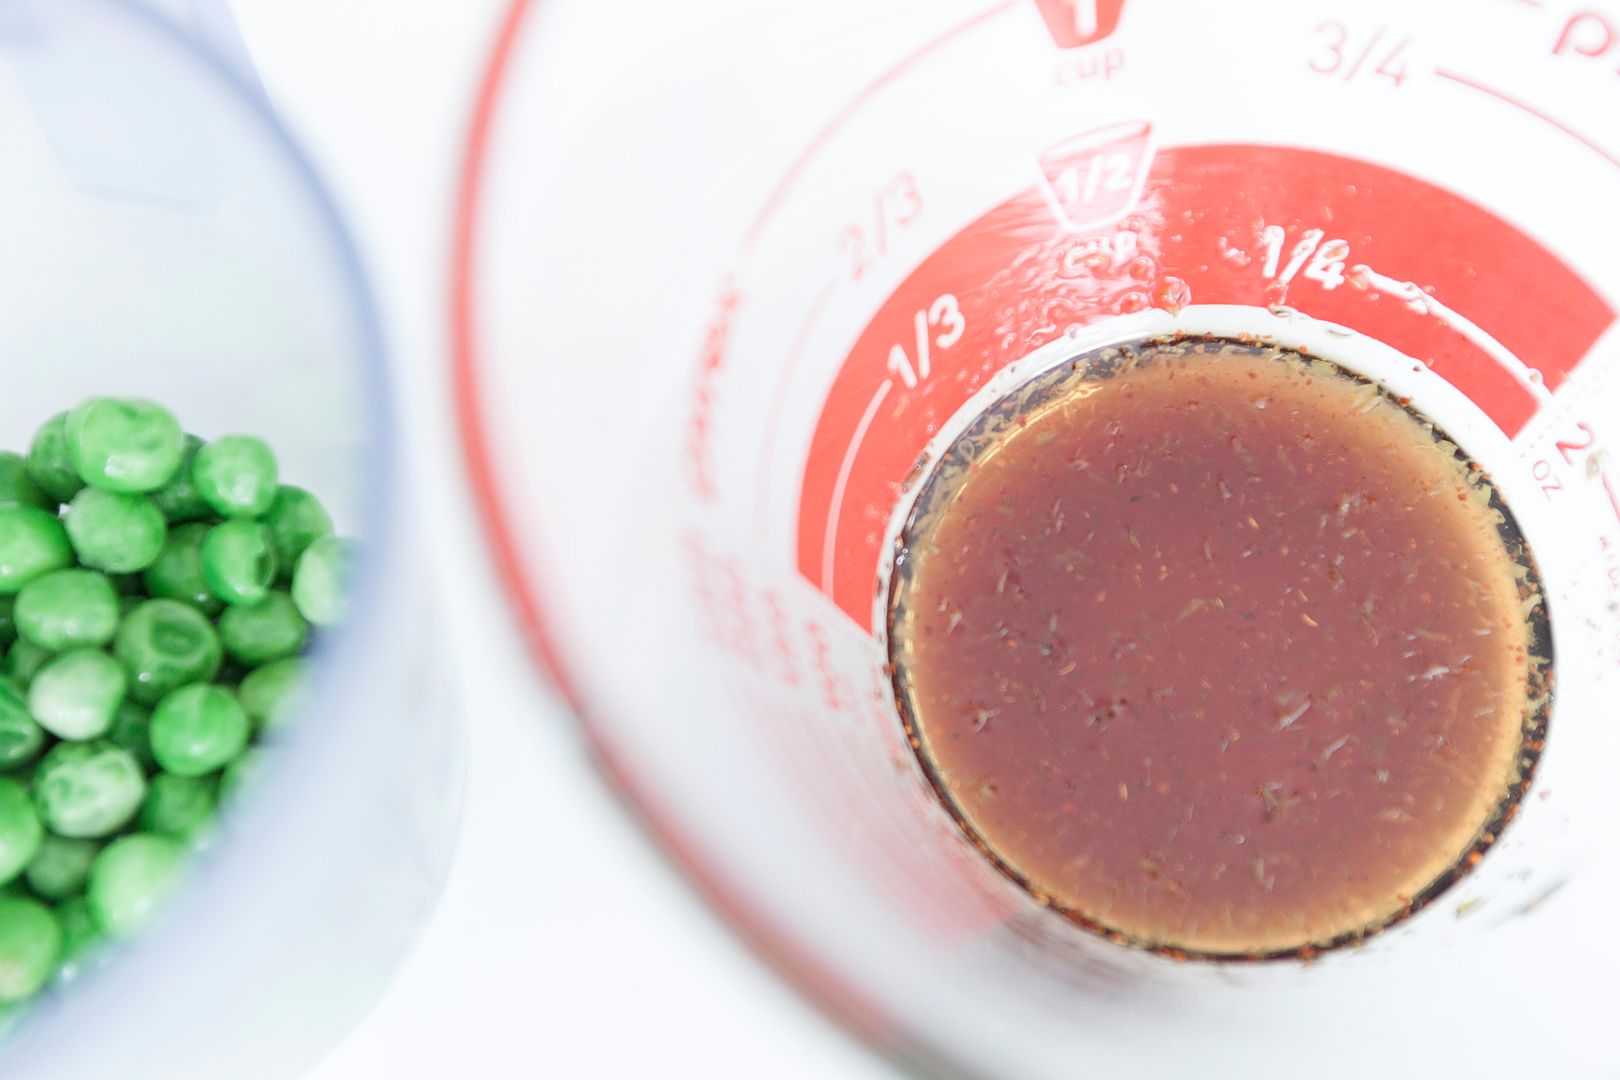
- 1/3 cup peas
- 1/4 cup dry white wine
- Some salt
- Some freshly ground black pepper
- Some freshly ground rainbow peppercorns (optional)
- Some extra lemon zest (garnish)
Glaze:
- 2 tablespoons maple syrup
- 1/4 teaspoon lemon zest
- Tiny pinch cayenne pepper powder (optional)
How?
Preheat the oven to 375 degrees Fahrenheit/190 degrees Celsius. Line a baking dish or baking sheet with foil.
Peel and dice the potato into tiny cubes. Peel and chop the onion into tiny squares too.
Mix all the ingredients under the "glaze" section and set aside for later use.
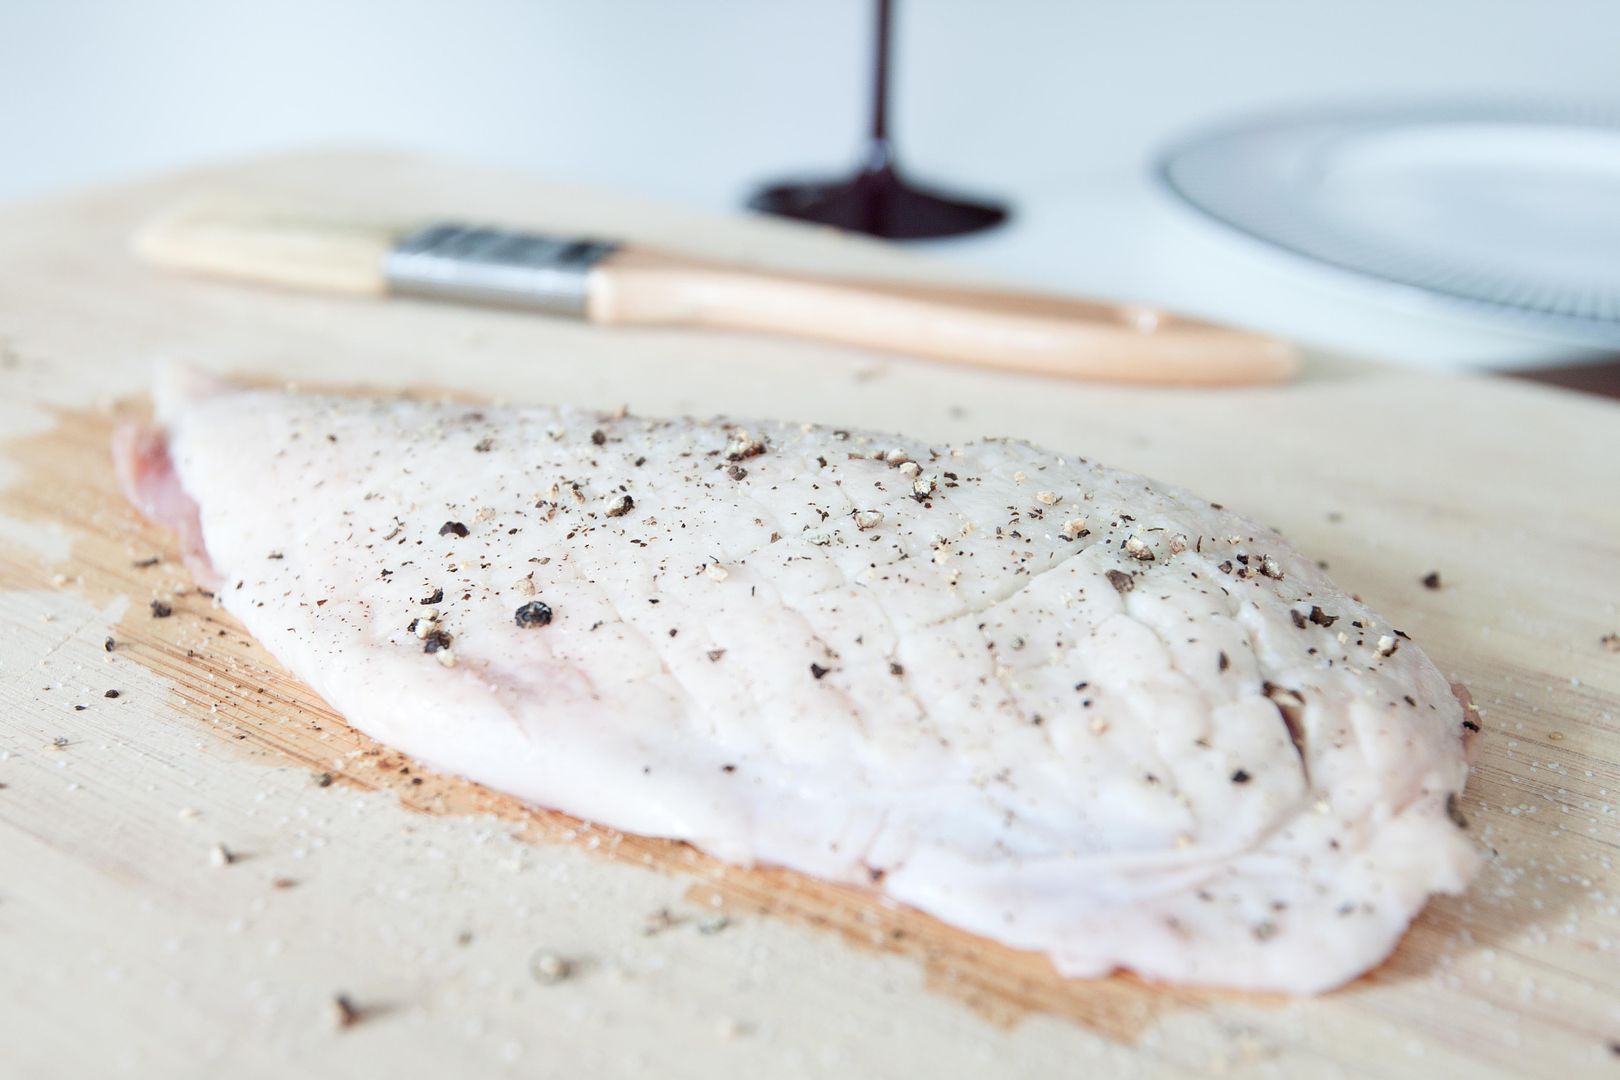
Rest the duck breast in room temperature for about 10 minutes before cooking. Trim off any excess skin if desired. Score the skin crosswise but be careful not to cut through the meaty part.
Season both sides with some salt and black pepper.
No need to drizzle any oil to the pan. Transfer the duck breast to the pan skin side down. Turn to medium high heat and slowly searing the skin till the fat starts to render. It'll take a few minutes. Sear till the skin turns brown and crispy, you can check the texture by poking with spatula and get a feel of it.
Scoop out excess fat if needed, save that for other dishes or the potato side dish we're going to prepare later.
Transfer the duck breast to the prepared baking dish, skin side up. Brush the skin with maple glaze then into the oven for about 5 minutes. Take out the baking dish and reapply the glaze again. Back to the oven and bake for another 5 minutes. Plus and minus few minutes depending on the thickness of the duck breast.
Once ready, remove the breast from heat and let it rest for 5 to 10 minutes before slicing.
While the duck breast is baking in the oven, use the residual duck fat to quickly put together a potato side dish.
Leave about 2 tablespoons amount of duck fat in the same pan and turn to medium heat. Add in onion along with 1/4 teaspoon of salt and 1/8 teaspoon of black pepper. Sear till the onion turns translucent.
Add in tiny potato cubes and sear till nearly reaches desired texture. Add some wine when the mixture appears too dry. Towards the end, add in the peas and cook for another minute or two. Taste and see if more salt is needed.
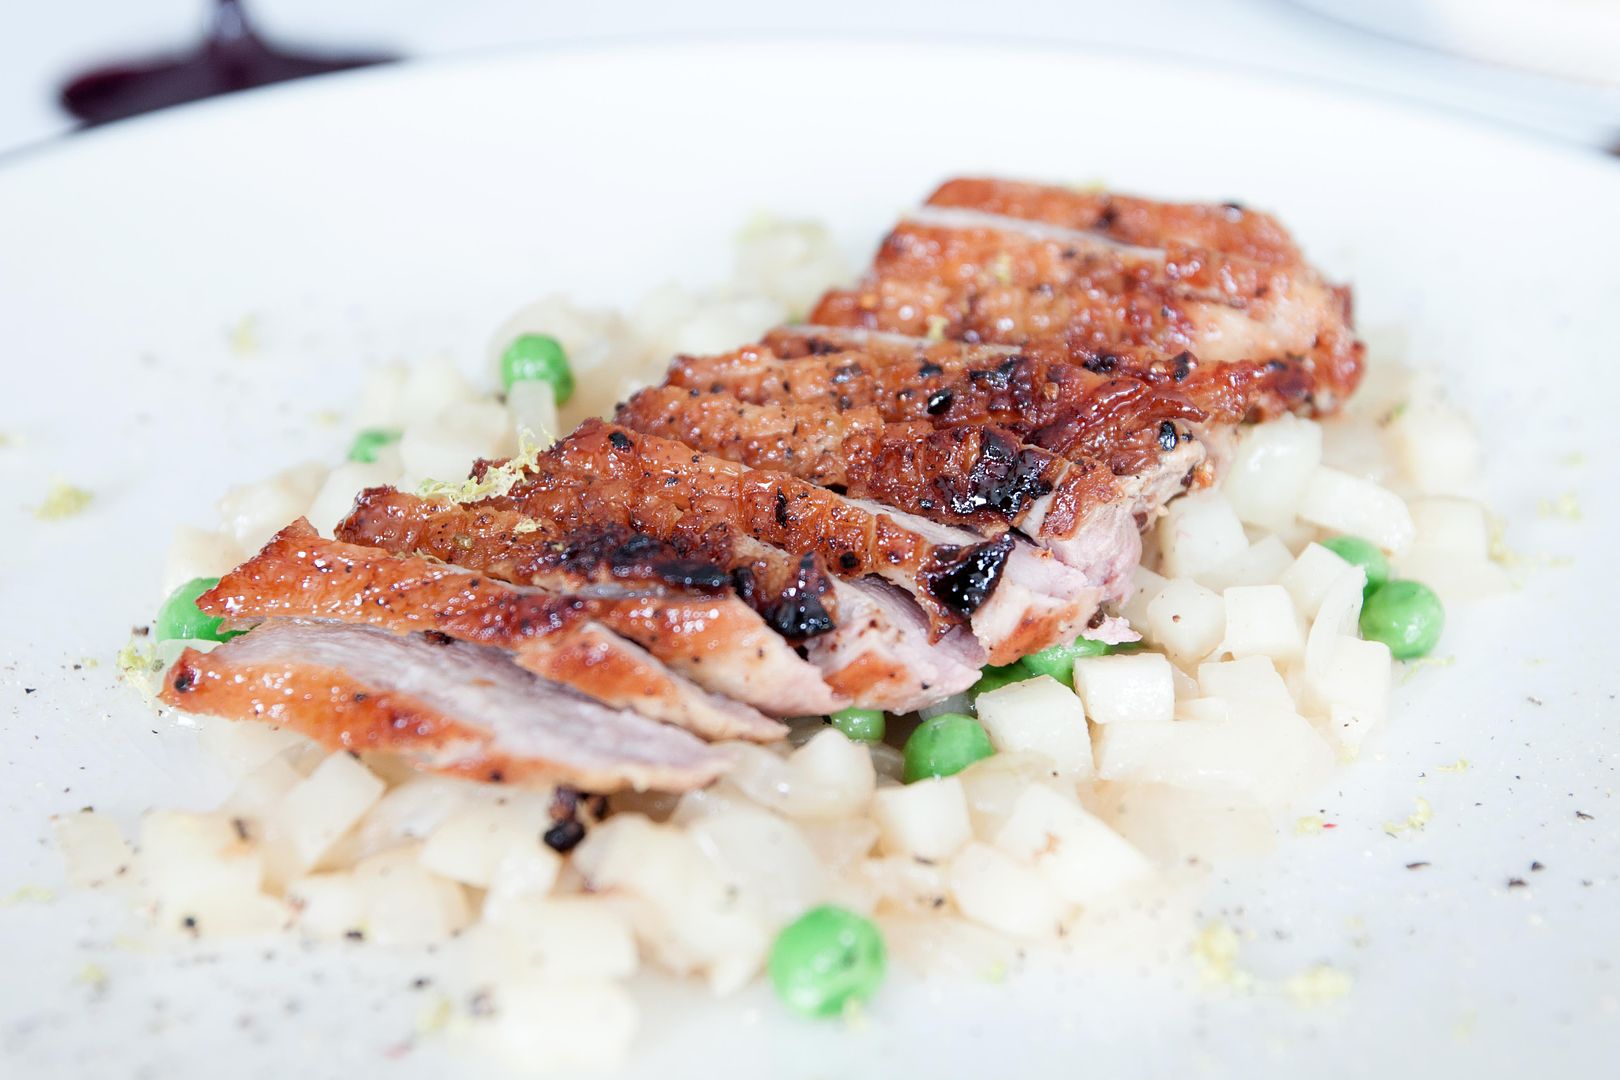
Plate the potato side dish first then transfer the duck breast slices over. Garnish with some freshly ground rainbow peppercorns and some lemon zest right before serving.
Ideally, the center of the duck breast should be slightly pinkish for a softer bite. It might take a few practices till mastering that perfect timing. I kind of overcooked the one shown in the pictures but the glaze still made the duck tastes pretty good, like a maple syrup infused barbecue sauce slathered all over.
Until the next perfectly cooked pinkish slices of meat, I am more than happy to devour trial and error duck breasts.
Other duck breast recipes:
Only until I finished editing all the pictures and started searching other mentaiko recipes on my blog, surprisingly there was already one old post back in 2012 for mentaiko mushrooms. So I carefully compared the 2012 post with the most up-to-date version here. Well, they're almost the same with just a slight variance on the ingredients used.
This 2017 version did not include Japanese mayonnaise, but with the addition of garlic slices. In a way the older version tastes more like an otsumami/beer food, and this updated version serves better as a side dish, especially if you are looking for something that works well for bento box.
So here it is, the mushrooms made with lunchbox side dish in mind.
Mentaiko mushrooms 2017 -
Ingredients?
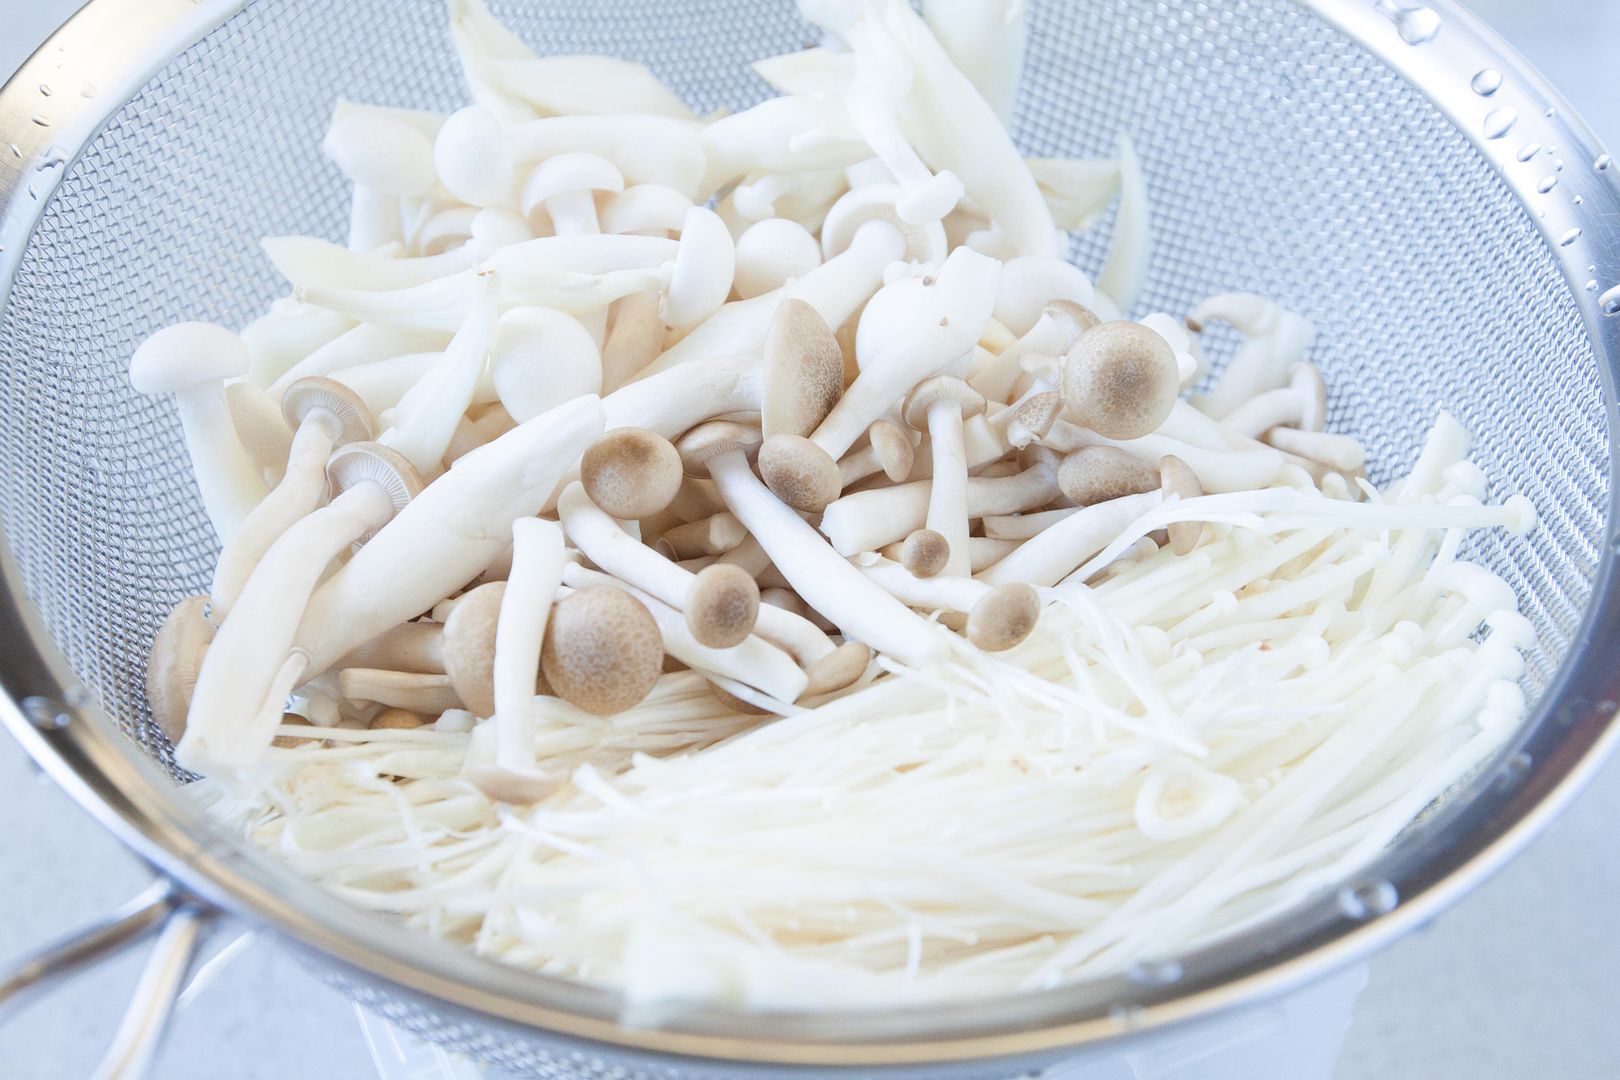
- 1 bundle enoki mushroom
- 1 bundle bunapi mushrooms
- 1 bundle shimeji mushrooms
- 3 1/2 to 4 tablespoons mentaiko (about 2 sacs)
- 2 tablespoons unsalted butter
- 2 garlic cloves
- Small pinch salt
- Some dried seaweed threads or flakes
How?
Peel and slice the garlic cloves. Trim off any tougher ends then rinse and pat dry all three kinds of mushrooms.
Remove fish roe from the sac/membrane -
Add the butter and garlic slices to the pan and turn to medium high heat. Add a small pinch of salt. Wait till the butter starts to melt and gently cooking the garlic slices.
Just a little bit of salt at first to help drawing out some excess moisture from the mushrooms. The mentaiko can be quite salty, so try to avoid over-salting the dish, you can always add more salt in the end.
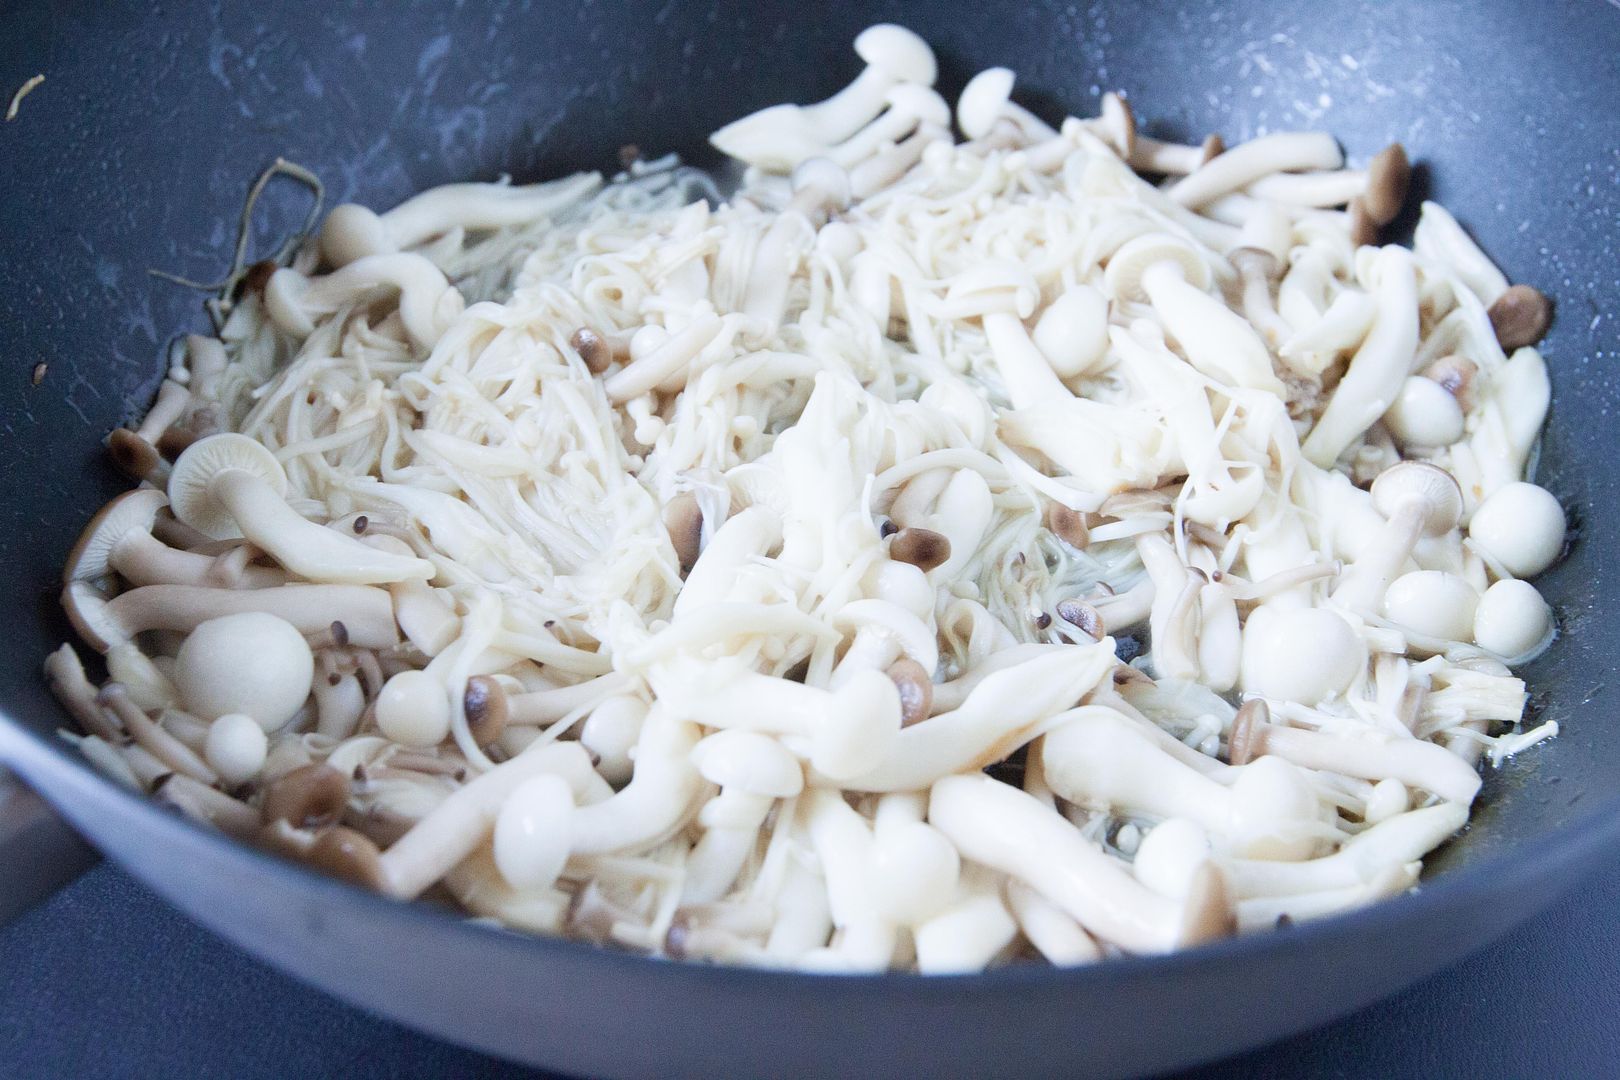
Transfer all the mushrooms to the pan and stir-fry till softened and shrink by about half of their original size.
Mix in mentaiko and cook for another minute. Taste and adjust the flavor with more salt if needed.
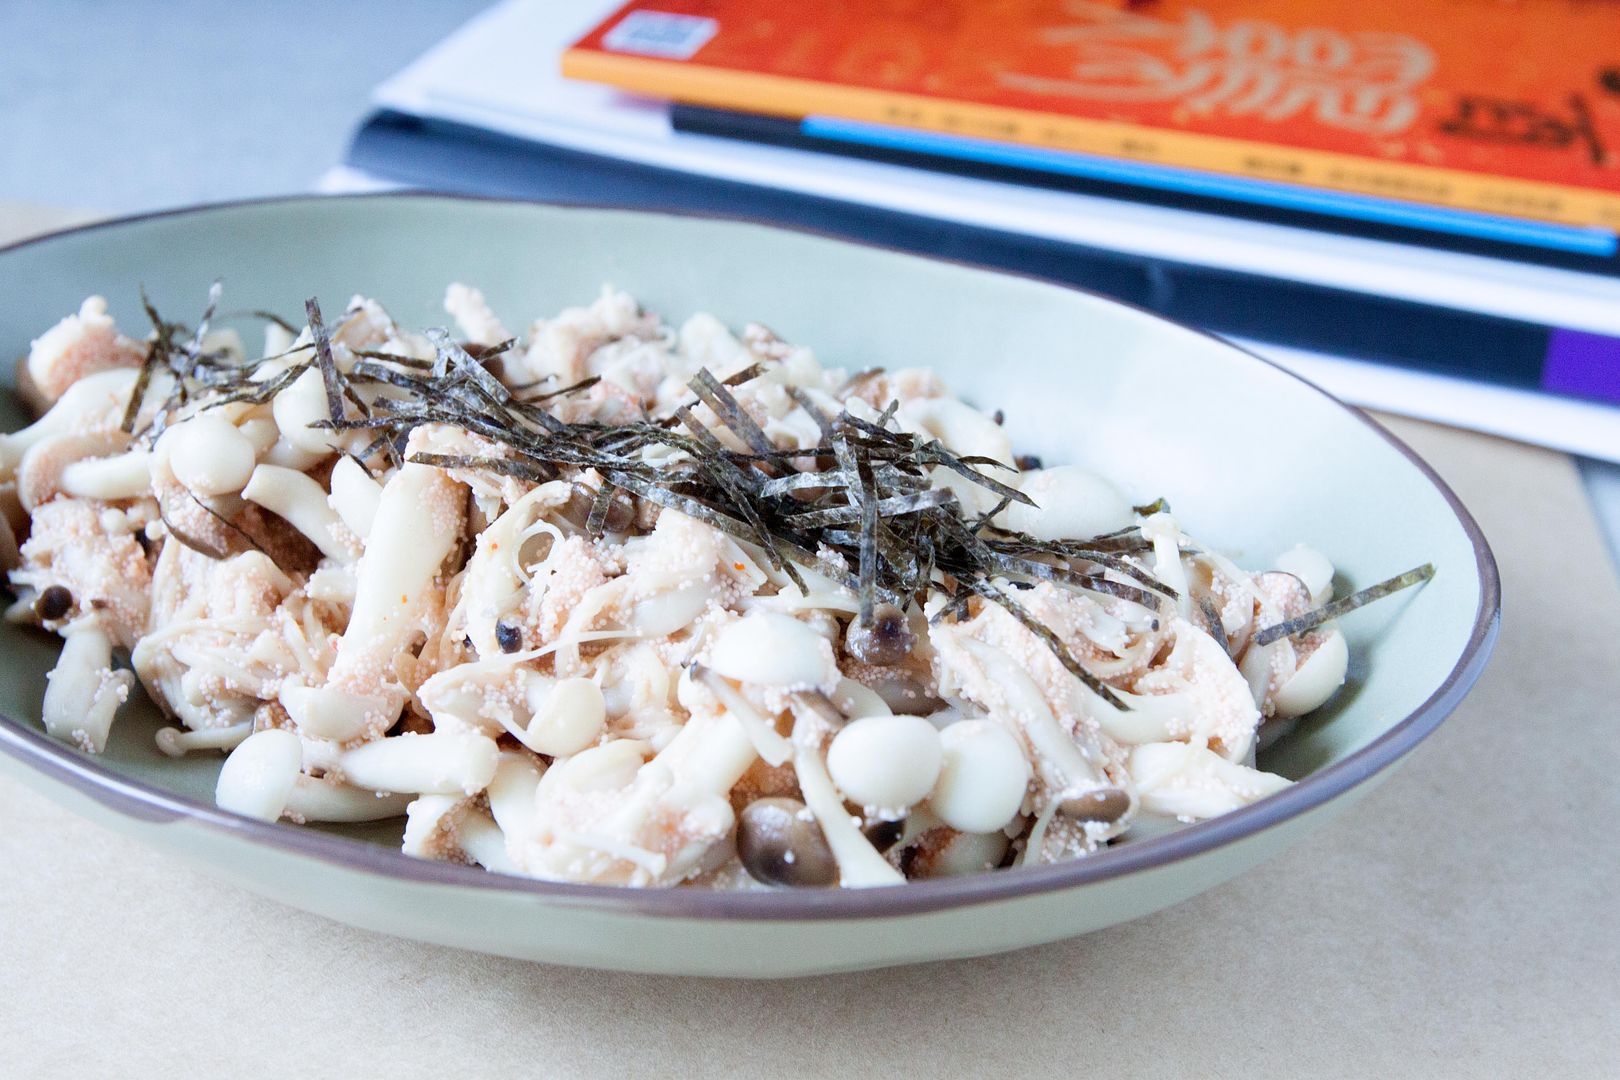
Plate the mushrooms and garnish with dried seaweed threads or dried seaweed flakes.
Some people like to add salt last minute when cooking mushrooms, that way the mushrooms won't shrivel too much. It's completely up to you. The amount of salt used here were so little, looking at these images you'll see that the mushrooms are still "plump" in some way. Moreover, by drawing out some moisture early on and just let these mushrooms cook in their own juice create another kind of deliciousness. Give it a try and you'll see.
Other recipe using mentaiko -
It's interesting that shio koji, such pale colored ingredients can transform into something brownish and delicious looking coating with just a simple sear. To enhance the flavor, I also added soy sauce to the marinade, turning the chicken into a rice-killing bento/lunchbox dish.
Shio koji marinated chicken with simply cabbage stir-fry -
Ingredients?
- 75 grams deboned, skin-attached chicken thigh
- 1/2 small cabbage
- 1/3 cup green peas
- 2 garlic cloves
- 1 red chili
- 2 tablespoons olive oil
- Some salt
Marinade:
- 2 tablespoons shio koji
- 1 tablespoon soy sauce
- 1 teaspoon grated ginger
How?
Mix all the ingredients under the "marinade" section. Cut the chicken into large bite size pieces and massage the meat with the marinade. Cover with lid or cling foil and refrigerate for at least 6 hours, preferably overnight.
Peel and slice the garlic cloves. Destem and slice the chili diagonally. Tear the cabbage into large bite size pieces.
Drizzle about 2 tablespoons of oil to the pan and turn to medium heat. Add in garlic slices, chili slices, and small pinch of salt. Sear till aromatic but not burning the garlic. Turn to high heat and transfer the cabbage over. Give it a quick stir and cook till the cabbage reaches desired texture. Once ready, plate the cabbage.
Meanwhile, blanch the peas and drain out the liquid.
Use the same pan to cook the chicken. Remember to remove the rice grains before searing, otherwise they can get burnt easily under high heat. Use the remaining oil in the pan and turn to medium heat. Sear the chicken with skin side down first till browned and slightly brunt on the edges. Flip the meat and sear the other side till fully cooked through.
Move around the chicken pieces from time to time to prevent over-burning spots. Cover the pan with a lid if needed, it will lock in the heat while speed up the cooking process.
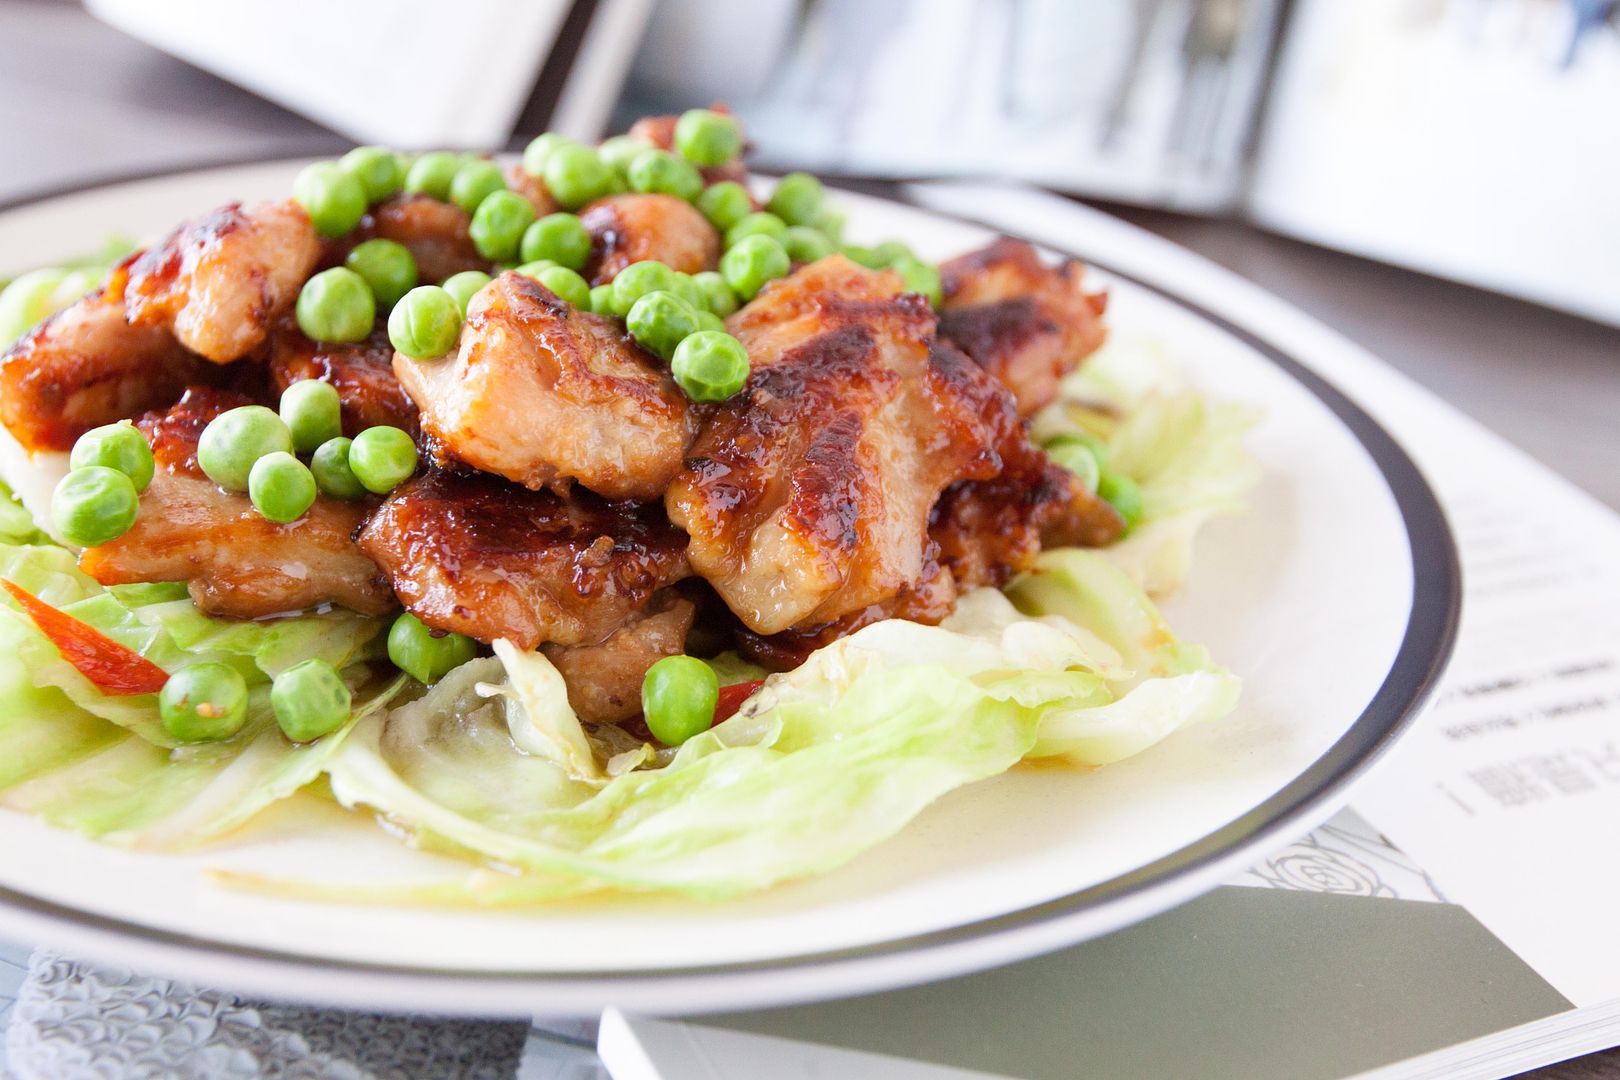
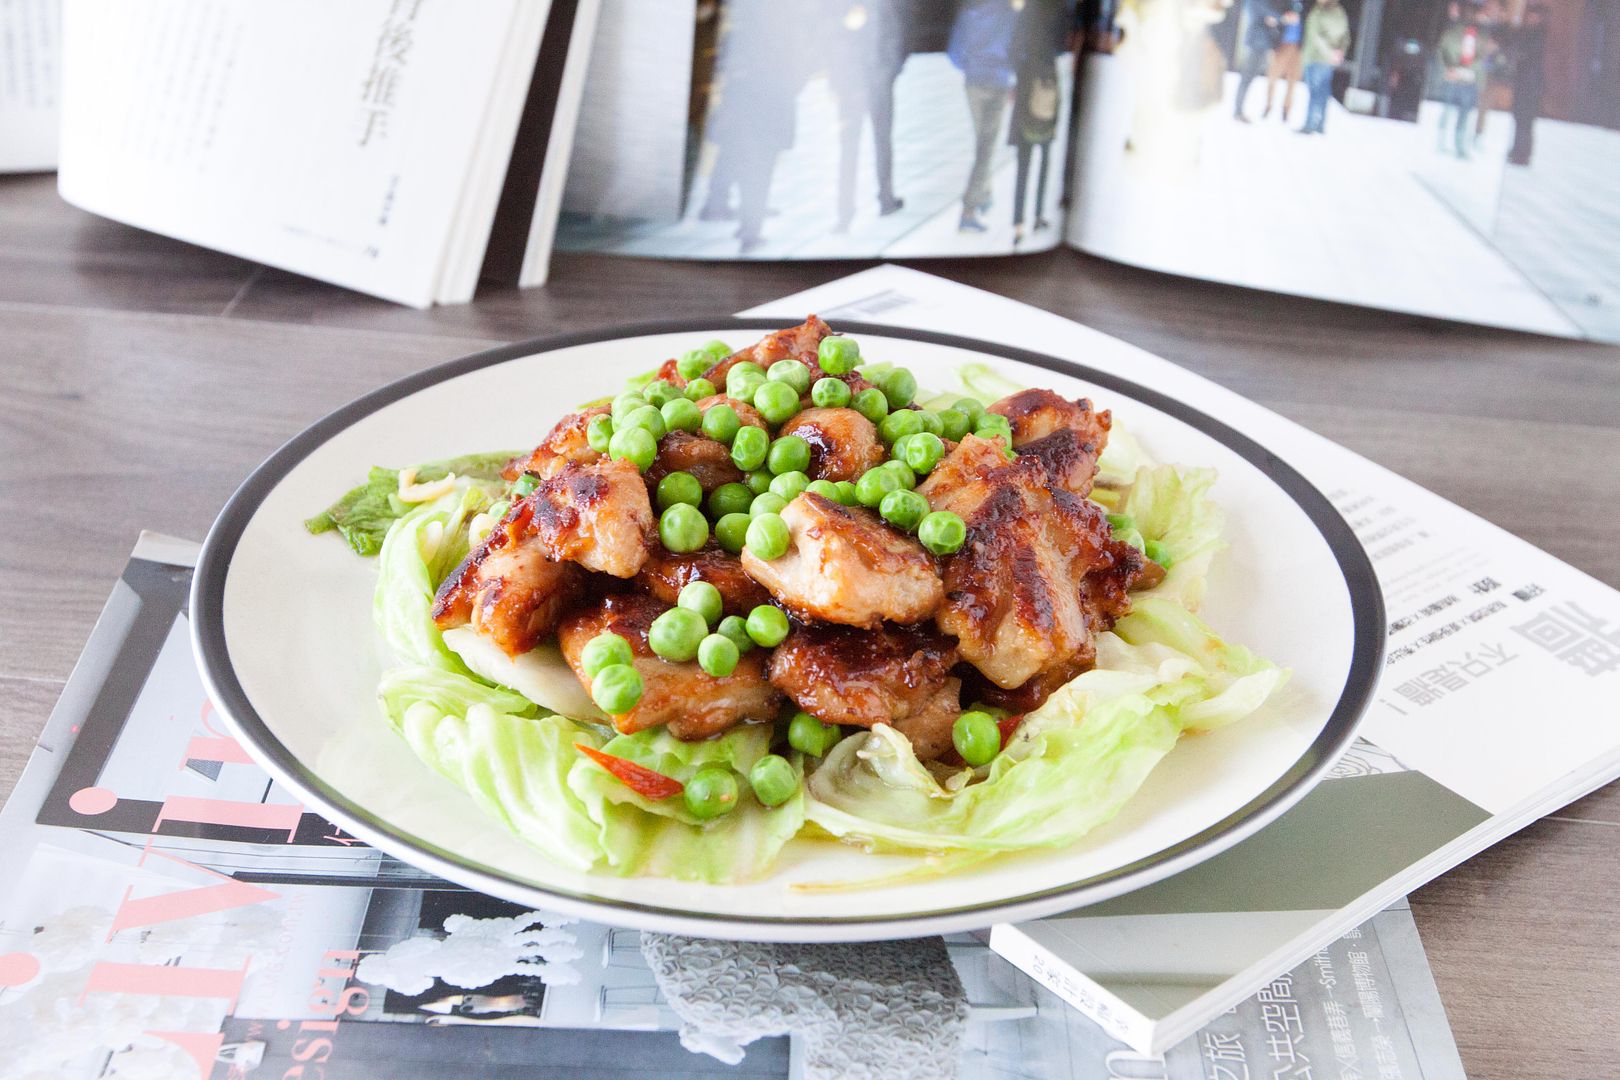
Transfer seared chicken onto the cabbage, then garnish with blanched peas.
During the searing process, you might find that the chicken still looks pretty pale in the beginning, but once it gets hot enough, the chicken turns brown fairly quickly.
Look at that dark coating on the chicken, doesn't that make you drool a little?
Other recipe using shio koji: