Hands down my favorite burger in the world (at least till the date this blog was published). I would love to give you a big squeezy hug Mr. Adam Fleischman, the creator behind this sexy burger. But most likely seeing you in person will not be happening anytime soon - here I present my highest gratitude instead.
Umami Burger Costa Mesa Branch -
Believe it or not, my very first bite of umami burger was from a cold take out bag, along with other fried items such as sweet potato fries and tempura onion rings. Skeptical at first, however, all the flavors from that perfectly toasted buns, umami ketchup, sautéed
shitake mushrooms, even cold ground beef still can't stop bursting in my mouth. That was the first time when I finally met the burger in my dream.
Menu -
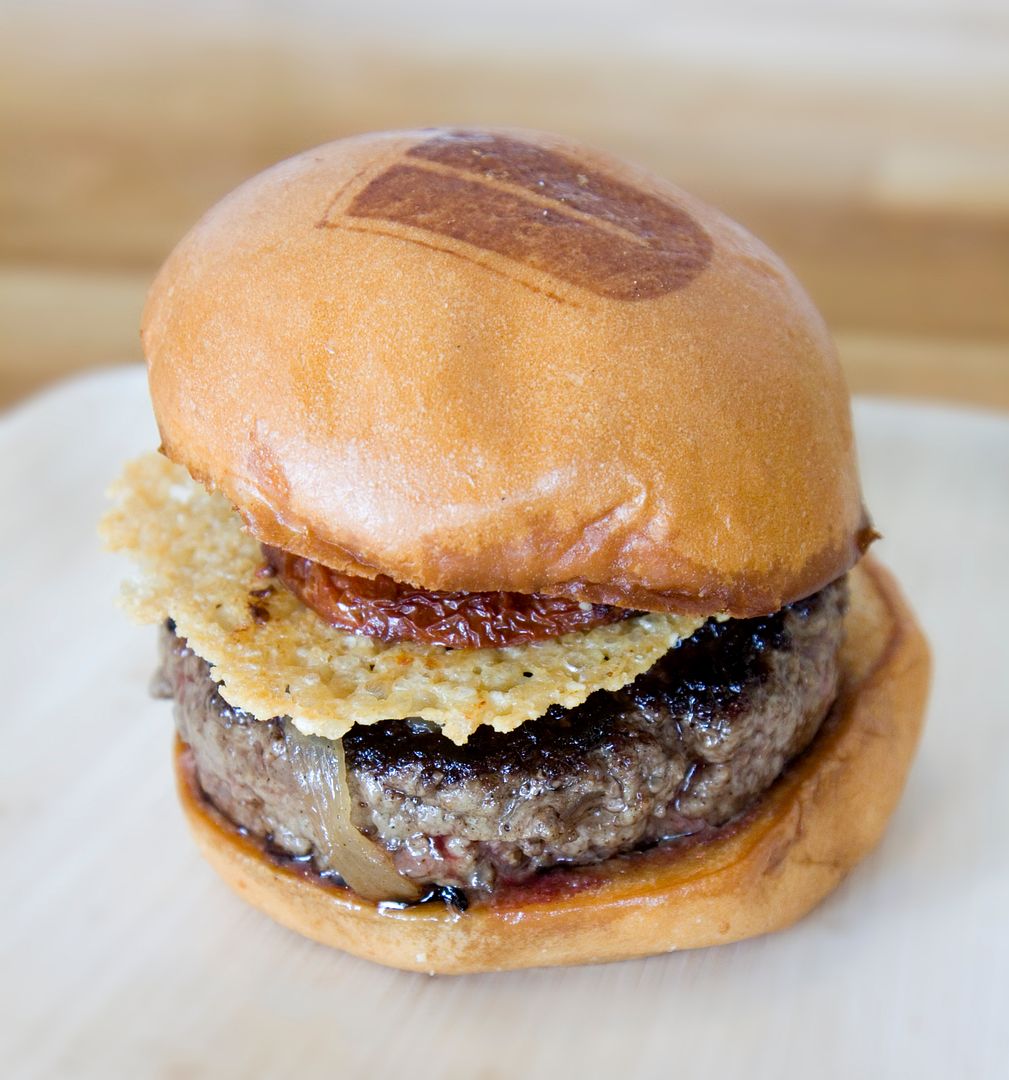
Umami burger $11 -
"Shitake mushrooms, caramelized onions, roasted tomato, parmesan crisp, umami ketchup."
Umami is the fifth taste originally discovered by a Japanese guy. Sour, sweet, salt, bitter, and umami. It is basically the deliciousness taste from all kinds of food. Remember the gratified senses when you bite into something unbelievable followed by a big WOW or OMG? That's umami. And this is the burger that truly holds its name.
Medium rare is the right way to enjoy this burger. Don't worry, the restaurant grinds steak quality beef daily. The patty is seared over very high heat in order to get that crisp edges while still keeping the center moist and tender.
Parmesan crisp also adds a crunchy bite to the burger. Along with their signature homemade ketchup and a secret sauce, this is my perfect bite of heaven.
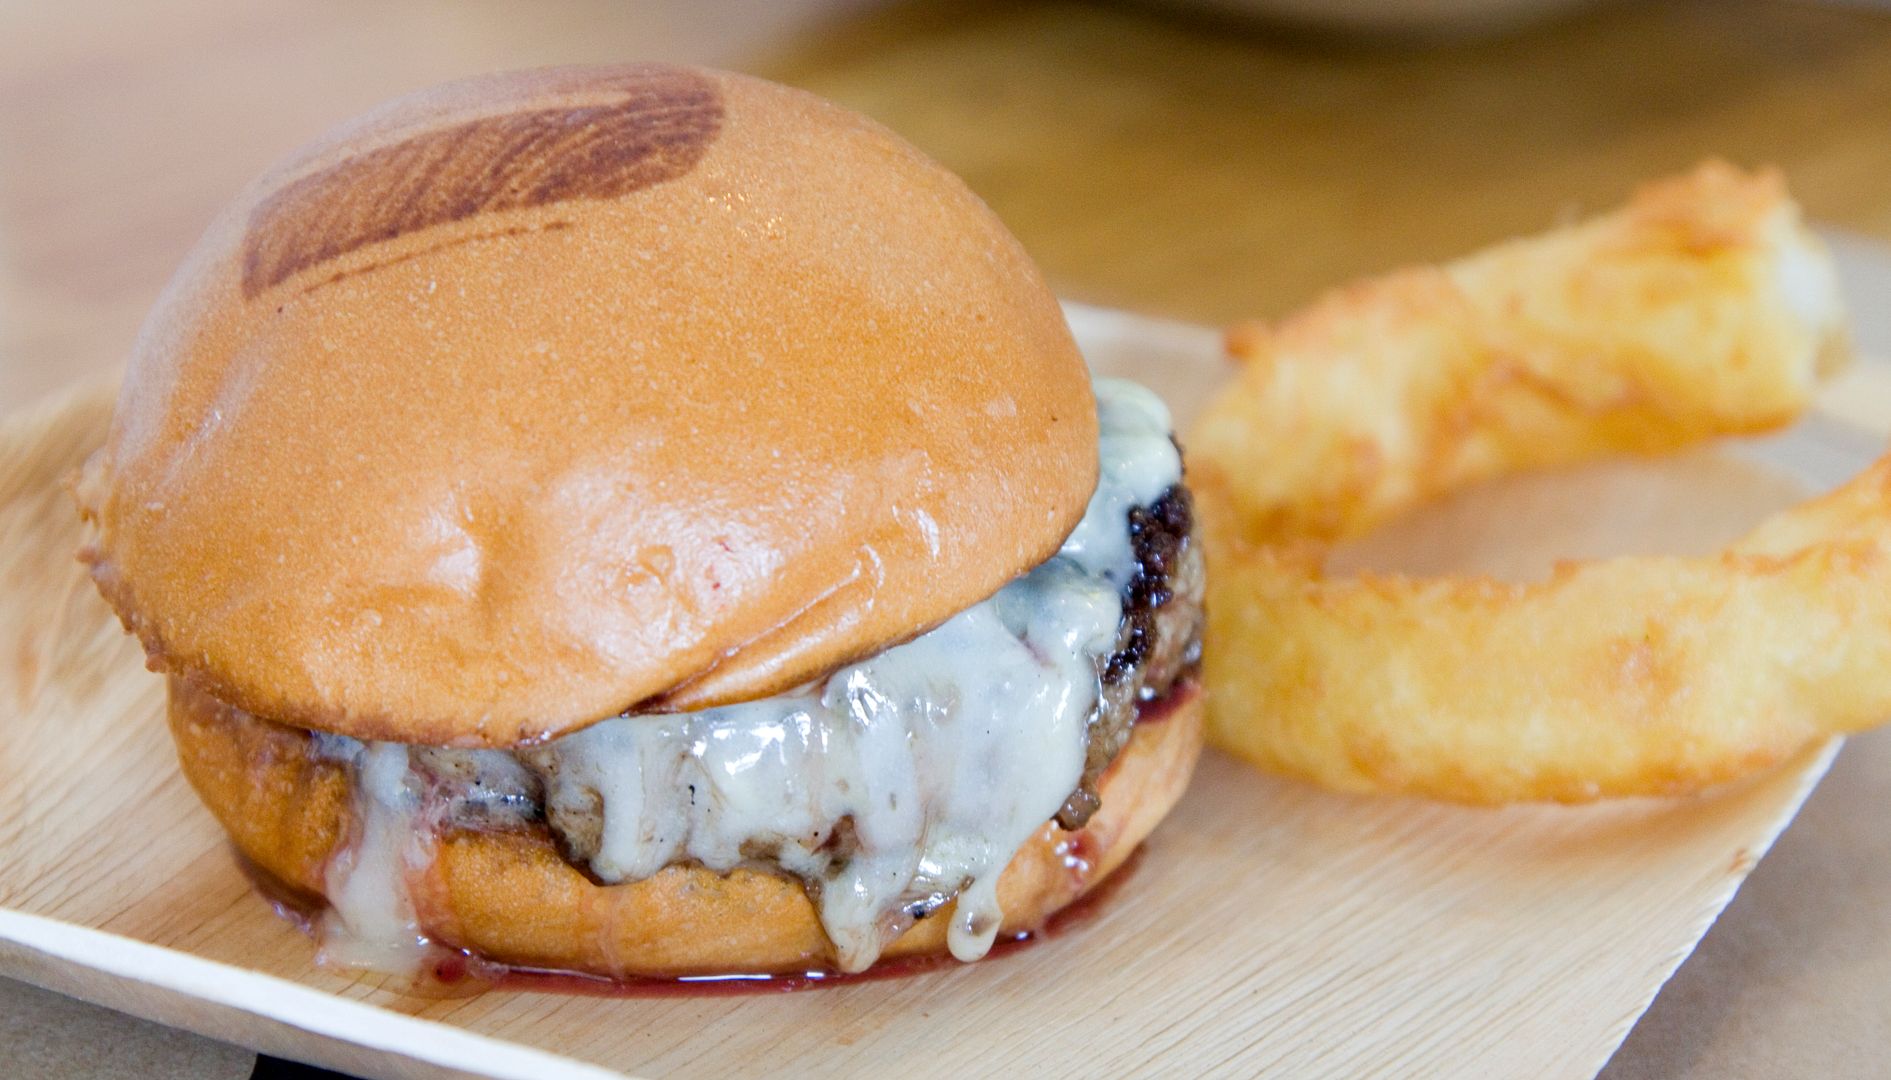
Manly burger $11 -
"Beer-cheddar cheese, smoked salt onion strings, bacon lardons."
Truffle burger $12 -
"House made truffle cheese, truffle glaze."
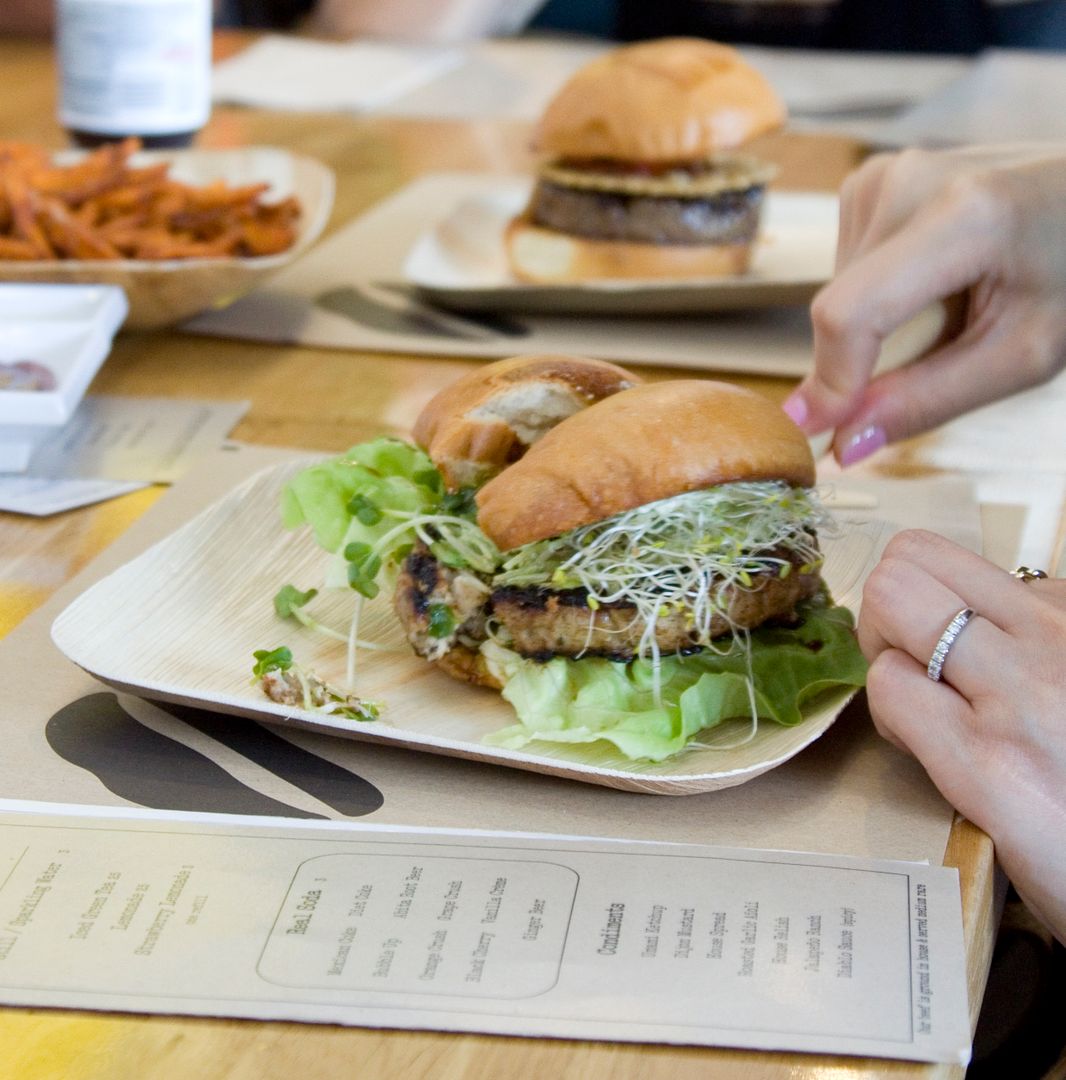
The greenbird $12 -
"Shelton farms natural turkey, crushed avocado, green cheese, butter lettuce, sprouts."
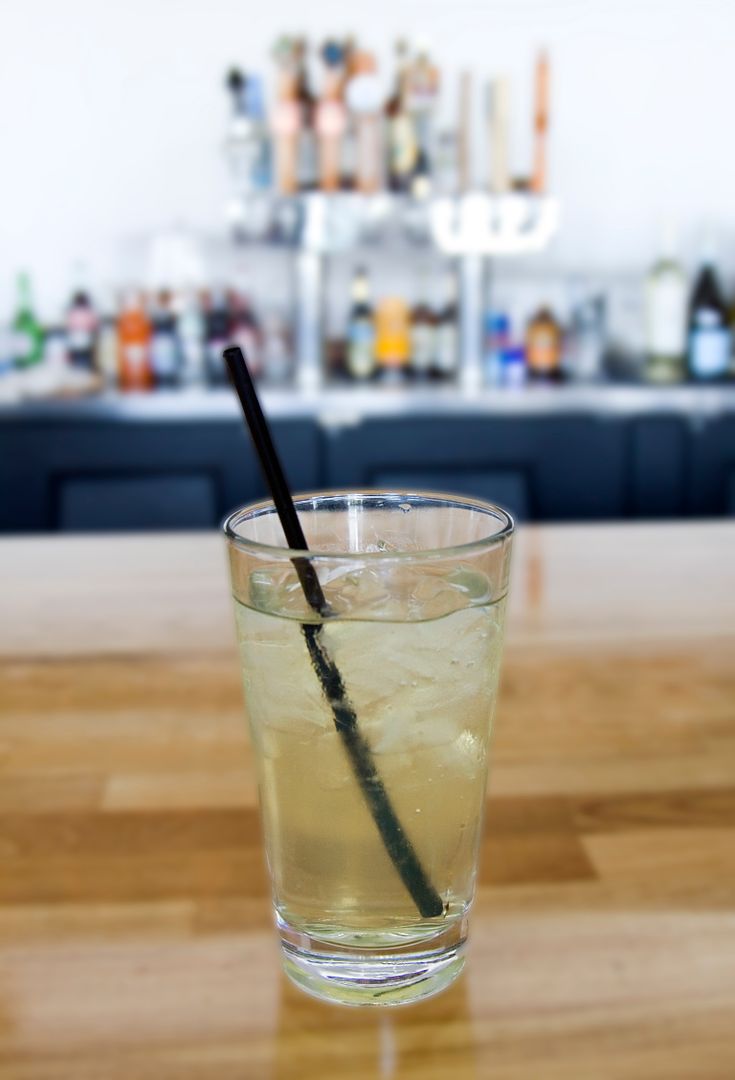
Iced green tea $2.5 -
Condiments -
Umami ketchup is my favorite followed by relish. Usually I would love to slap some relishes onto my food but the burger itself just too good for me to change anything that might alter the heavenly flavoring combo.
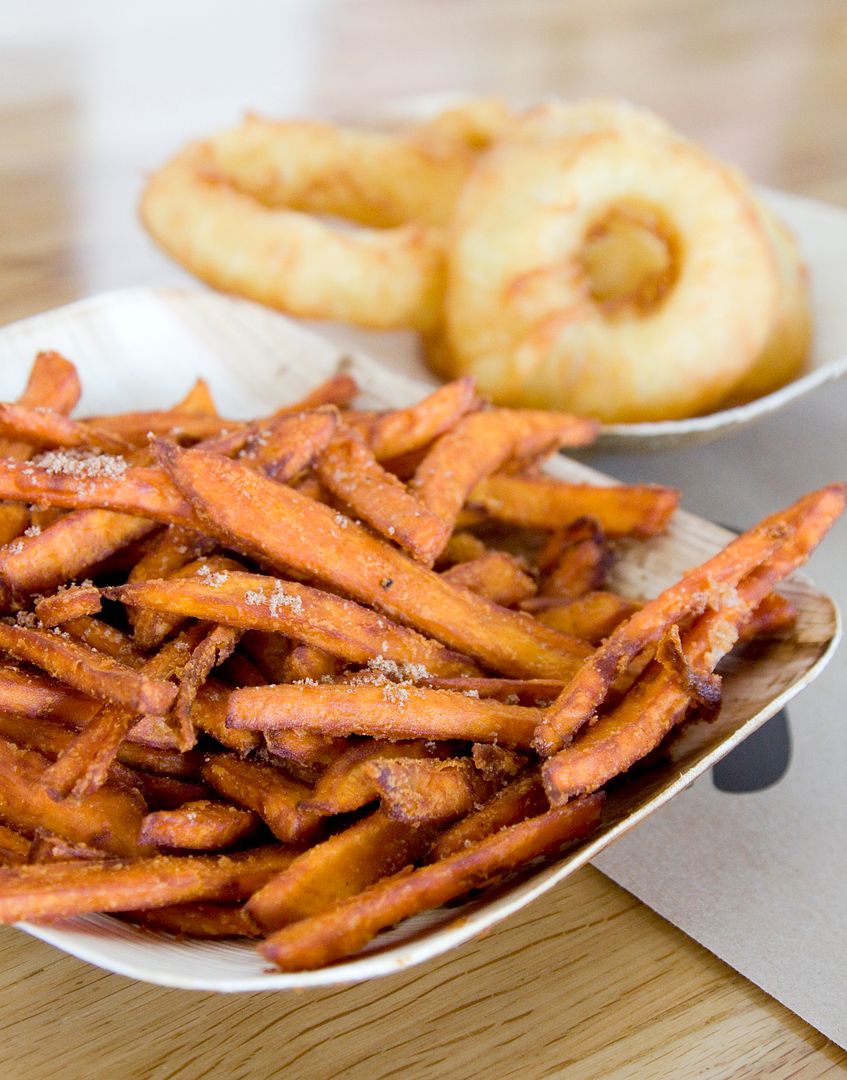
Sweet potato fries $4 and tempura onion rings $3 -
You've got to have Umami's tempura onion rings. It comes with a sweet taste, not sure from the onion or from the batter, perhaps both? The texture of the onion rings get even crunchier toward the end of the meal, to die for.
This place also offers a good selection of alcoholic beverages ranging from beer to reds/whites. Beer is about $7 per bottle and wine is about $9 per glass on average.
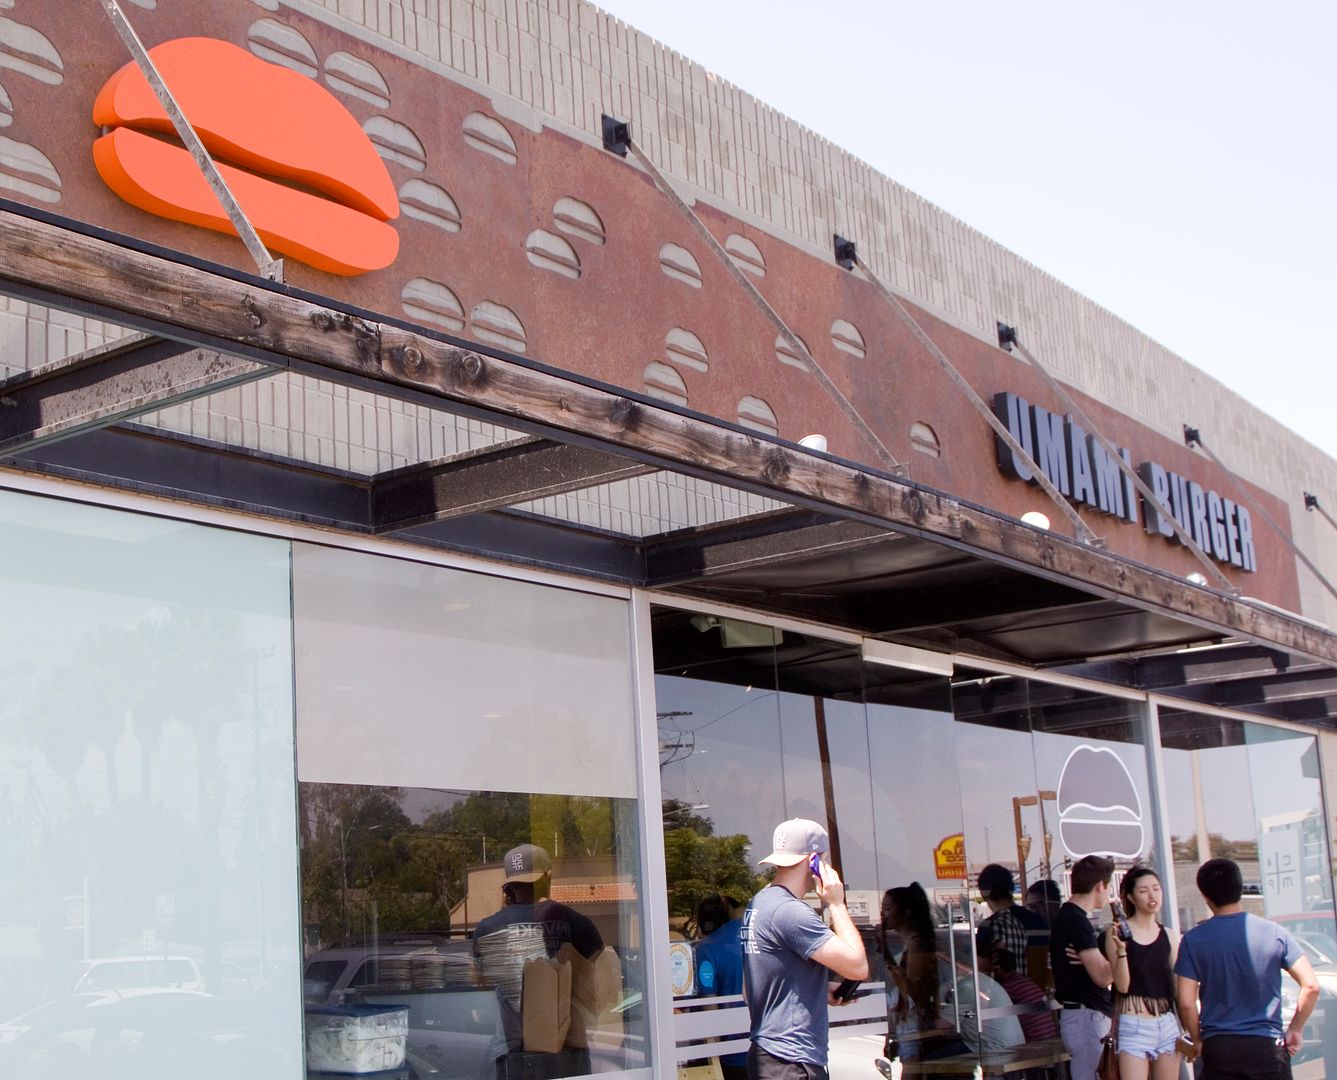
I would love to take some more interior pictures of the restaurant but this is all I've got -
Pardon me, I can't take more photos without pointing my camera toward customers with their mouths wide open devouring the burgers. Maybe next time when Umami is not as busy, but I wonder when would that be, this place is always packed!
Cindy's Rating: 9
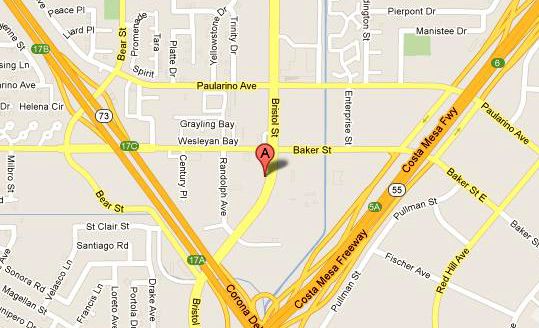
Umami Burger (Costa Mesa Branch/The Camp)
2981 Bristol Street
Suite B-2
Costa Mesa, CA 92626
http://www.umami.com/
Sun - Thu: 11 a.m. - 11 p.m.
Fri - Sat: 11 a.m. - 12 midnight
*Open during afternoon hours