Some onigiri specialty stores will emphasize on how great the rice they're using, often imported from Japan too. Well, let me show you one trick and maybe save you some money on buying expensive high-end rice grains.
Use less water when cooking the rice. Yes, it's that simple. You know some people also do that when making fried rice? It's kind of similar to using leftover or overnight rice. Storing rice in the fridge will help drawing out some moisture. So why not start from the beginning and simply use a wee bit less water to cook the rice? I ensure you the end result can be wowing and amazing. I know I was super happy with the rice texture for this batch of misoyaki onigiri.
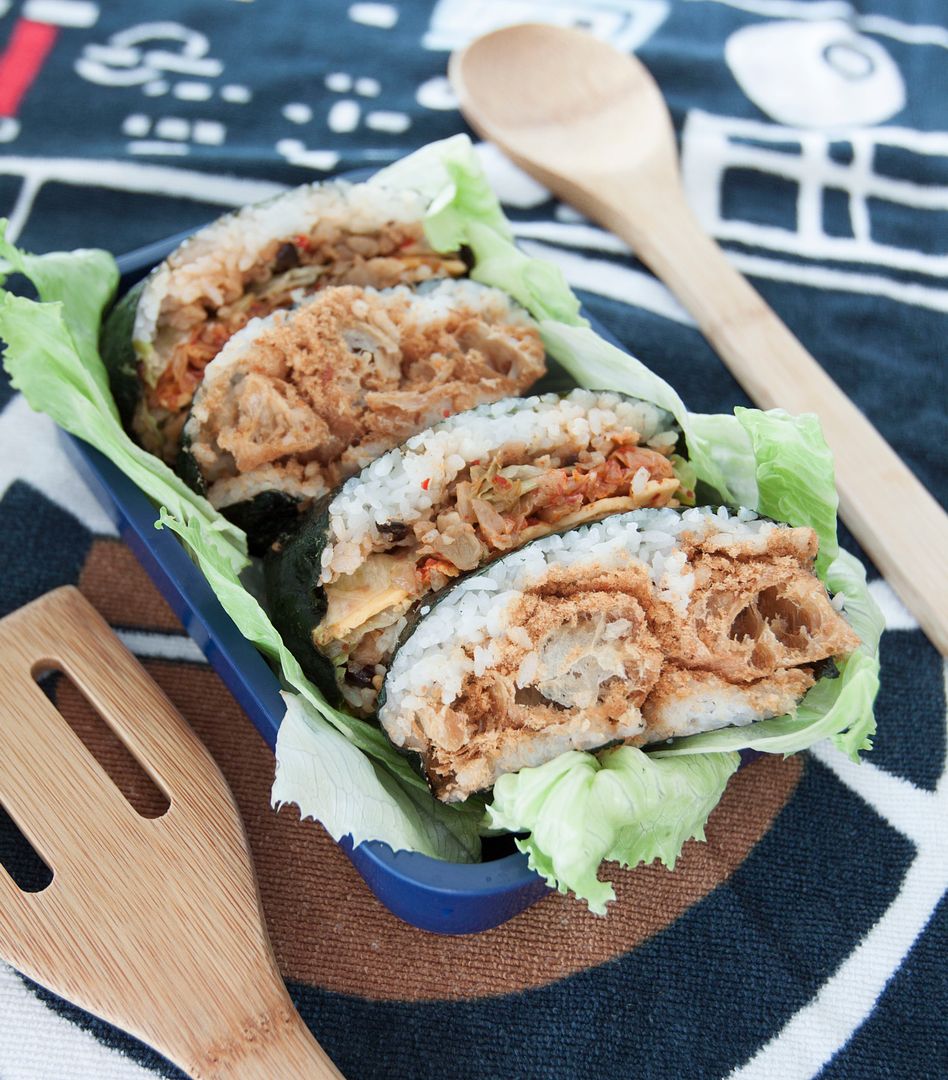
Misoyaki onigiri 味噌焼きおにぎり -

Ingredients (for two rice balls)?
- 2 portions of cooked white rice (bouncier texture preferred)
- 4 grams katsuobushi (dried bonita flakes)
- Some sesame oil
Sauce:
- Some white miso
- Some honey (optional)
- Some drinkable water (optional)
How?
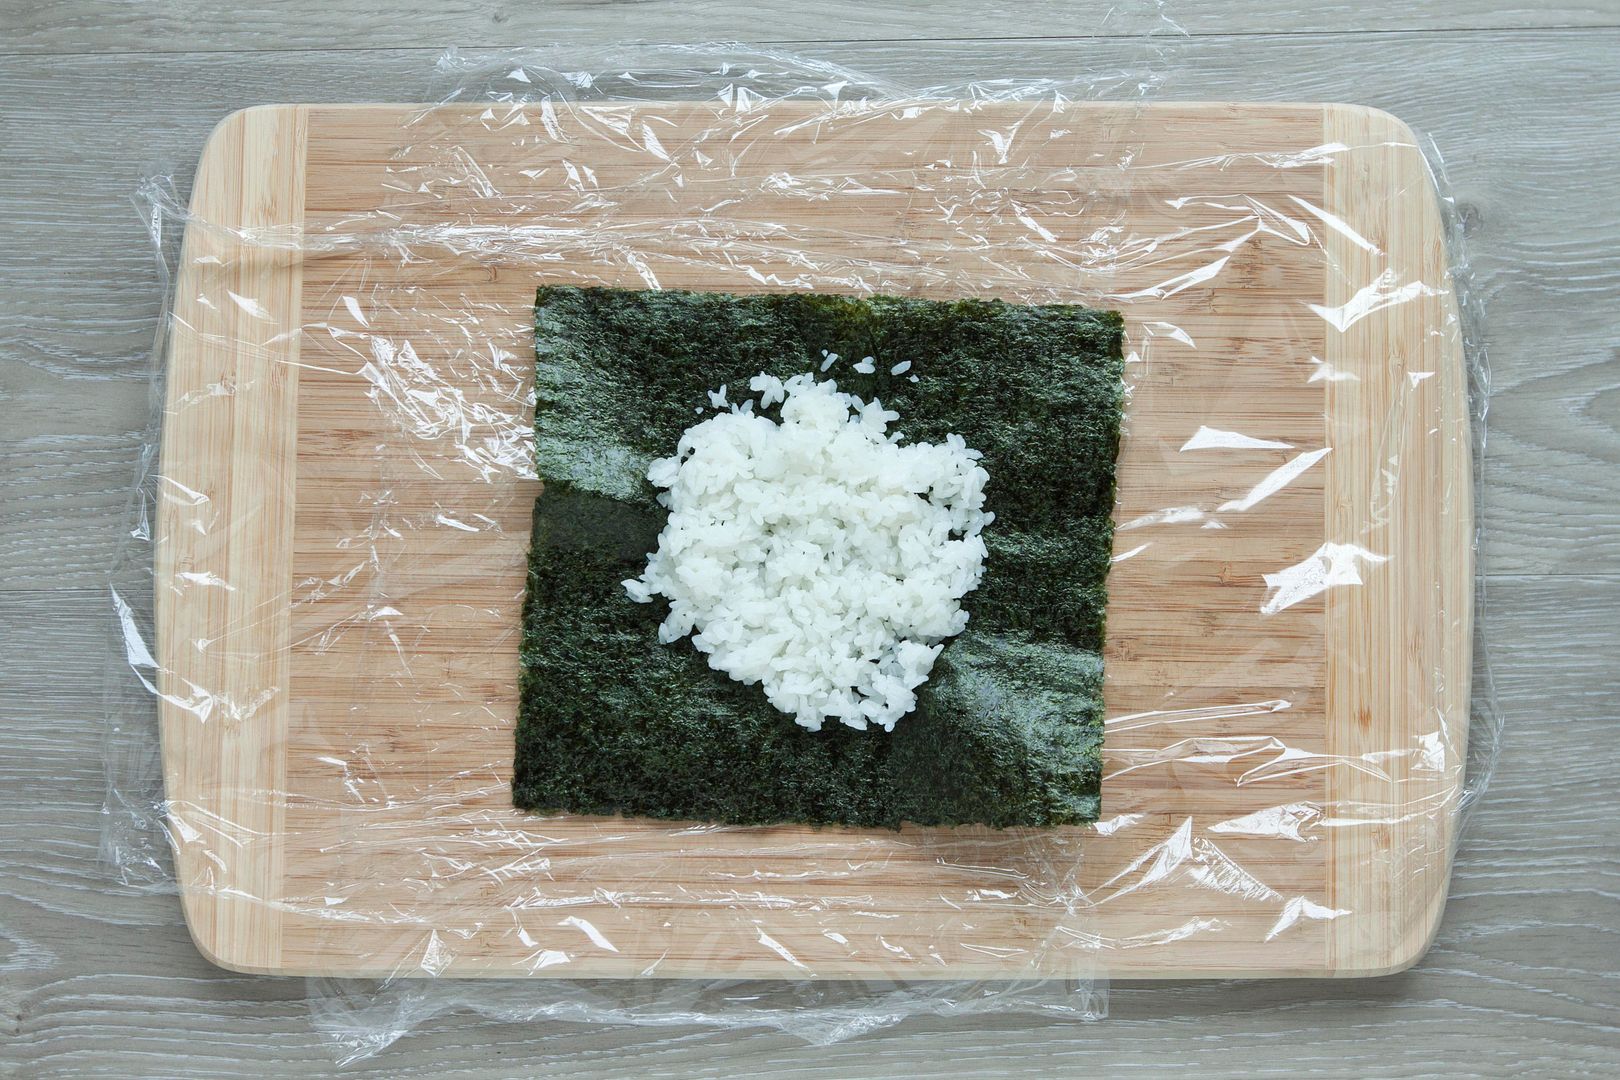
Cook the white rice use slightly less than usual amount of water, that way you'll get bouncier grains in the end.

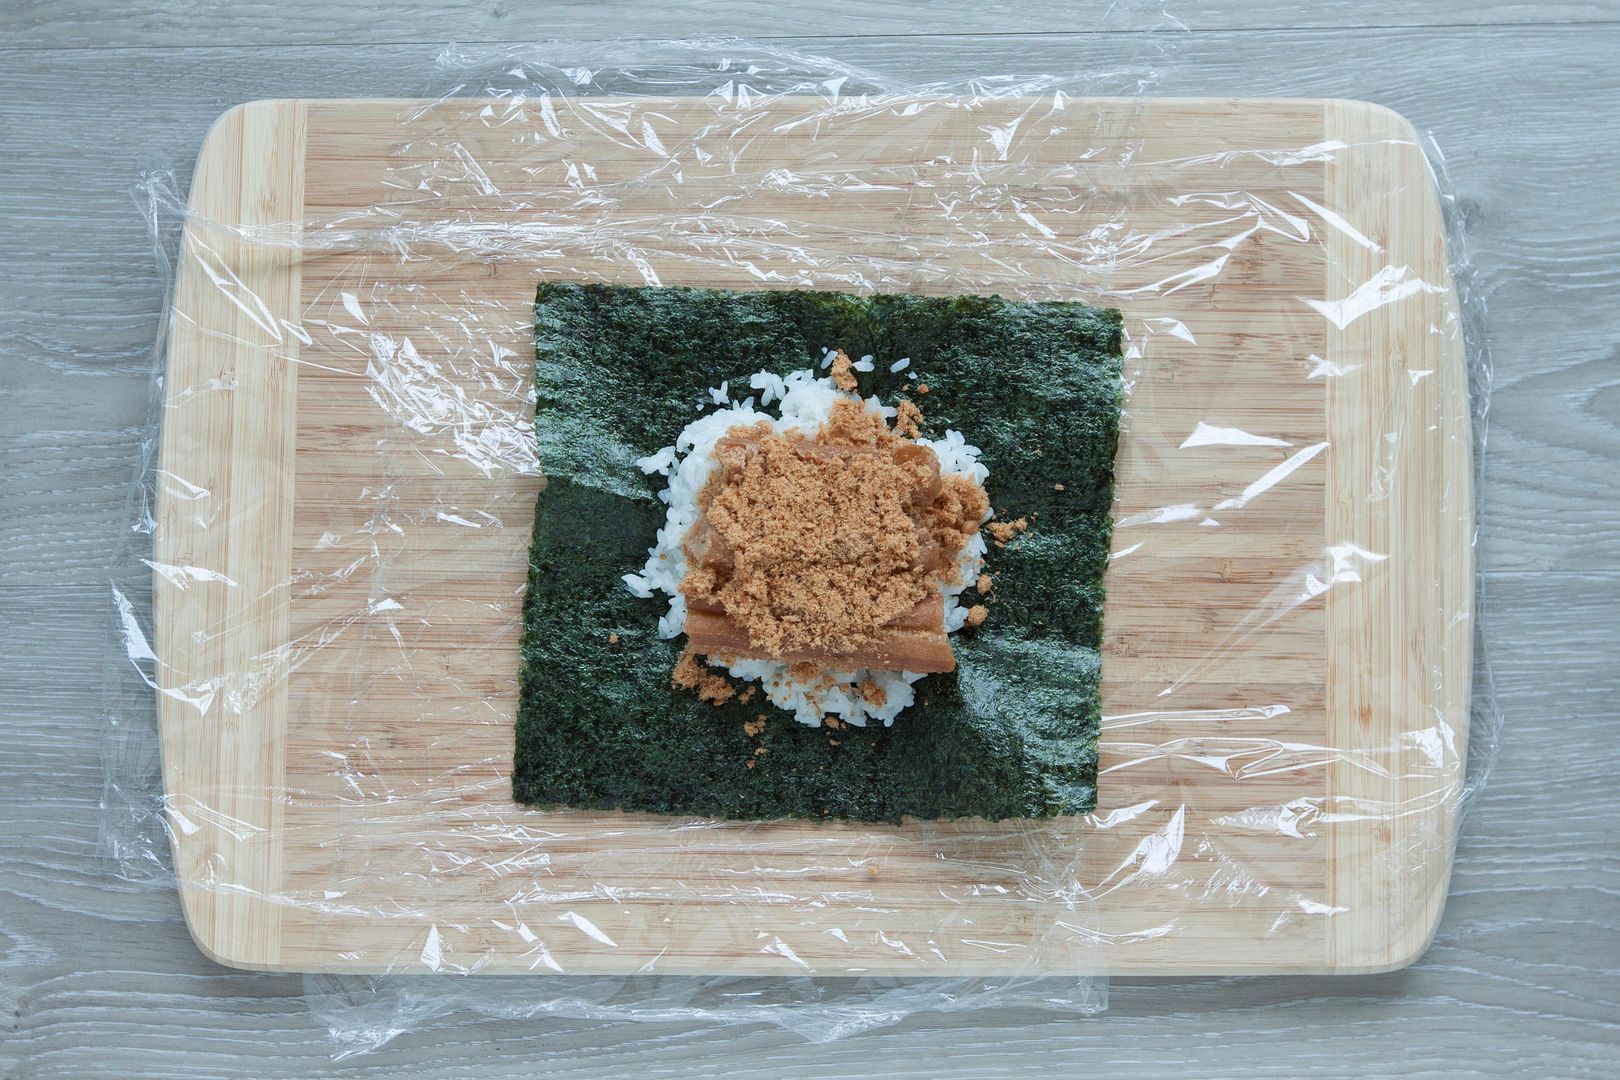
Brush some sesame oil to a big bowl. Scoop two portions of rice to the bowl. Add in 4 grams of katsuobushi, use smaller pieces katsuobushi. Fluff the rice and mix till evenly blended.

Dip both palms with some drinkable water if needed. This can help preventing the rice sticking on your hands when making onigiri. However, since we already brushed some sesame oil on the bowl, the rice shouldn't that sticky, so it's up to you.
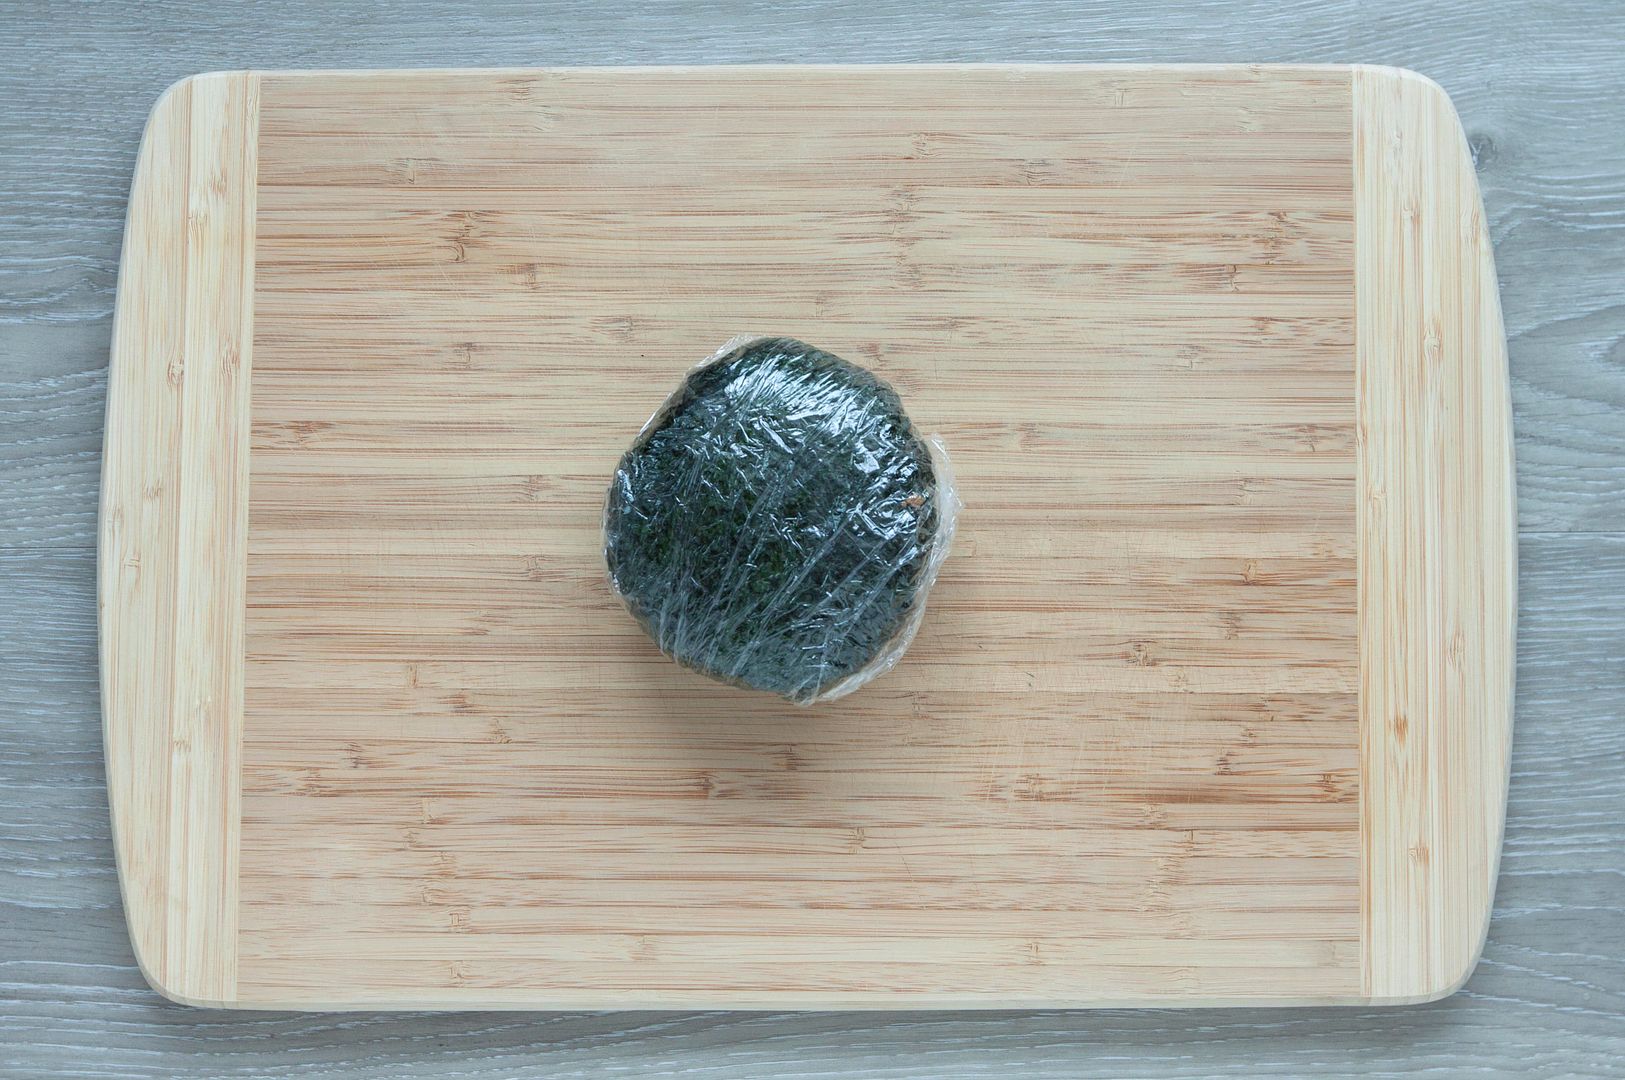
Take half of the katsuobushi-mixed rice and form into onigiri, let it be round or triangular shaped, both are fine. Just make sure to flatten the front and end a little so the onigiri won't roll around in the pan later.

Prepare a small bowl and add in some white miso. The miso I'm using has a more watery consistency, which is ready to use right away. If you have a thick paste type of miso, mix in a little honey or even some drinkable water to thin it out.
Line the pan with aluminum foil to prevent sticking or miso burning directly onto the pan if needed. Either way, brush some sesame oil to the surface you're working on, aluminum foil or directly on the pan.
Spread some miso to one side of the onigiri then transfer to the pan with miso side down. Use medium heat and sear till slightly browned and hardened. Meanwhile spread some more miso on top of the onigiri.

Once the bottom side is ready, carefully flip the onigiri and continue to sear till the bottom turn slightly browned and hardened.
Once done, move the onigiri to serving plate.

Don't worry if the miso doesn't get browned nicely or got stuck to the aluminum foil or pan. There's one way to save it. Spread a bit more miso to the onigiri and torch it instead.

The torching method yields a flavor that is a bit different than searing, but still aromatic. Especially that slightly torched burnt aroma, smells quite appetizing to tell the truth.
Other onigiri recipes:
- Egg scallion and shio kombu onigiri 蔥蛋塩昆布日式飯糰
- Tuna and sesame oil rice balls
- Hijiki and Inari age onigiri 羊栖菜豆皮飯糰