Sweets can sure, sweets can heal, at least mentally it can make me feel better at the moment. Perhaps I'll crash after that sugar rush, but thank God I've got 30 minutes of paradise to live in.
Cheesy brioche French toast -
Ingredients (for two)?
- 2 thick brioche toast slices
- 2 Cheddar cheese squares
- 1 egg
- 200 ml whole milk
- 30 grams granulated sugar
- 1 tablespoon unsalted butter
- 1/4 teaspoon vanilla extract
- Some confectioners' sugar
- Some fresh mint leaves (optional, garnish only)
How?
Slice the brioche toast, make an opening on top but don't cut all the way down. Insert one cheese square on each toast, fold in any parts lingering outside the bread.
Prepare the milky dip. Take a baking dish or any container with some depth, mix in the egg, granulated sugar, vanilla extract, and whole milk.
Whisk and make sure the sugar has been fully dissolved.
Soak the bread, about few minutes on each side. Perhaps with a tong to help flipping the thick toasts.
Take a nonstick pan and add in the butter. Turn to medium heat and wait till the butter melts.
Transfer the bread over and sear till slightly browned. Flip and continue to sear the other side. Also use the kitchen tong to hold the bread, sear remaining sides till slightly colored.
Plate and dust with confectioners' sugar, garnish with fresh mint leaves if desired. Just look prettier with that pop of green.
You can also serve this sweet and savory brioche French toast with some fresh fruits, berries especially. Maybe drizzle some maple syrup to make it even sweeter.
After all, I really need that brush of sweetness now. Pair with buttery aroma in the kitchen, it can be the best therapy ever.
Other brioche related recipes:
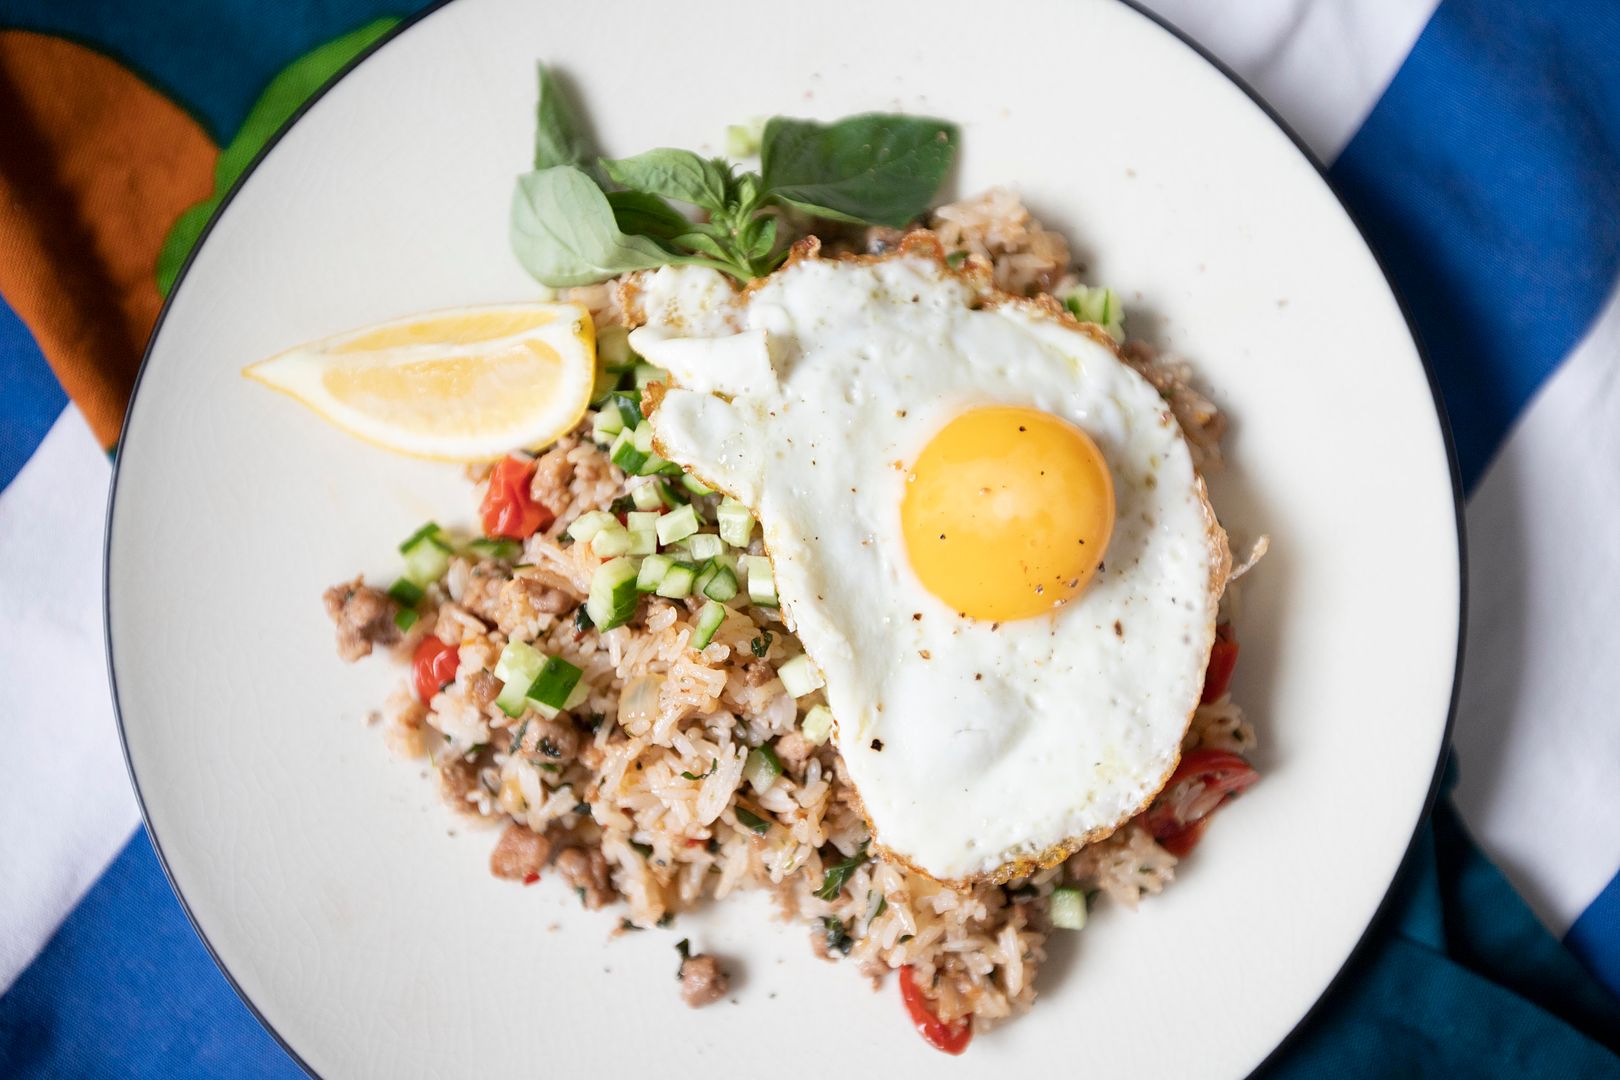
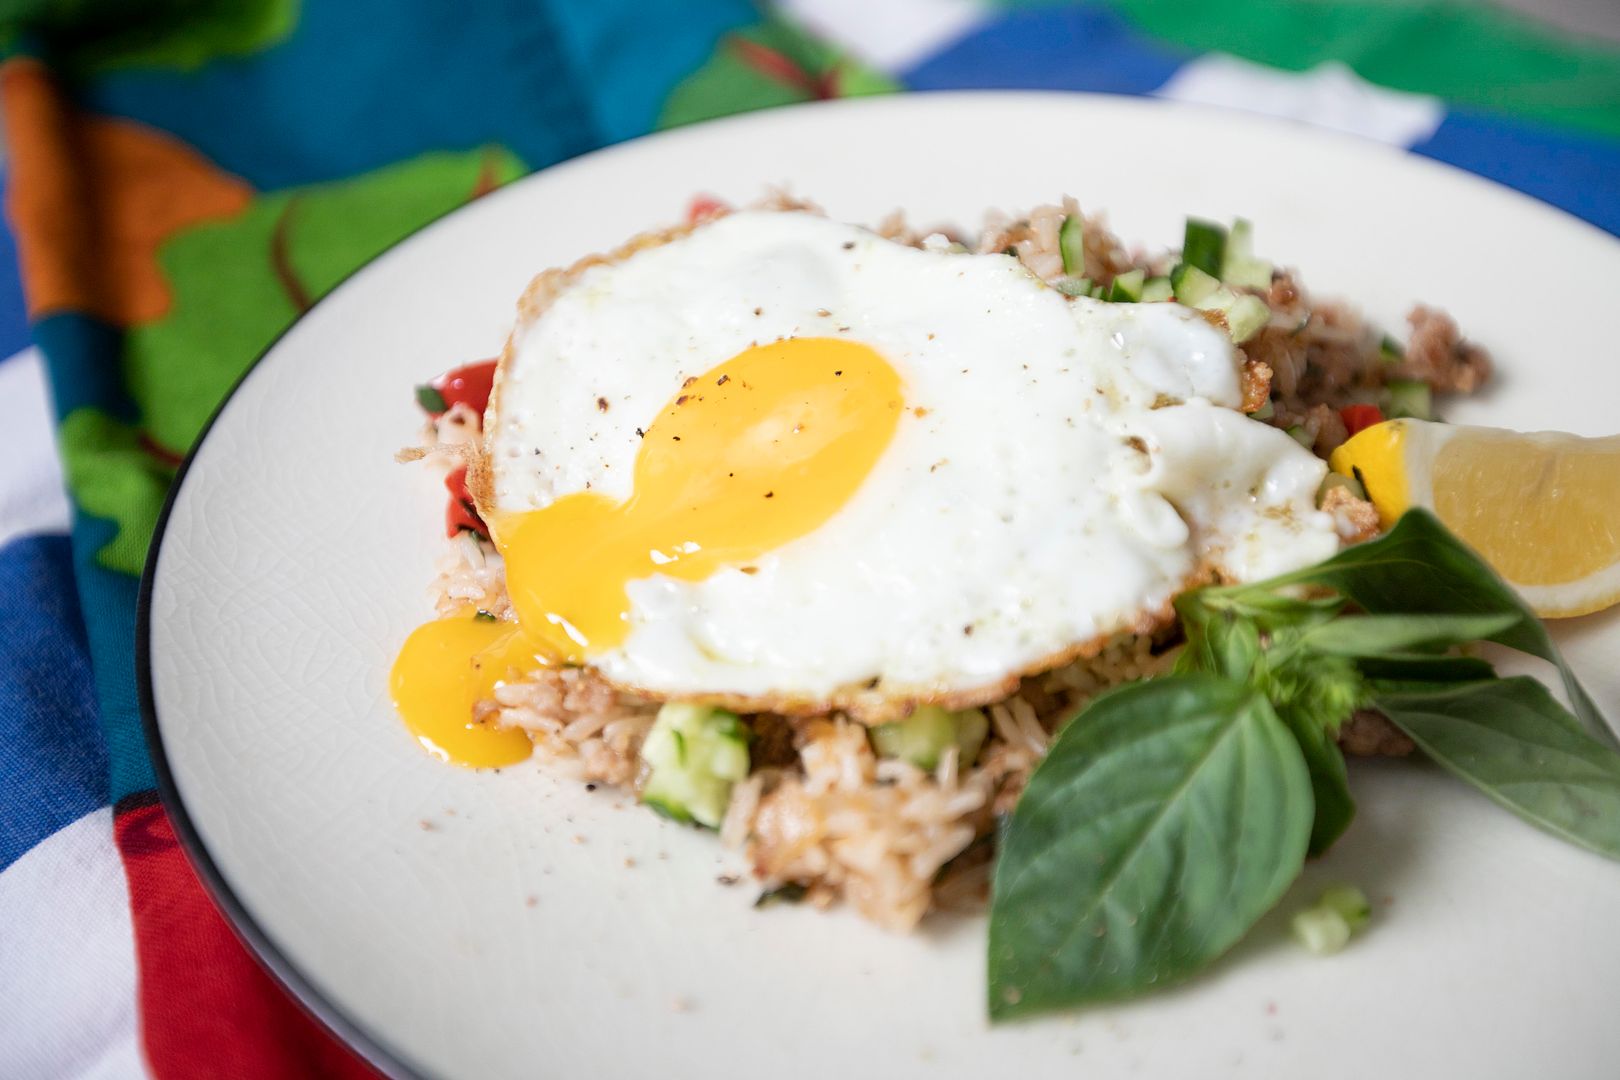
Da pao pork, simply put it this way, is a Thai style stir-fry dish made with ground pork, Thai basil or Chinese basil, cherry tomatoes, and some Asian seasonings. Instead of going solo, this time I'm combining da pao pork with rice. To make it even better, it has to be topped with a sunny side up egg, that oozing yolk is always a plus.
Ground pork and Chinese basil AKA da pao fried rice -
Ingredients (for 2 to 3 portions)?
- 2 rice cups uncooked basmati rice
- 300 grams ground pork
- 2 to 3 eggs
- 1 small bundle Thai or Chinese basil
- 10 cherry tomatoes
- 1 skinny cucumber
- 1/2 onion
- 2 garlic cloves
- 1 to 2 red chilies
- 1/2 lemon
- 1 teaspoon soy sauce
- 1 teaspoon fish sauce
- 1 teaspoon cane sugar
- 1/4 teaspoon Sriracha sauce
- Some olive oil
- Some salt
- Some black pepper
How?
Cook the rice first with a little bit less water than usual. Otherwise, cook the rice the day before and store in the fridge. The goal is to get the grains with less moisture, more suitable for fried rice that way.
Peel and dice the onion. Peel and chop the garlic cloves. Destem red chilies and finely chop the remaining section. Dice the skinny cucumber into smaller cubes. Finely chop the Chinese basil but do save a few sprigs for garnish. Halve the cherry tomatoes. Slice the lemon into few wedges.
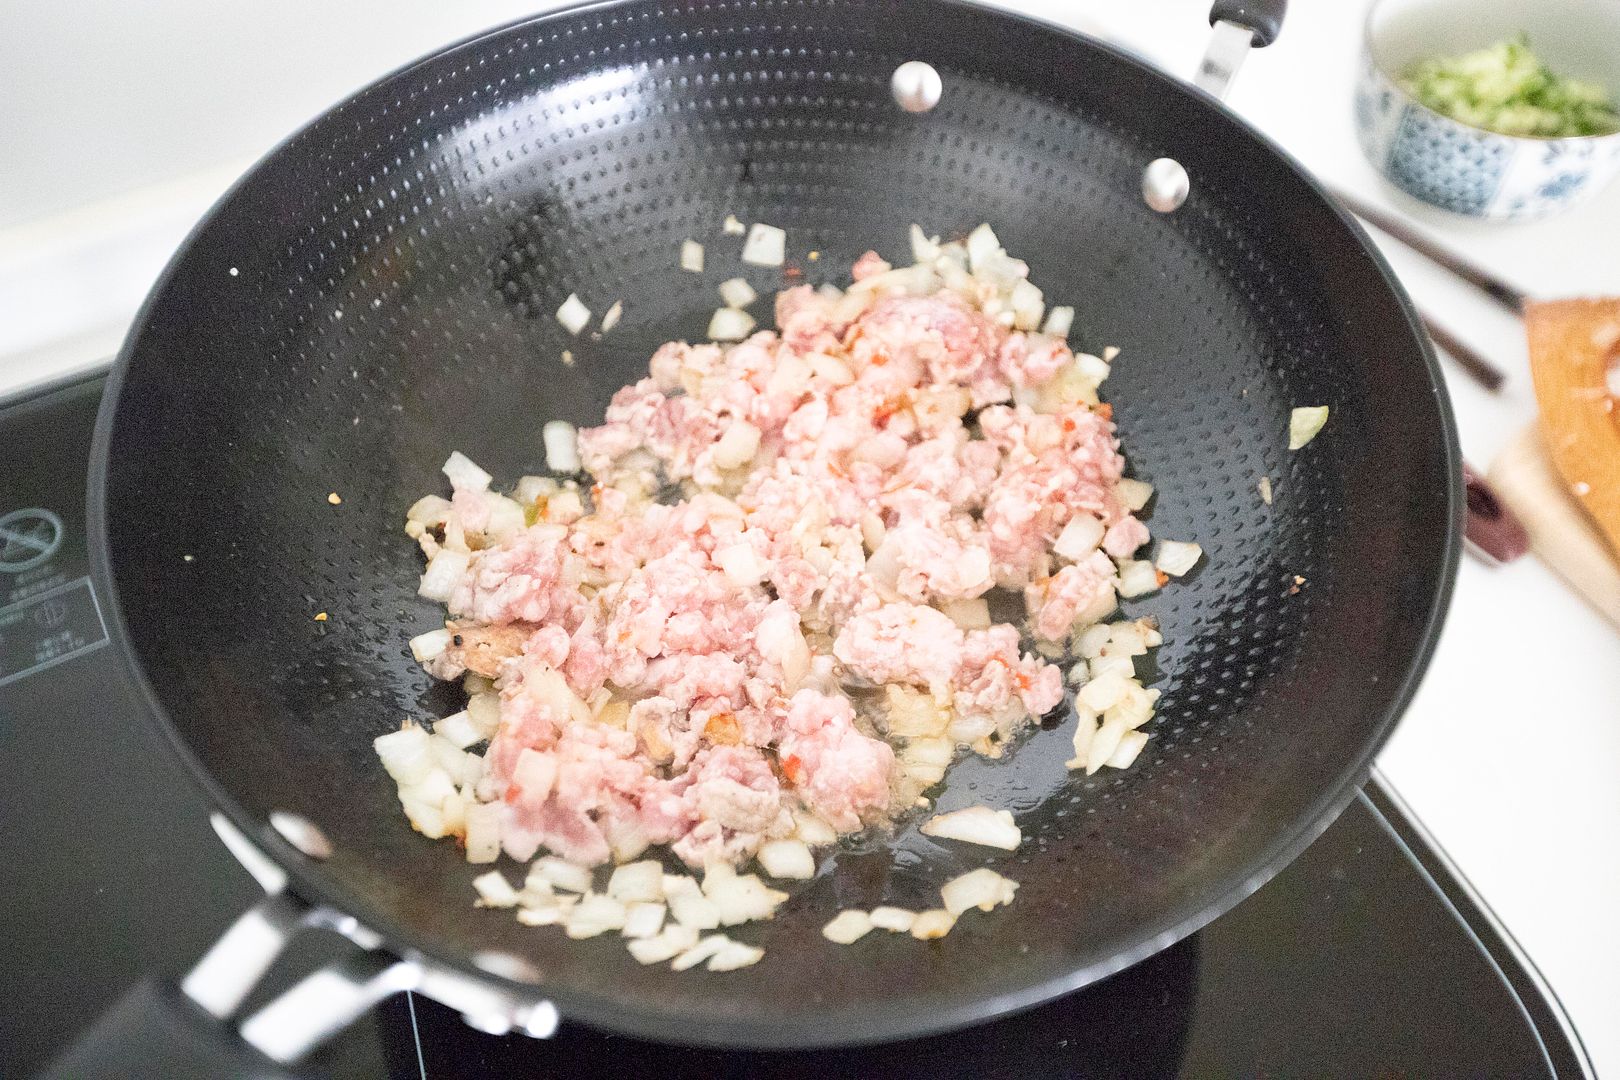
Use a wok or a big pan, drizzle in about 2 tablespoons of olive oil and turn to high heat. Also add in onion, 1/2 teaspoon of salt, and 1/8 teaspoon of black pepper. Mix and sear till the onion turns slightly browned.
Add in chopped garlic and red chilies, cook till aromatic but not burning the garlic bits.
Transfer the ground pork over, stir-fry for about 1 minute.
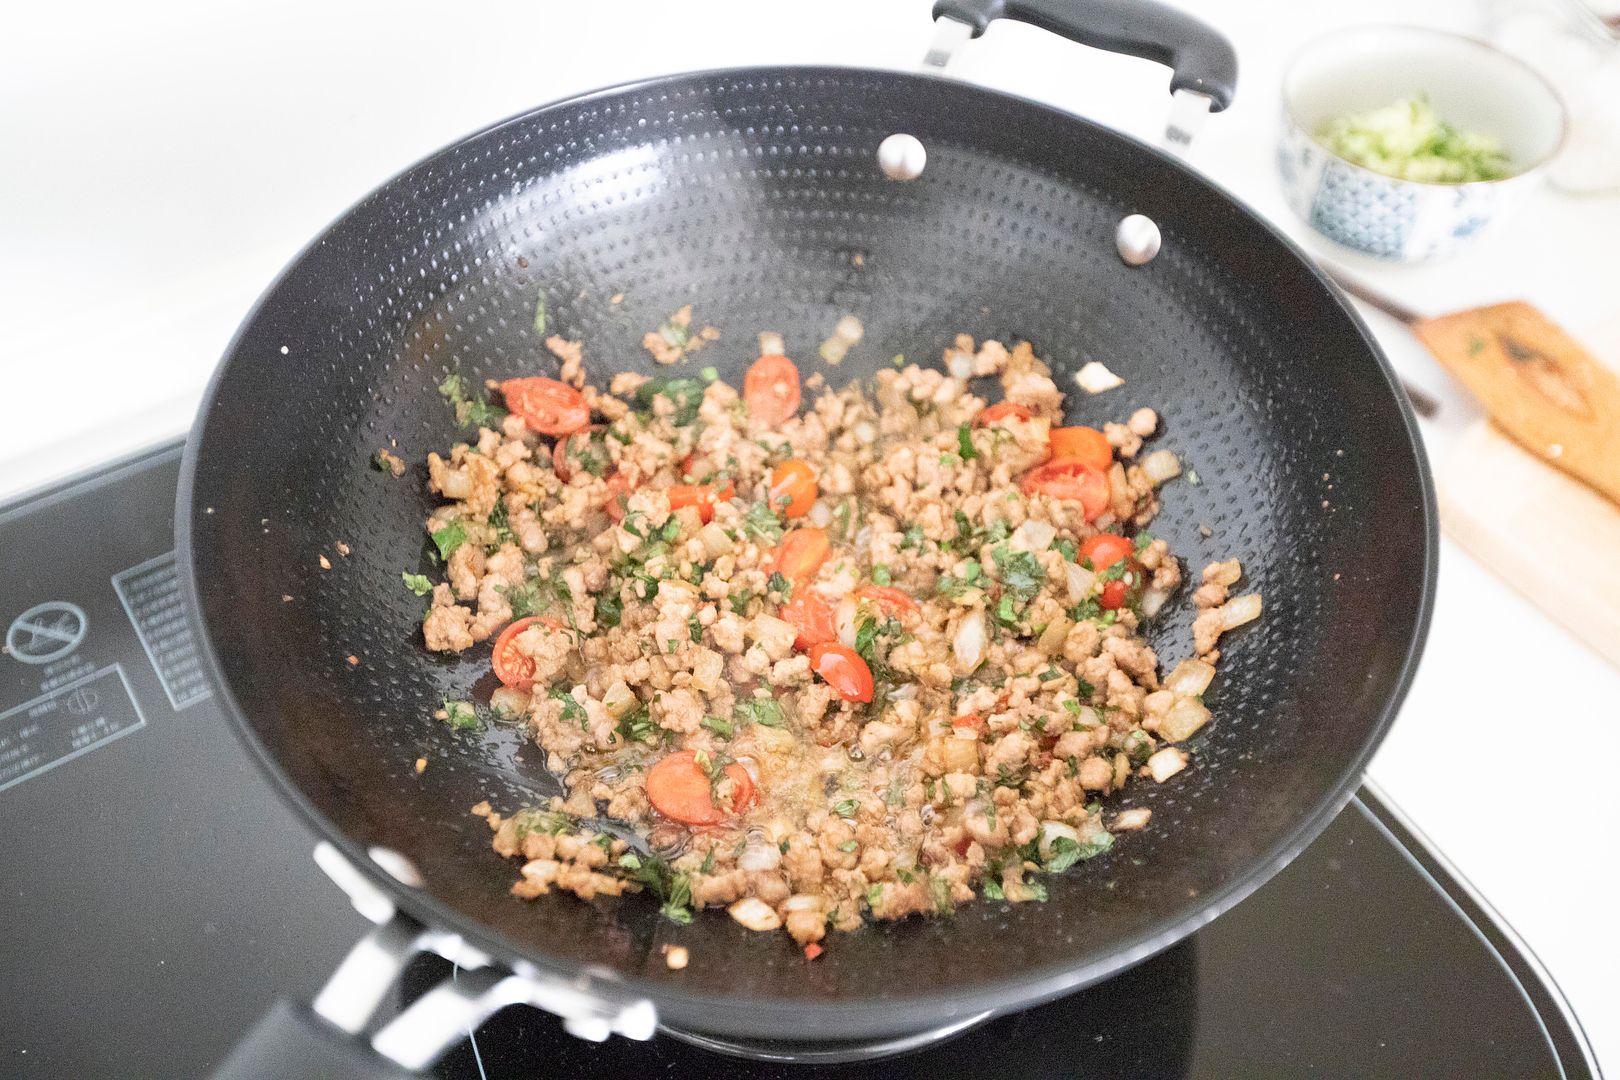
Add in 1 teaspoon of fish sauce, 1 teaspoon of soy sauce, 1 teaspoon of sugar, and 1/4 teaspoon of Sriracha. Mix and cook till the mixture nearly dried up.
Add in halved cherry tomatoes and cook for another 30 seconds or so. Then it goes chopped Thai or Chinese basil, give it a quick mix.
Mix in precooked rice in two batches. Make sure all the grains are coated with the seasonings before adding the second batch. Lower the heat a little if need more time flipping the rice around.
Take a non-stick pan to make the sunny side up eggs. Drizzle some oil and turn to medium high heat. Once hot, break in the eggs and sprinkle tiny bit of salt and black pepper over. Sear till the edge gets slightly browned but the center yolks are still semi-runny.
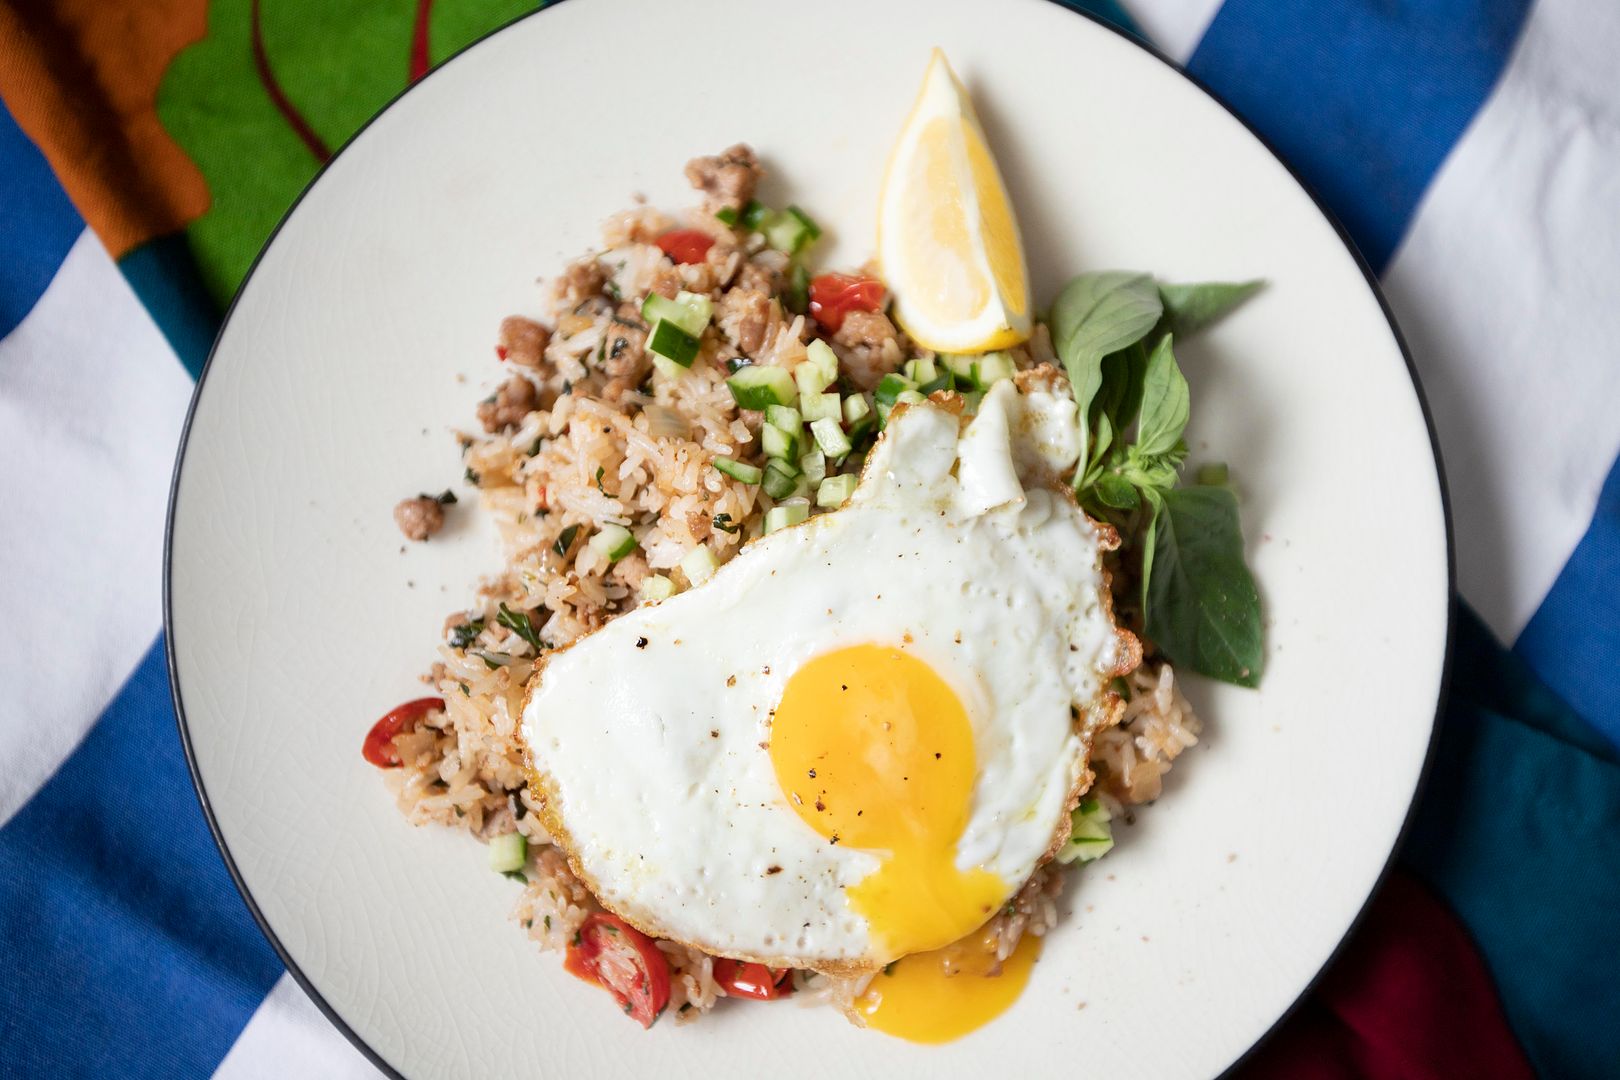
Plate the fried rice and top with diced cucumber. Transfer sunny side up eggs over, 1 egg for each portion. Garnish with fresh basil and lemon wedges. Sprinkle some more black pepper on top.
Can't hold on to the yolk any longer.
Depending on how spicy the chilies are, that runny yolk can actually help soothing out some burning pain if tears start falling down.
Other fried rice recipe:
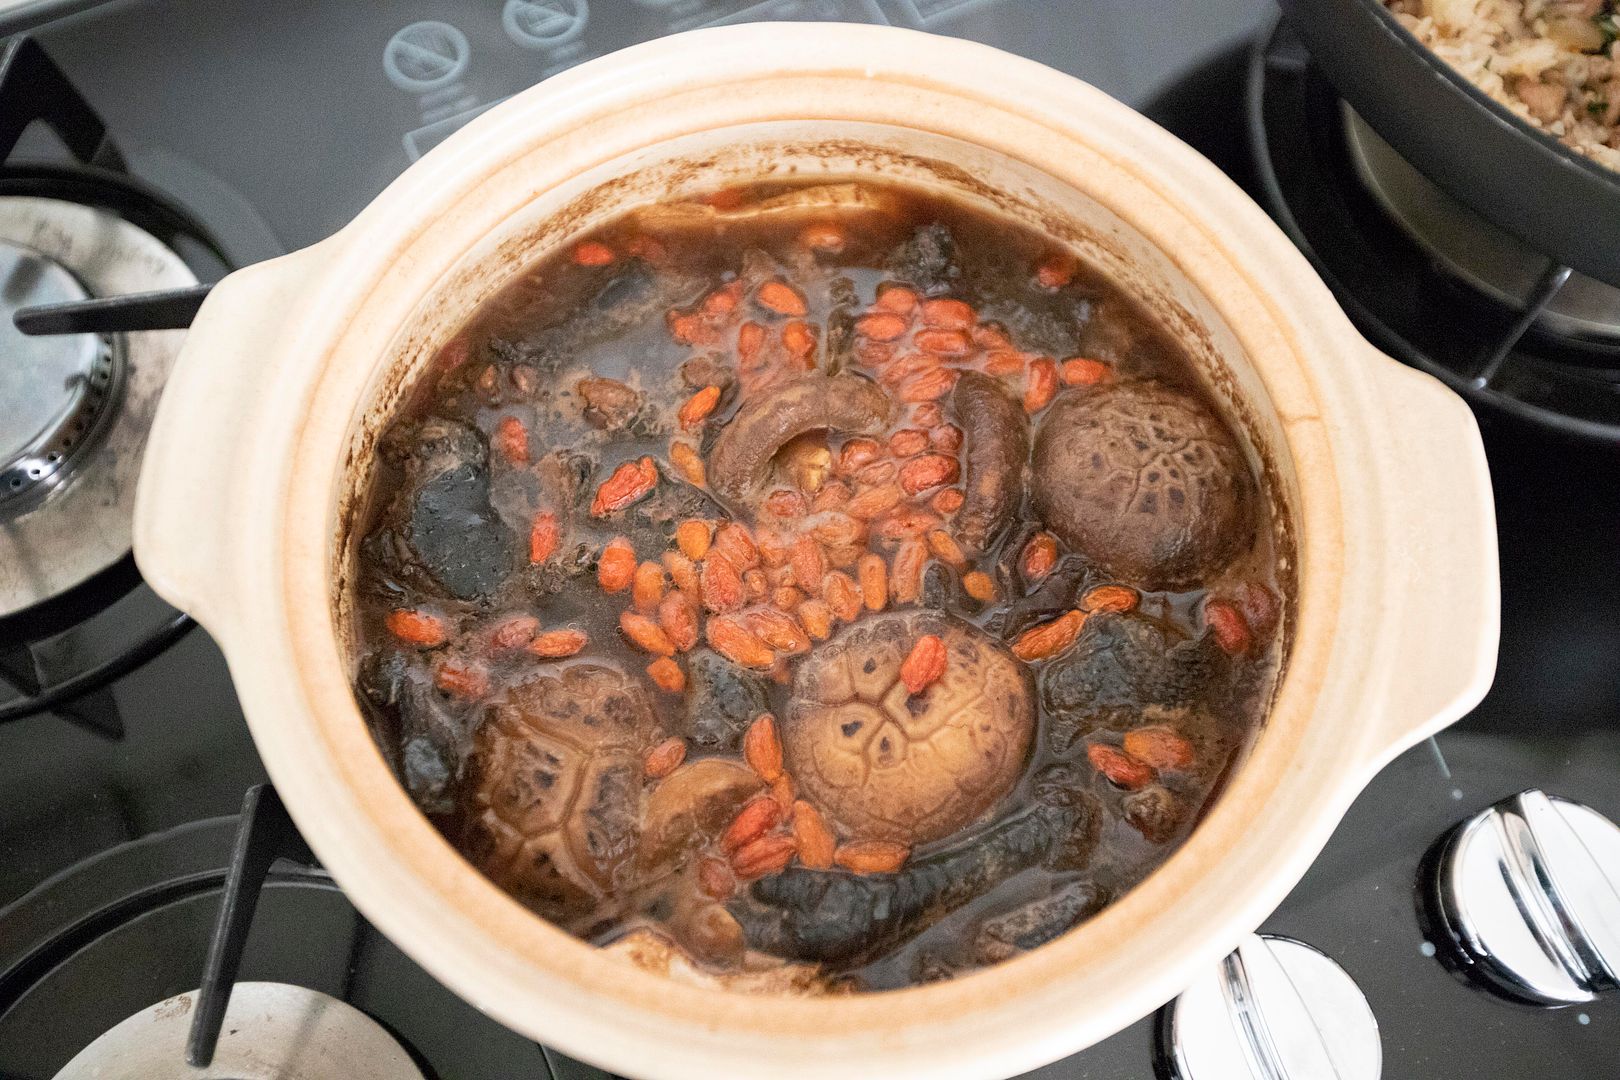
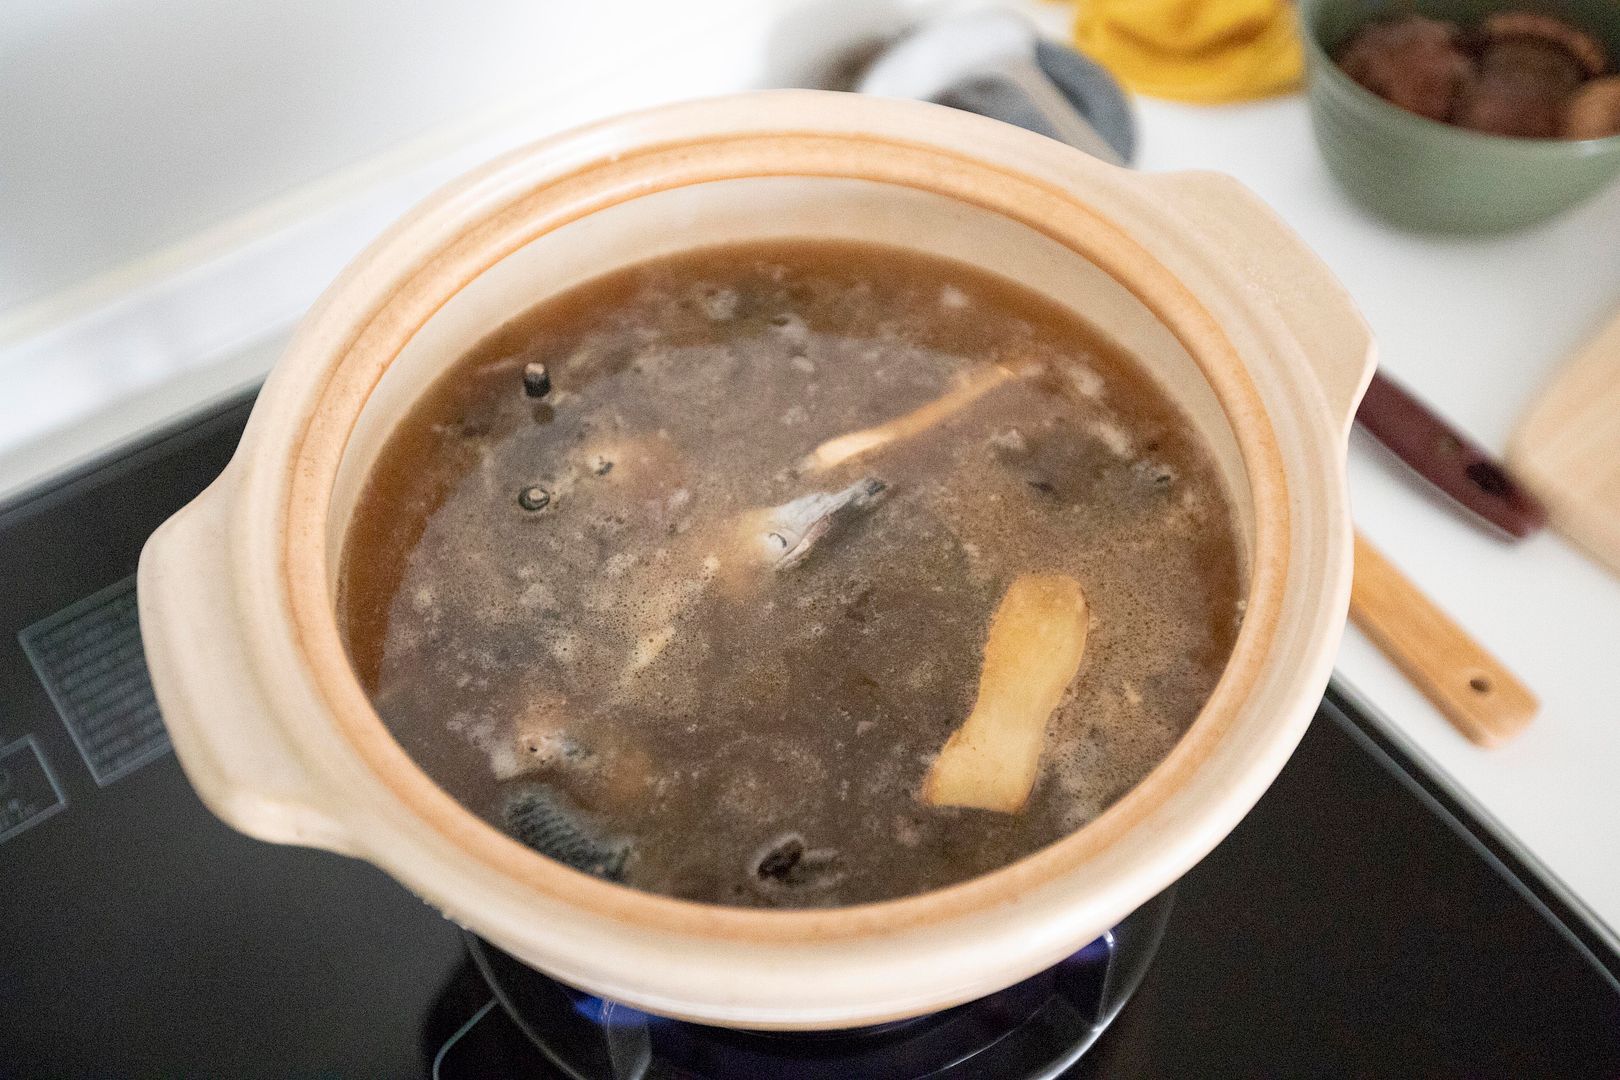
Dark is good. Dark means delicious, and so is this Chinese soup made with Silkie chicken and black colored aged radish.
Sun-dried and salt-aged radish soup -
Ingredients?
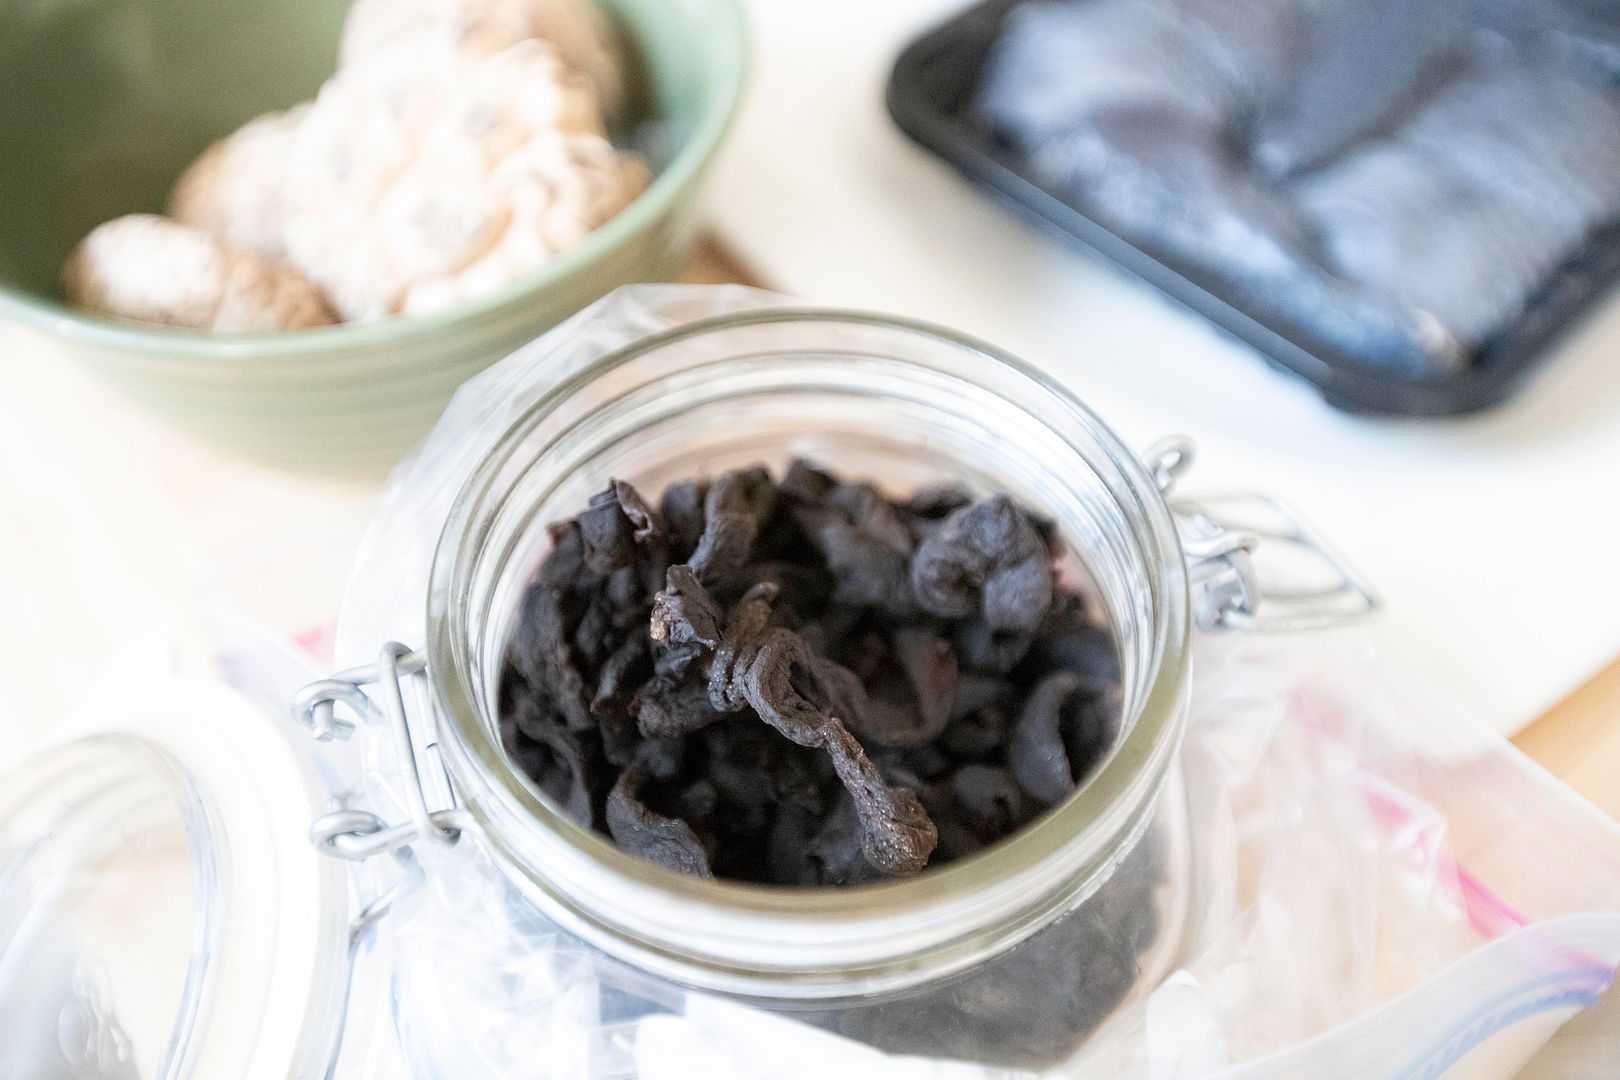
- 1/2 cup loosely packed sun-dried salt-aged radish
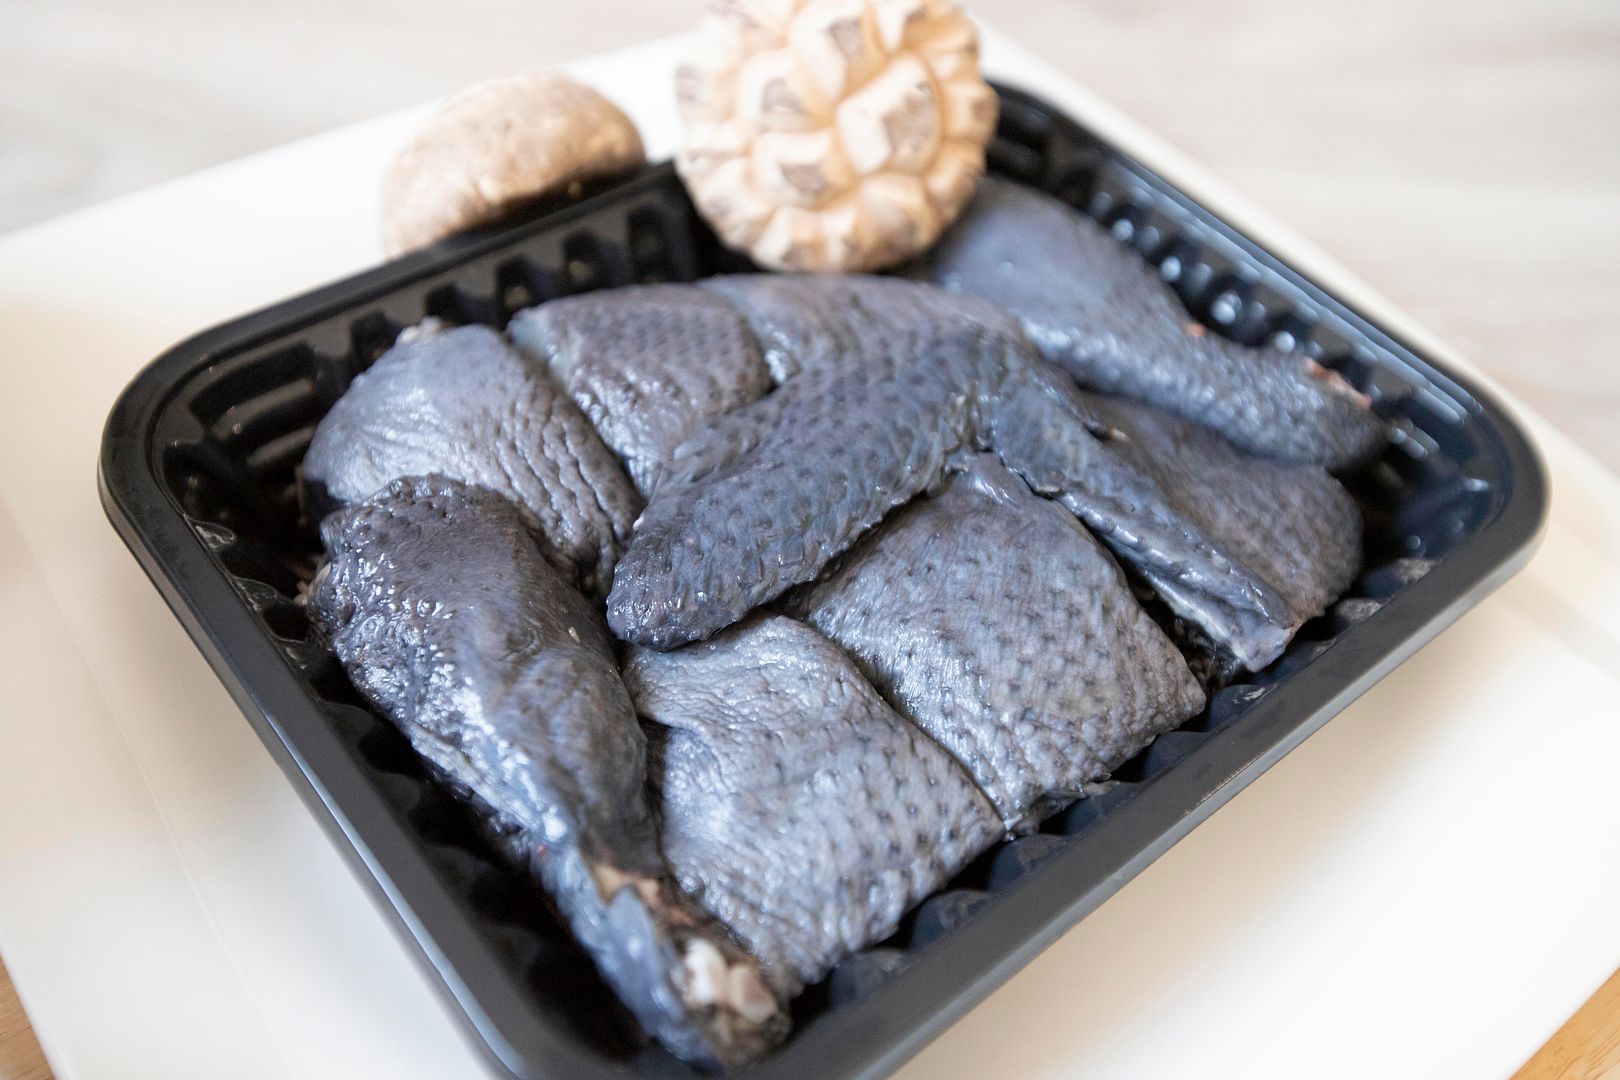
- 1/2 medium sized Silkie chicken
- 5 to 6 dried big shiitake or similar type of mushrooms
- 4 garlic cloves
- 1/4 cup goji berries
- 2 slices ginger
- 1 tablespoon sesame oil
- 5 1/2 cups water
- Some salt (if needed)
How?
Sun-dried and salt-aged radish can be kept for years, and the ones I used here probably were stored for at least 3 years.
Rinse these radishes gently then pat dry. Cut away the very bottom of dried mushroom stems if desired, rinse then soak in cold water till the mushrooms turned soft. Keep that water, need to add in to the soup later on.
Cut the chicken into big pieces. Quickly blanch the chicken and set aside for later use.
Peel the garlic cloves. Thickly slice the ginger, keep the skin on.
Prepare a clay pot and drizzle some sesame oil. Turn to medium high heat and add in garlic cloves and ginger slices. Wait till the oil gets hard and starts searing these aromatic ingredients. Sear till colored but not burnt.
Add in chicken and sear for about 30 seconds.
Pour in the water used to soak the mushrooms, extra 5 1/2 cups of water, and radishes. Bring to a boil and scoop out any brownish foam floating on the surface.
Lower the heat a little to keep it at a simmer. Cook for another 10 minutes or so then transfer the mushrooms over. Continue to simmer for about 15 minutes.
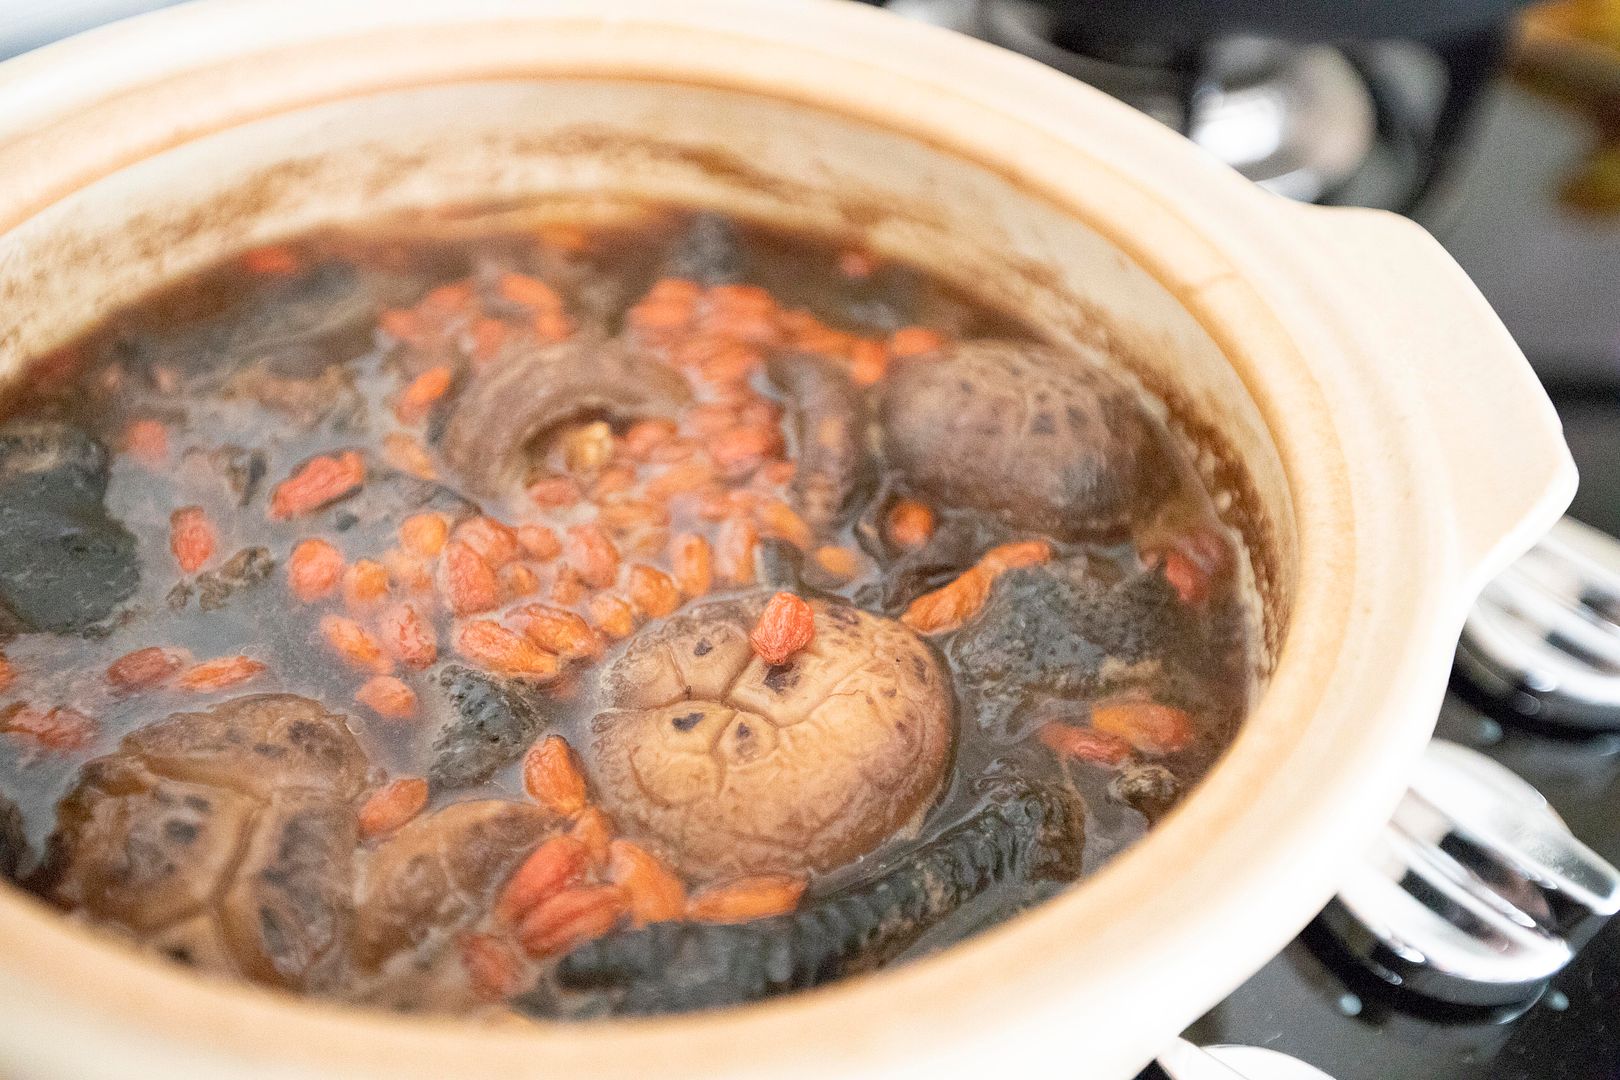
Taste and see if more salt is needed. However, the dried radishes were salt-aged, so for myself, no additional salt were needed. Add in goji berries and cook for another 5 minutes.
Goji berries are crucial, since this soup can be on the salty side, adding something sweet to the mixture can balance off the flavors. A few more dried jujubes can also be added if preferred.
Dark is great.
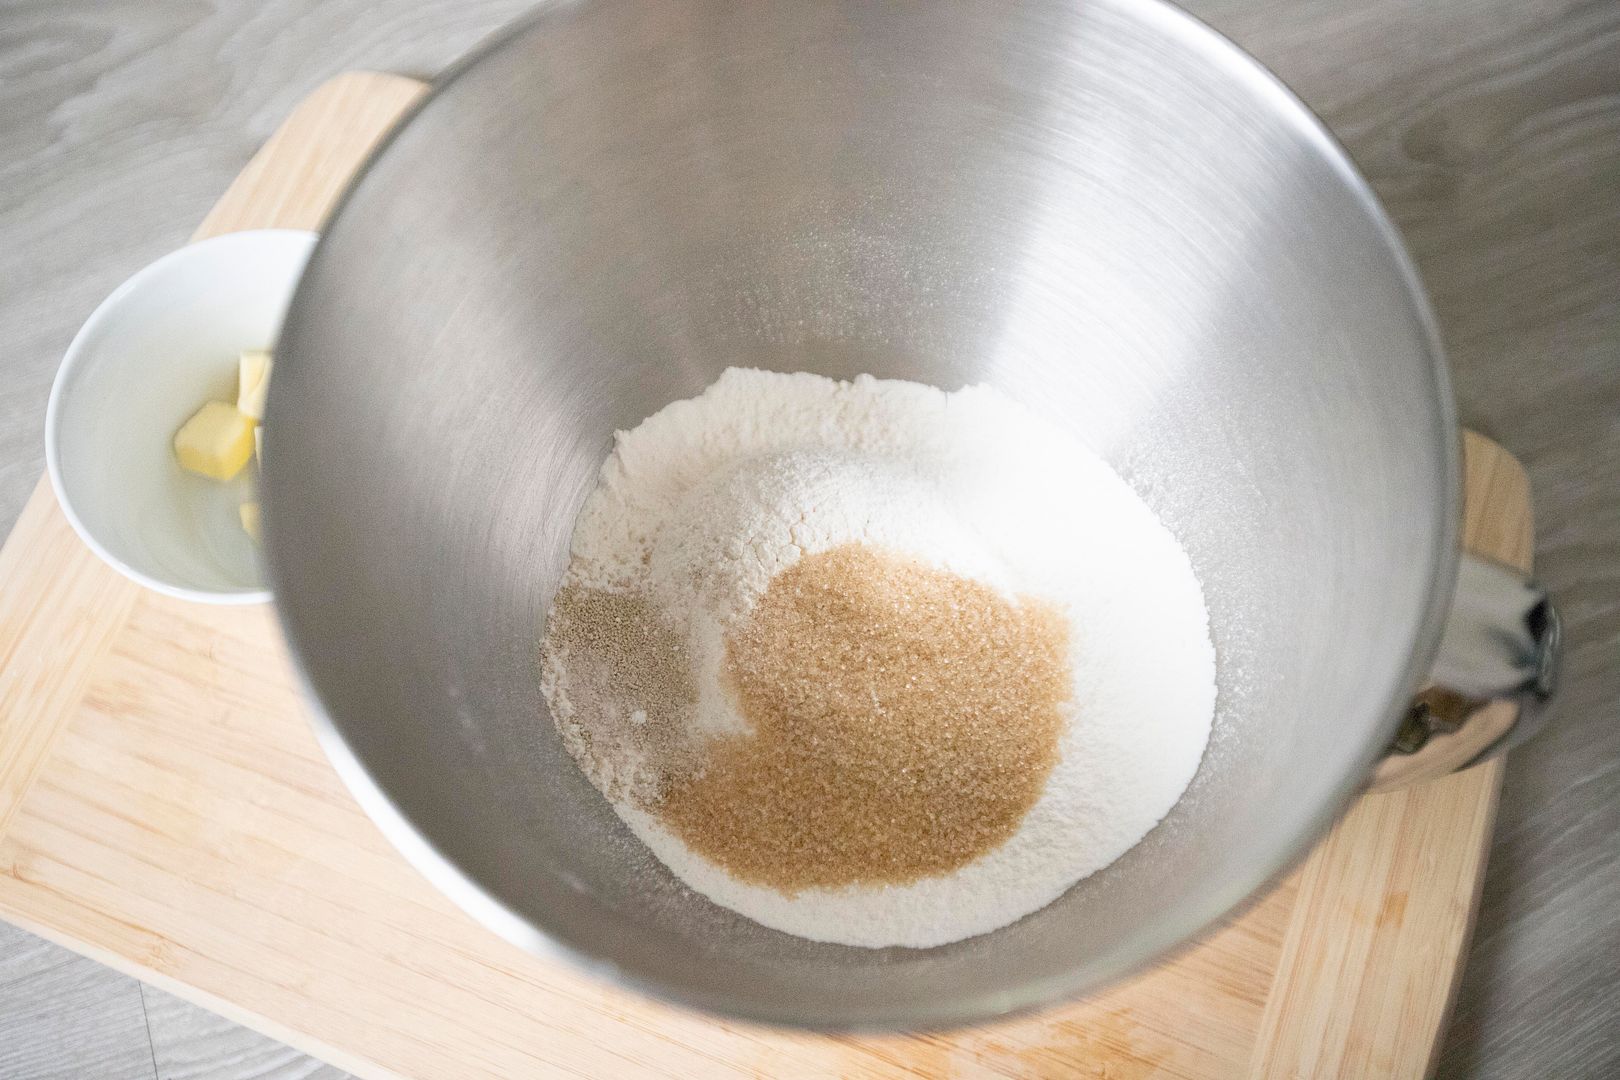
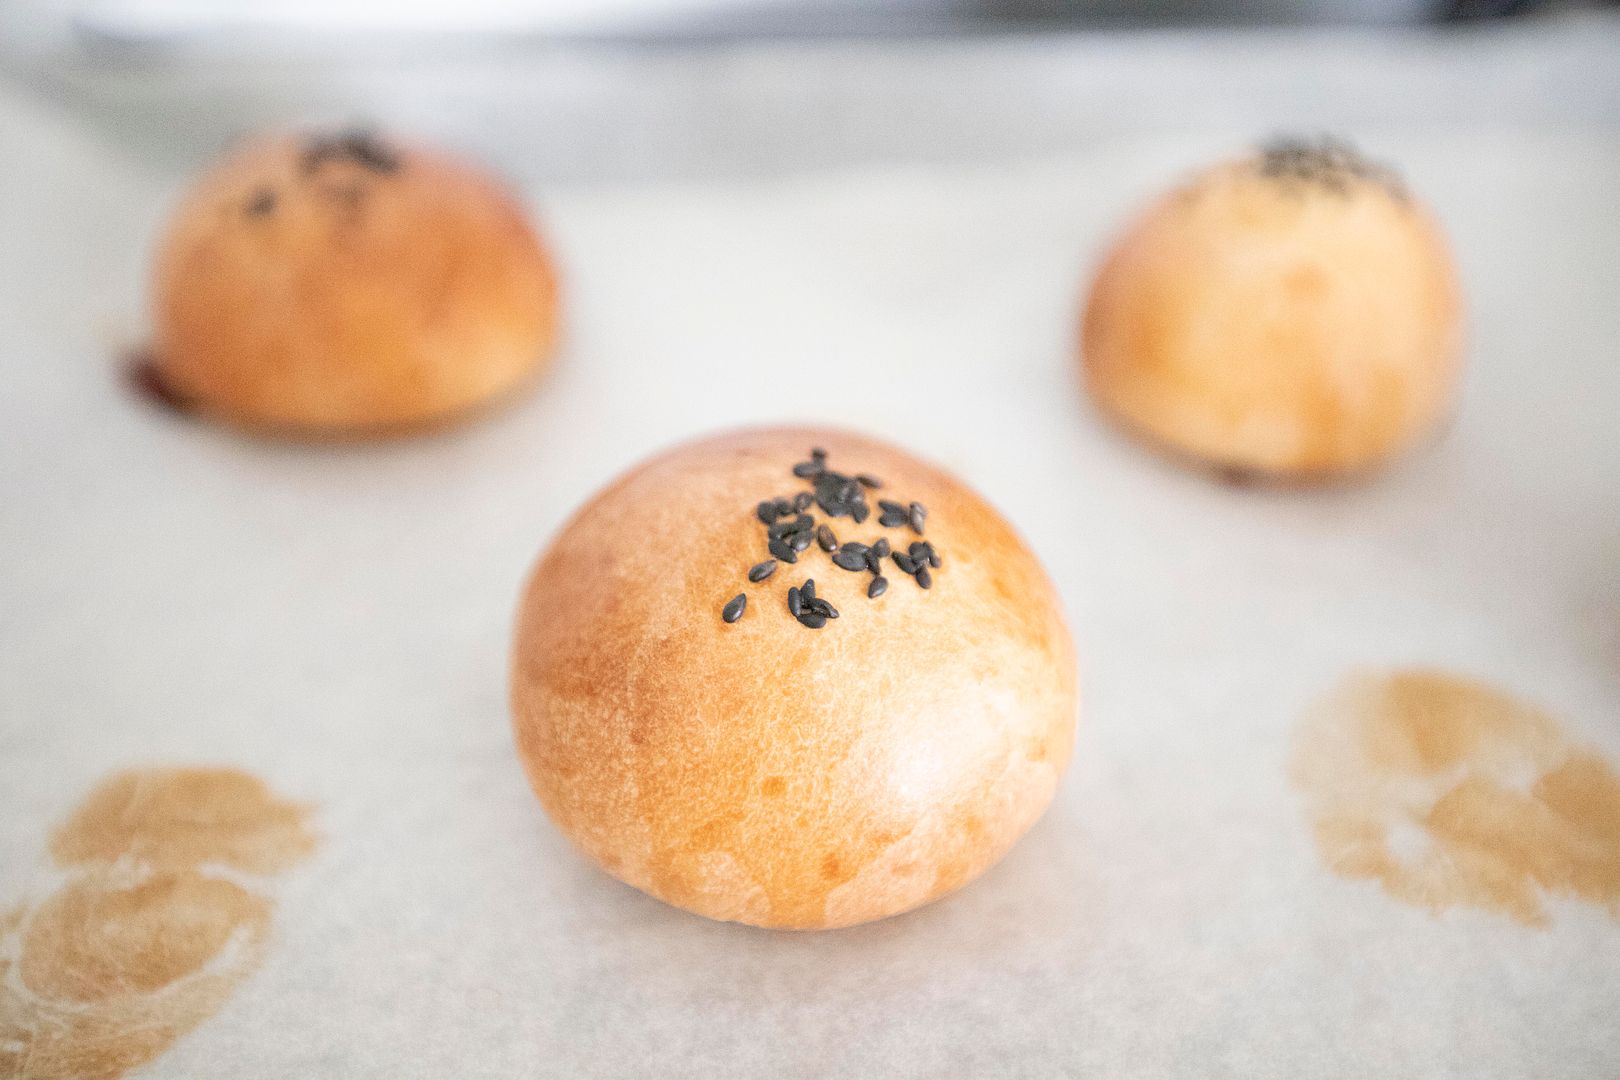
My first time making bread from scratch, not so successful but it's the thought that counts right? Said so myself.
I followed exactly all the steps from a recipe website Just One Cookbook. Well, nearly all the steps. This leads to the answer of why my red bean buns were unsuccessful?
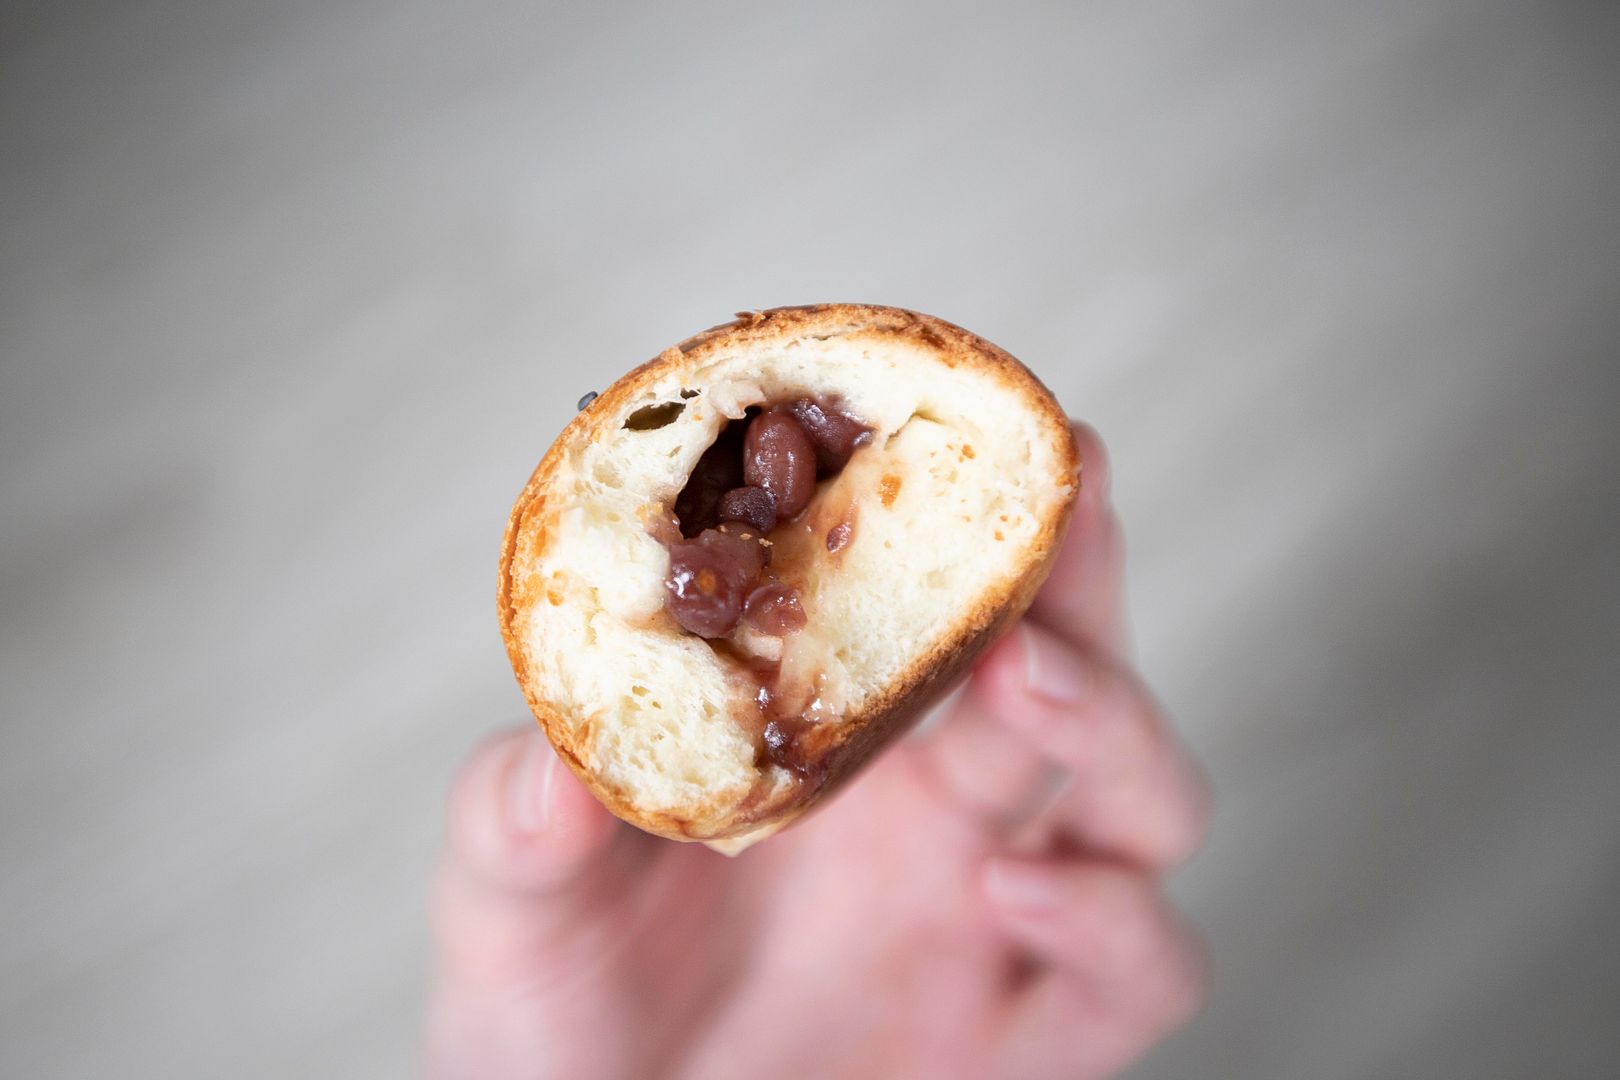
After a little investigation, it's the filling. Well, more so my slight laziness in the end. Instead of making the red bean paste from scratch, I used store-bought Japanese canned red beans. It was too watery, so the filling couldn't hold up the shape and caused serious spilling while I was trying to seal the dough.
Lessons learned.
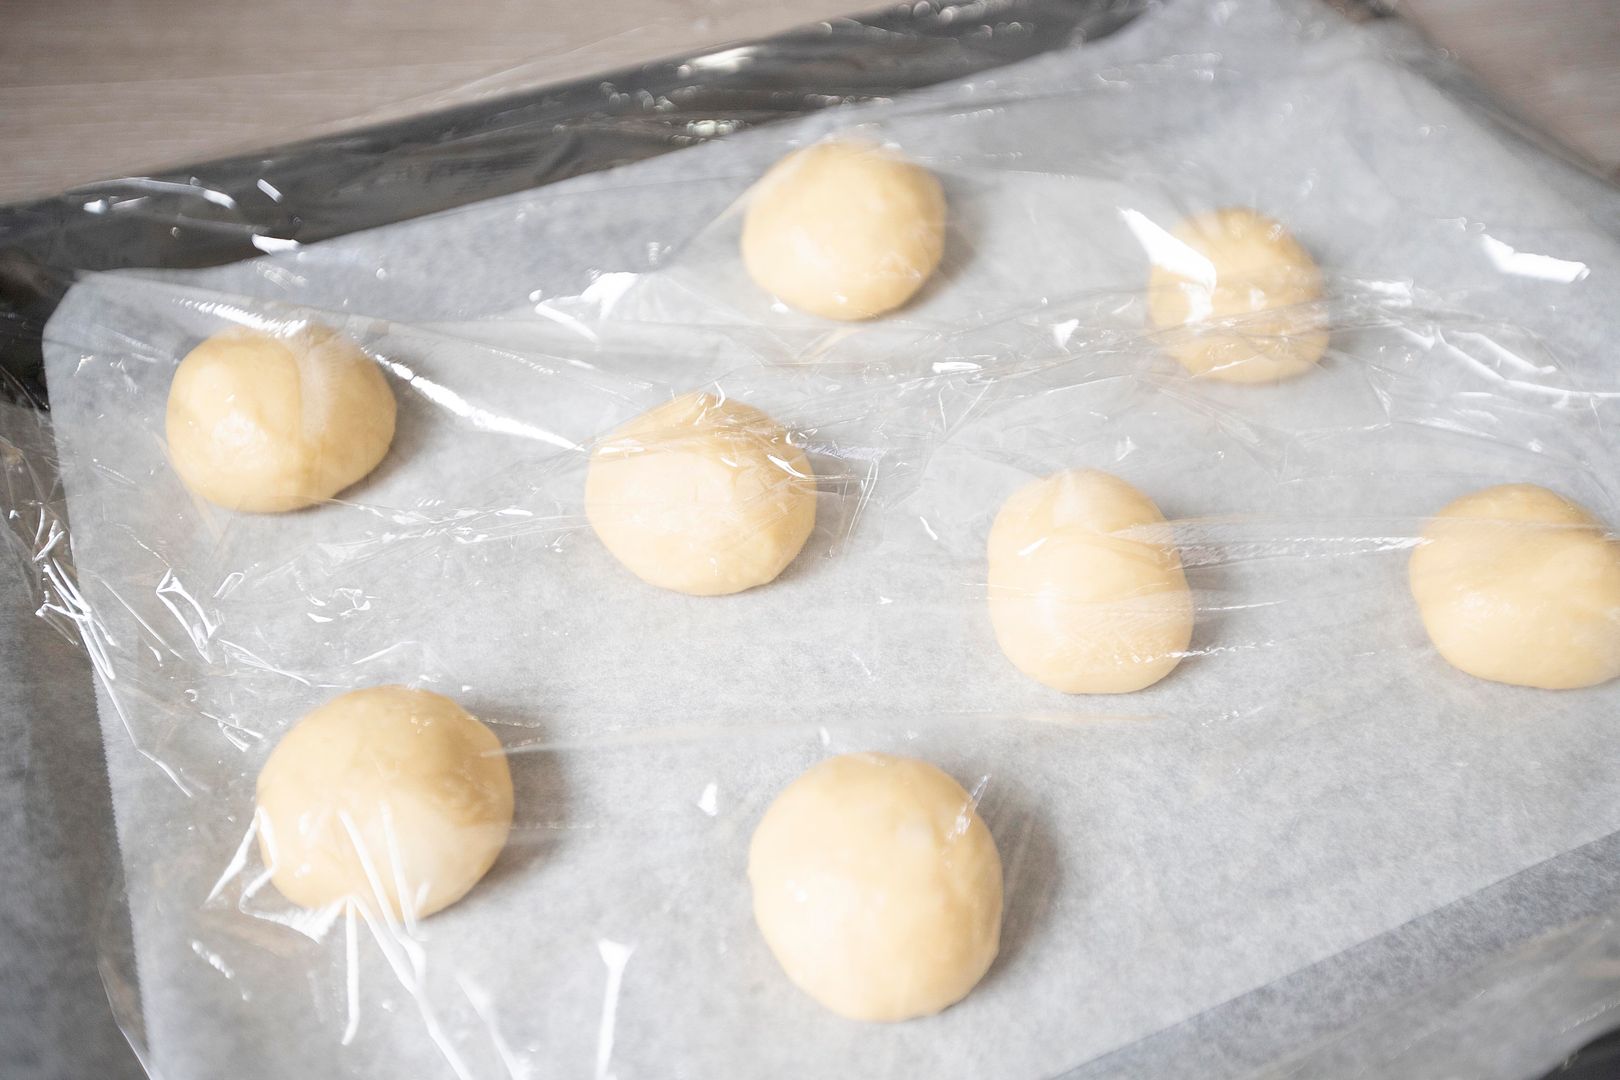
So the recipe supposed to yield eight little buns, ended up less than half of the batch were presentable, if not judging that teeny weeny filling sadly sat in the center. If anyone gets a taste of it, consider it a lucky (or unlucky) thing?
A little side effect, I didn't expect that my right forearm can get this sore after kneading the dough, and it lasted for days. But the process was fun, and hopefully one day I'll make it again, so I can restore my reputation back (if it ever existed).
Oh, and that aroma after taking the buns out from the oven, even though the taste might be mediocre, but that sweet scent in the kitchen, very comforting.
May all your kitchens smell like such happiness every day.
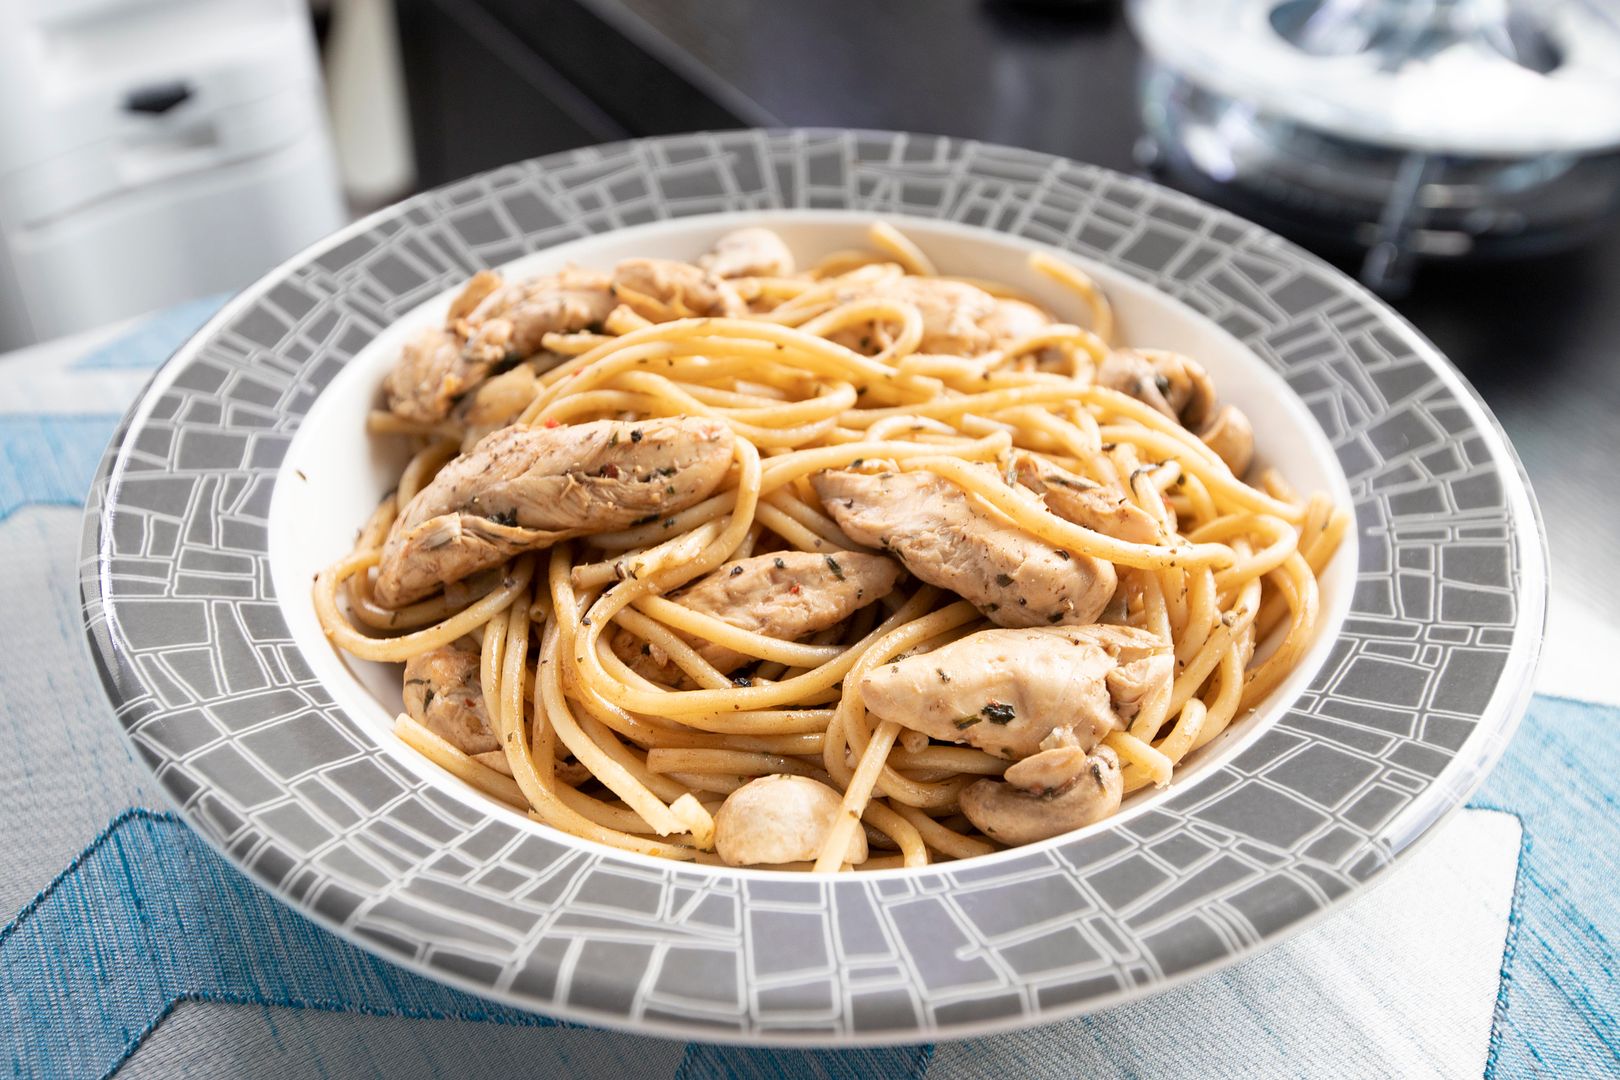
Bucatini can easily be one of my top three favorite pastas, besides tagliatelle and I can't decide on the last one. So hard to name a winner when there's so many great pasta varieties out there. As for bucatini, its hollow center can trap some sauce inside and make a great dish, but what matters the most to me is that it creates a bouncier bite, which I absolutely adore.
Tarragon and Worcestershire sauce bucatini -
Ingredients (about 5 portions)?
- 500 grams/17.6 oz bucatini
- 10 chicken tenders
- 12 to 14 button mushrooms
- 1 onion
- 2 garlic cloves
- 2 tablespoons chopped tarragon
- 1/2 cup heavy whipping cream
- 1/2 teaspoon dried mixed Italian herbs
- 3 tablespoons Worcestershire sauce
- 2 tablespoons olive oil
- 1/2 teaspoon red chili flakes
- Some salt
- Some black pepper
- 1 lemon
- Some extra virgin olive oil
How?
Prepare a big pot of water, add a few pinches of salt and wait till boiling. Once ready, transfer the pasta over and cook till nearly al dente. Drain and set aside. If timed well, the pasta should be ready when the sauce is about done too.
Peel and dice the onion. Peel and finely chop the garlic cloves. Remove tendons from chicken tenders. Zest 1 lemon and squeeze half for the juice.
Strip the tarragon leaves from the stalks and give them a fine chop. Trim the bottom stems for the mushrooms. Halve or quarter the mushrooms.
Take a big pan or another pot, drizzle some olive oil over and turn to medium high heat. Add in onion along with 1 teaspoon of salt and 1/8 teaspoon of black pepper. Give it a quick stir and cook till the onion turns translucent.
Add in chopped garlic and some red chili flakes. Cook till aromatic but not burning the garlic.
Transfer chicken tenders to the pot and sear till slightly browned on both sides.
Add in button mushrooms and cook for another 30 seconds or so.
Pour in heavy whipping cream, also add in chopped tarragon and dried mixed Italian herbs. Another 30 seconds or so, add in Worcestershire sauce, lemon juice, and lemon zest. Cook till blended, shouldn't take long.
Mix in pasta and continue to cook the whole thing till combined.
Plate and garnish with some freshly ground black pepper. Drizzle some extra virgin olive oil over if preferred.
It has a slightly minty aroma from the herbs. Even though heavy whipping cream was used, it's actually a rather refreshing dish. Of course, Tabasco is always welcomed for a spicy kick.
Other bucatini recipe: