Healthy or not?
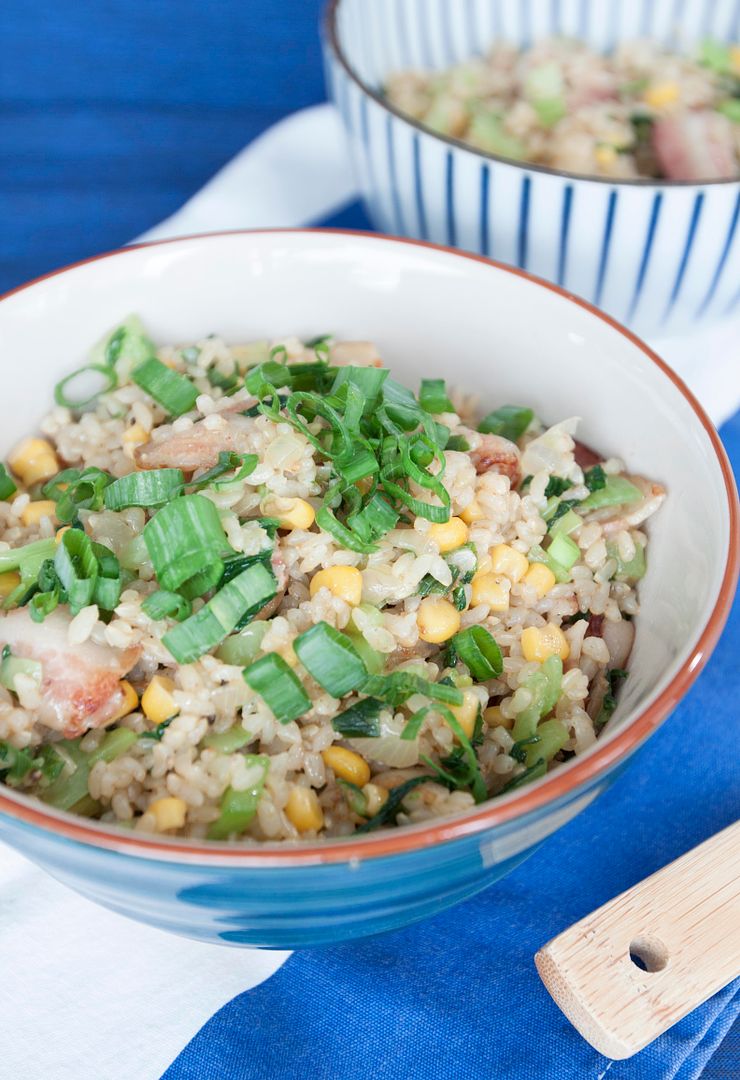
This recipe uses nutritious brown rice and some veggies. However, instead of olive oil, bacon fats and sacha sauce overtook the main flavors. I call it a compromise, healthy in a way but not giving up the aromatic kick from the seasonings.
Brown rice stir fry with bacon and sacha sauce -
Ingredients (3 to 4 portions)?
- 2 cups uncooked brown rice
- 1 pack/190 grams thick cut bacon
- 1 cucumber (the skinny or smaller kind)
- 1 small onion
- 3 bak choy
- 1 stalk scallion
- 1 1/2 tablespoons sacha sauce
- 1/2 teaspoon Sriracha sauce
- 1/2 teaspoon salt
- 1/4 teaspoon black pepper
How?
Cook the rice using slightly more water than usual. Once done, fluff the grains and set aside for later use. Leftover brown rice works too.
Cut the bacon strips into smaller pieces.
Trim of the bak choy stems and chop the remaining into smaller cubes. Peel and dice the onion into smaller cubes, the same goes for the cucumber. Trim off the scallion stem and chop the remaining, separate the white section and the green section.
Prepare a big pan and add in the bacon pieces, turn to medium high heat. Cook till the fat renders but not over burning the bacon. Keep 2 tablespoons of fat and scoop out extra oil for future use.
Turn to high heat. Add in onion, white section from the scallion, salt, and black pepper. Give it a quick stir and cook till the onion turns translucent, preferably till the edges turned slightly browned.
Add in cucumber and cook for about 30 seconds. Add in chopped bak choy, sacha sauce, and Sriracha sauce. Mix well and cook for another minute or so. Taste the mixture and see if more sacha sauce or salt are needed. It should be on the saltier side because the flavor dilutes once the rice is mixed in.
Mix in cooked rice in two batches. Make sure all the grains are coated with the seasonings. Brown rice is not as sticky as white rice, so clumping shouldn't be an issue here.
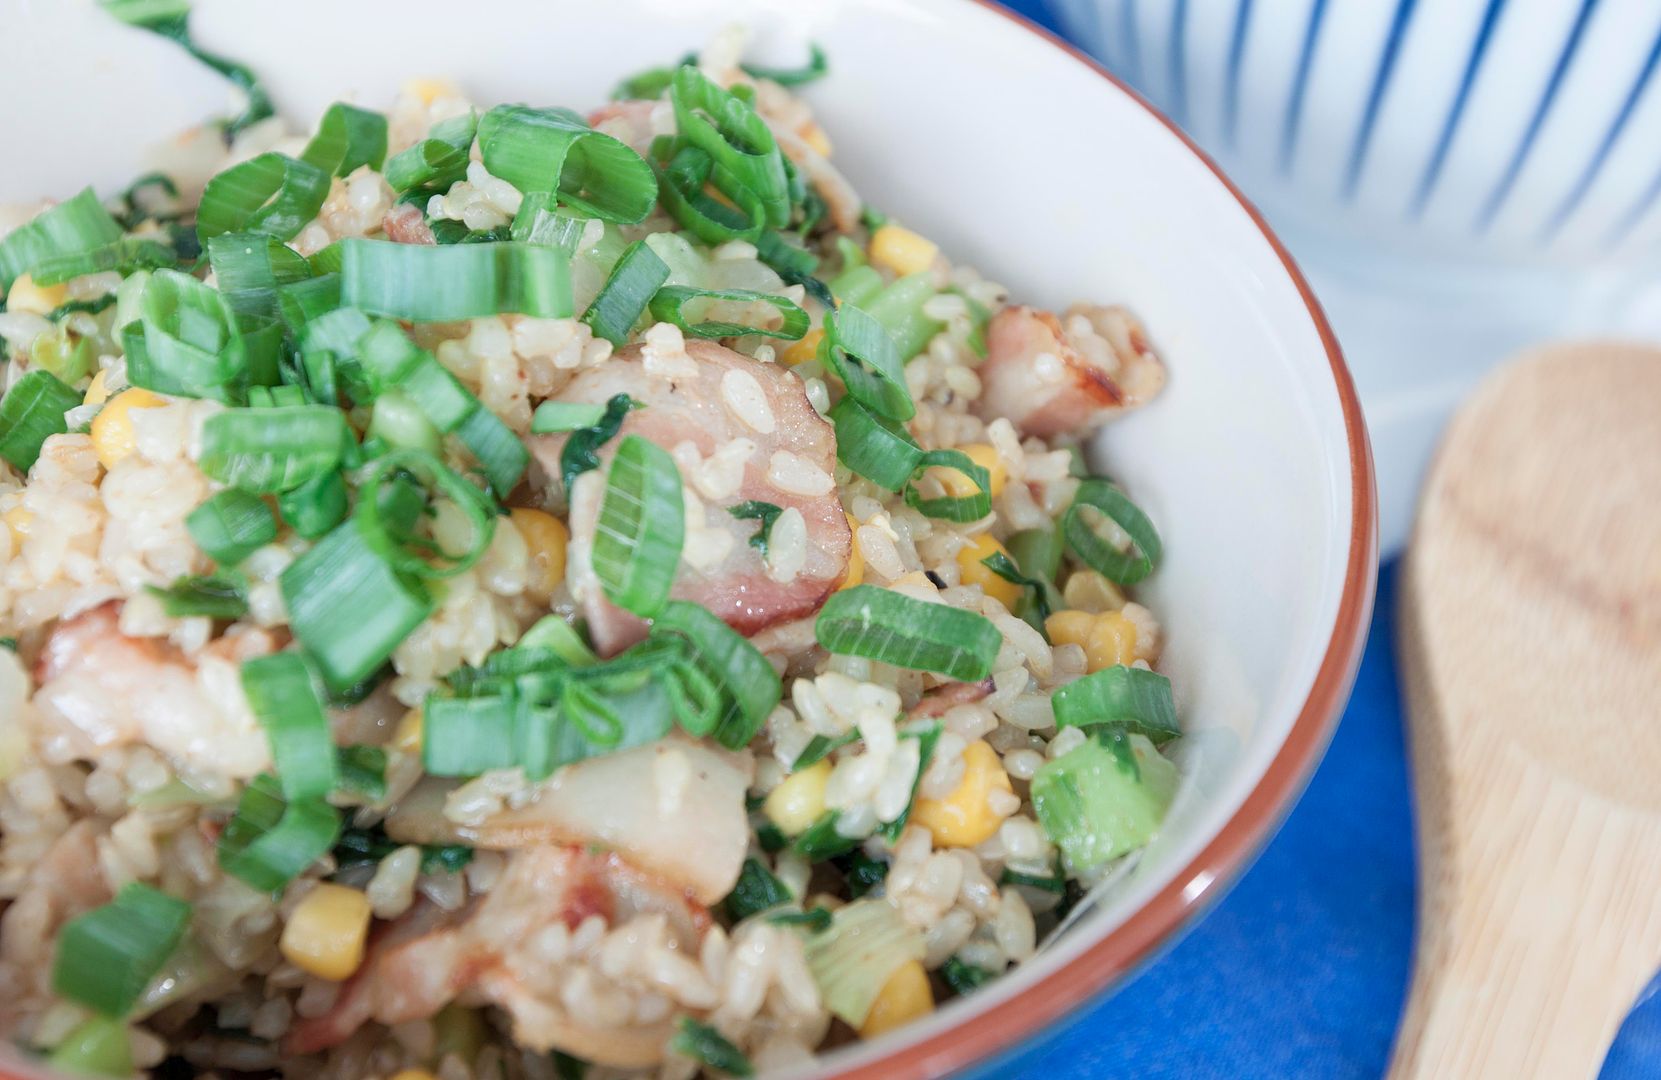
Once ready, plate the fried rice and garnish with the green parts of the scallion saved earlier. Serve with even more Sriracha sauce or white pepper powder if desired.
Using bacon fat instead of olive oil actually works even better with brown rice. The mouth coating texture along with aromatic fat give the grains a more luscious bite, especially brown rice can sometimes be on the dryer, chewier side.
Other fried rice recipes:
Usually I'll simply spread some peanut butter and jelly on the toasts and start digging in. However, when time is not a concern, just couple extra steps can totally level up this all time comforting snack.
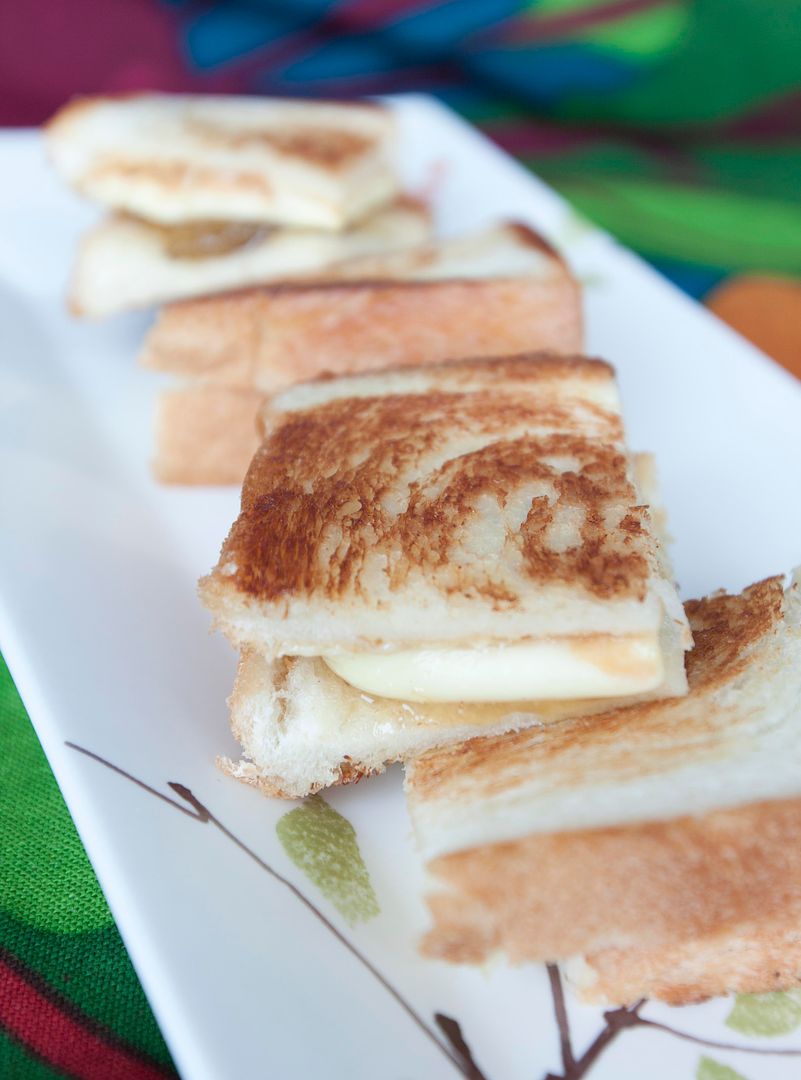
Peanut butter and jelly sandwich 2.0 -
Ingredients?
- 2 slices plain or wheat toasts
- 2 milky cheese squares
- 1 tablespoon unsalted butter
- Some peanut butter
- Some fig preserve
How?
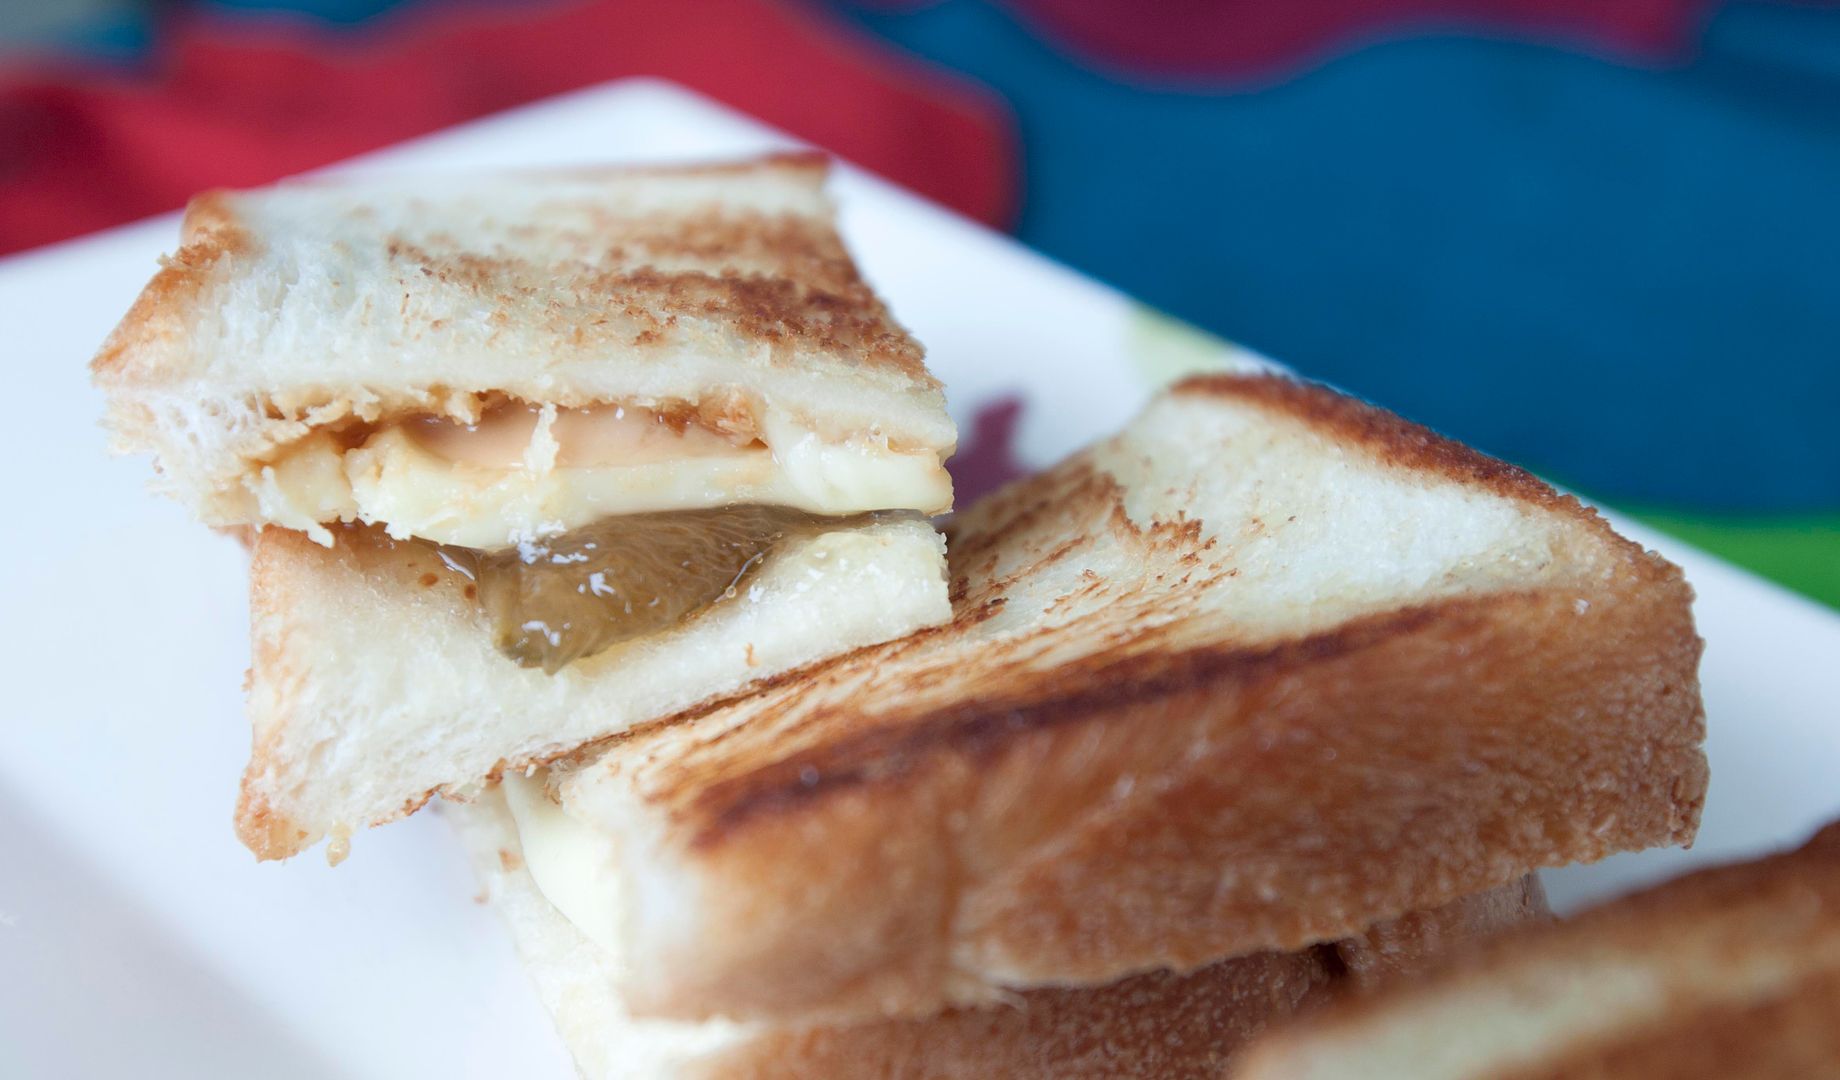
Lightly toast the bread slices. Take one toast slice and spread some peanut butter; take the other slice and spread some fig preserves or other preferred jelly.
Add 1/2 tablespoon butter to a nonstick pan and turn to medium heat. Once melted, transfer the toast with peanut butter over to the pan, un-spread side down. Quickly add the cheese over then top with the other toast, jelly side down this time.
Sear till the bottom of the toast turned slightly browned, push sandwich to the side and add the remaining butter. Flip the sandwich and sear the other side of the toast till colored. You can also use a grill pan but make sure to press down the sandwich with a spatula for better grill marks.
Slice into smaller serving portions if desired.
It doesn't really show on the picture but the cheese actually oozes into my mouth, giving this creamy sensation on top of salty peanut butter and sweet fig preserves. Only missing a cup of nicely brewed coffee to round up this afternoon snack.
Other sandwich recipes:
Nowadays you can find a wide assortment of tofu products down the aisle, even at a western grocery store. Let it be silken tofu, semi-firm tofu, or seasoned dried bean curd, soy products can come in all shapes and sizes.
In the case of all natural, no preservatives used varieties, these tofu products can turn sourish in as fast as two days. In order to keep the best tofu at home, I tend to keep the ones that can be stored in the freezer whenever possible.
Fried bean curd skin and firm tofu are freezer friendly because their shape and texture remain pretty much the same after storing in very low temperature. However, do avoid silken tofu and dried bean curd because the liquid inside will expand and ultimately alter the intended texture.
Braised bean curd skin in 20 minutes -
Ingredients?
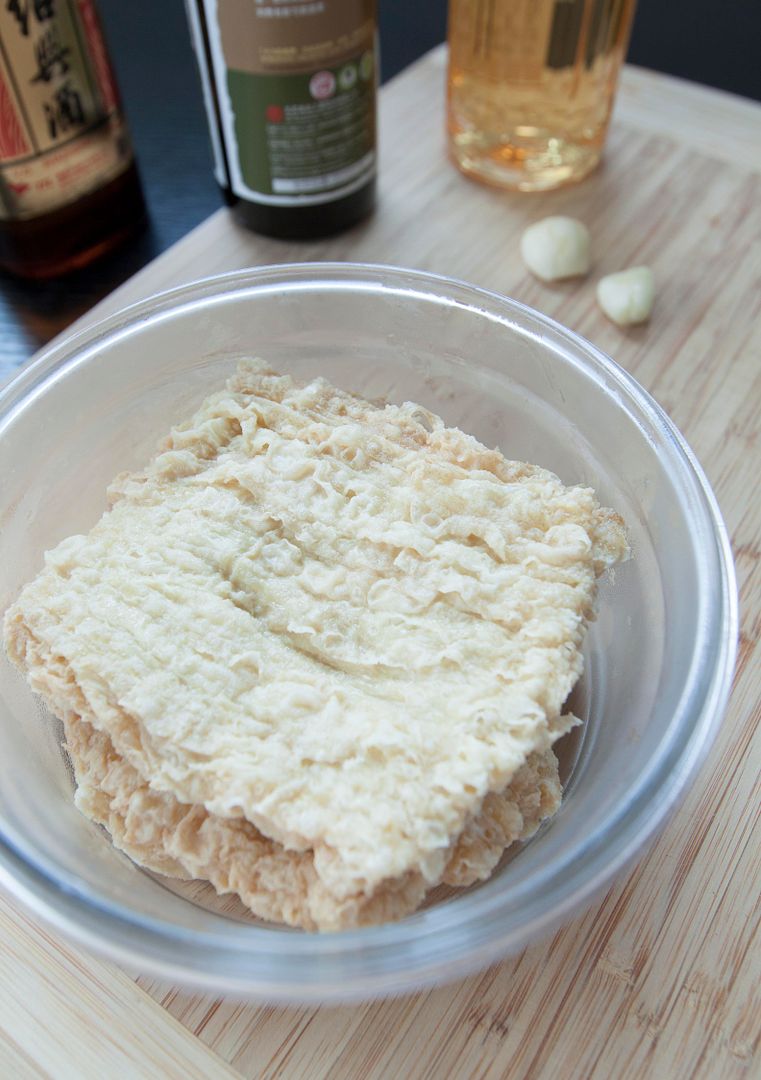
- 4 big pieces fried bean curd skin
- 2 garlic cloves
- 1 red chili
- 2 pieces crystal sugar
- 6 tablespoons water
- 2 tablespoons soy sauce
- 1 tablespoon black bean soy paste (thicker version of soy sauce)
- 1 1/2 tablespoons aged Shaoxing wine
- 1 tablespoon mirin
- Some sesame oil
- Some toasted white sesame seeds
How?
Quickly soak the fried bean curd skin in hot water to draw out some excess oil. No more than one minute, drain, pat dry, and set aside for later use.
Use a big flat surfaced pot so all four bean curd skins can all evenly soaked in the sauce. Add in the soy sauce, thicker soy sauce paste, peeled garlic cloves, chili sections, mirin, Shaoxing wine, and crystal sugar. Bring to a boil and make sure the sugar is fully dissolved.
Add in the bean curd skins. Bring to a boil again then lower the heat to keep it simmering. Flip the bean curd skin once a while to make sure both sides are browned evenly.
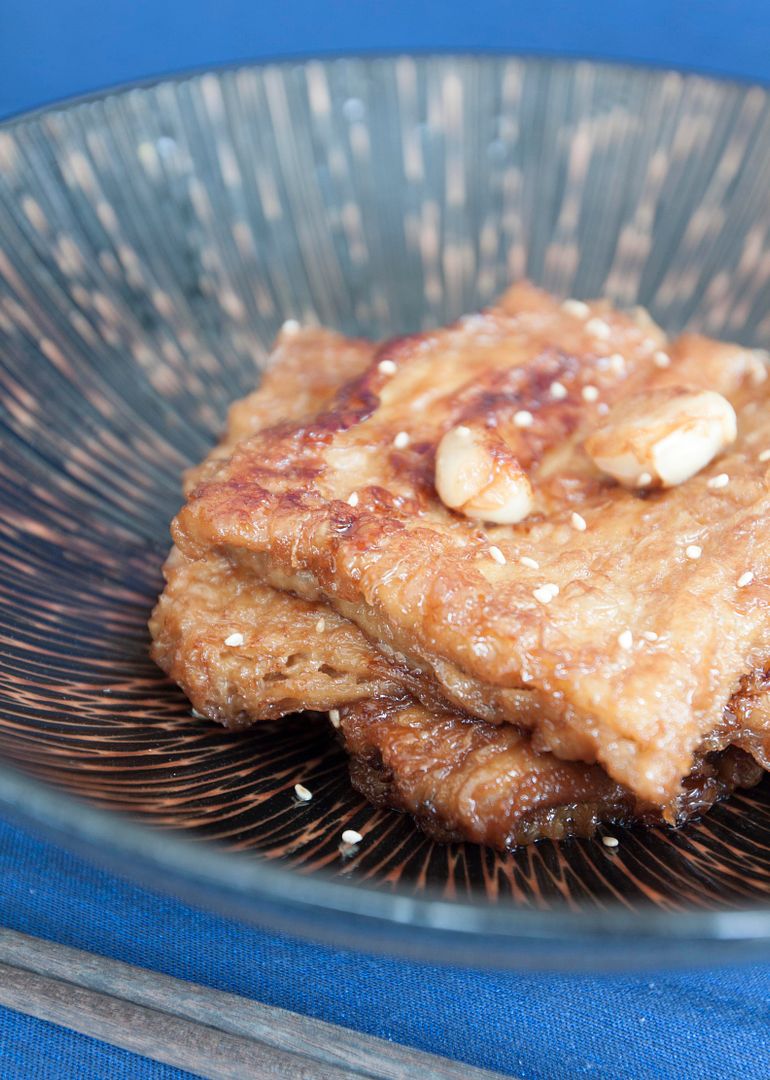
Cook till all the sauce has been absorbed and the bean curd skins are about to get burnt. Quickly drizzle just a little sesame oil before removing the bean curd skins from heat. Garnish with toasted white sesame seeds.
You can serve the bean curd skin as it is or cut into big strips, perhaps with extra red chili sections if preferred.
On a side note, why not give it a try and take a box of silken tofu, drain out the water, cut in big cubes then store in the freezer. See how the tofu turns from silky to porous, which can be a good addition in Chinese stew or soup dishes.
Other no fuss cooking Asian food recipes:
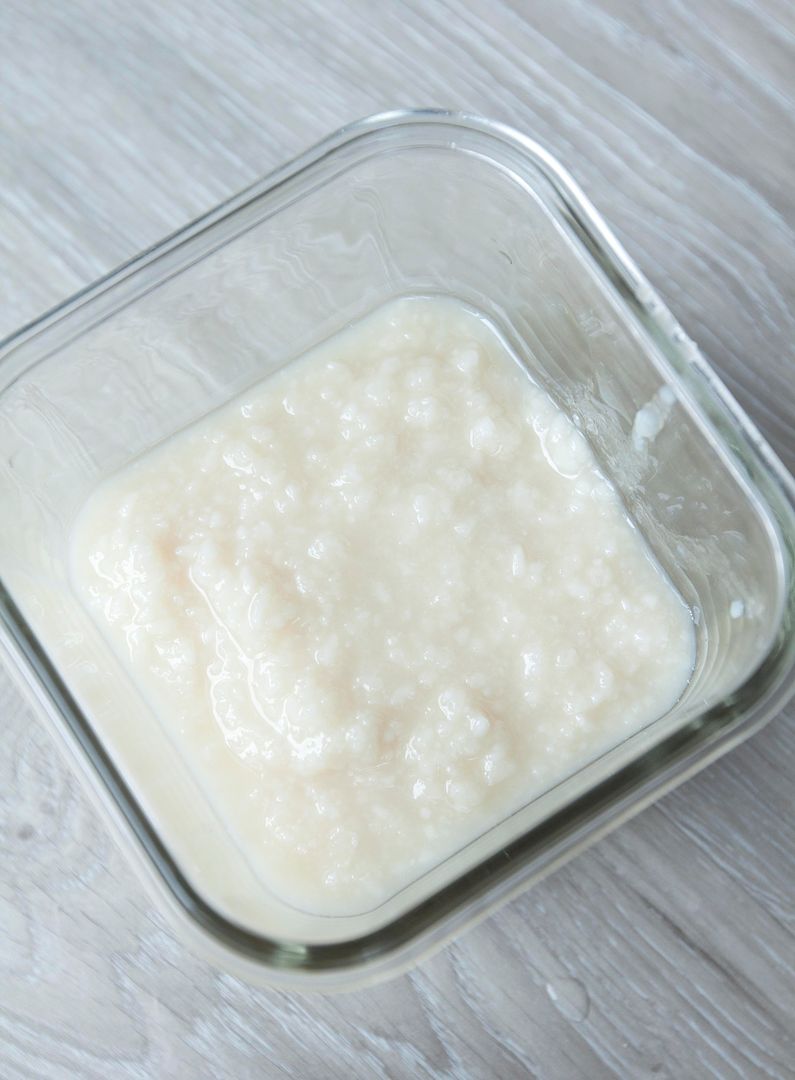
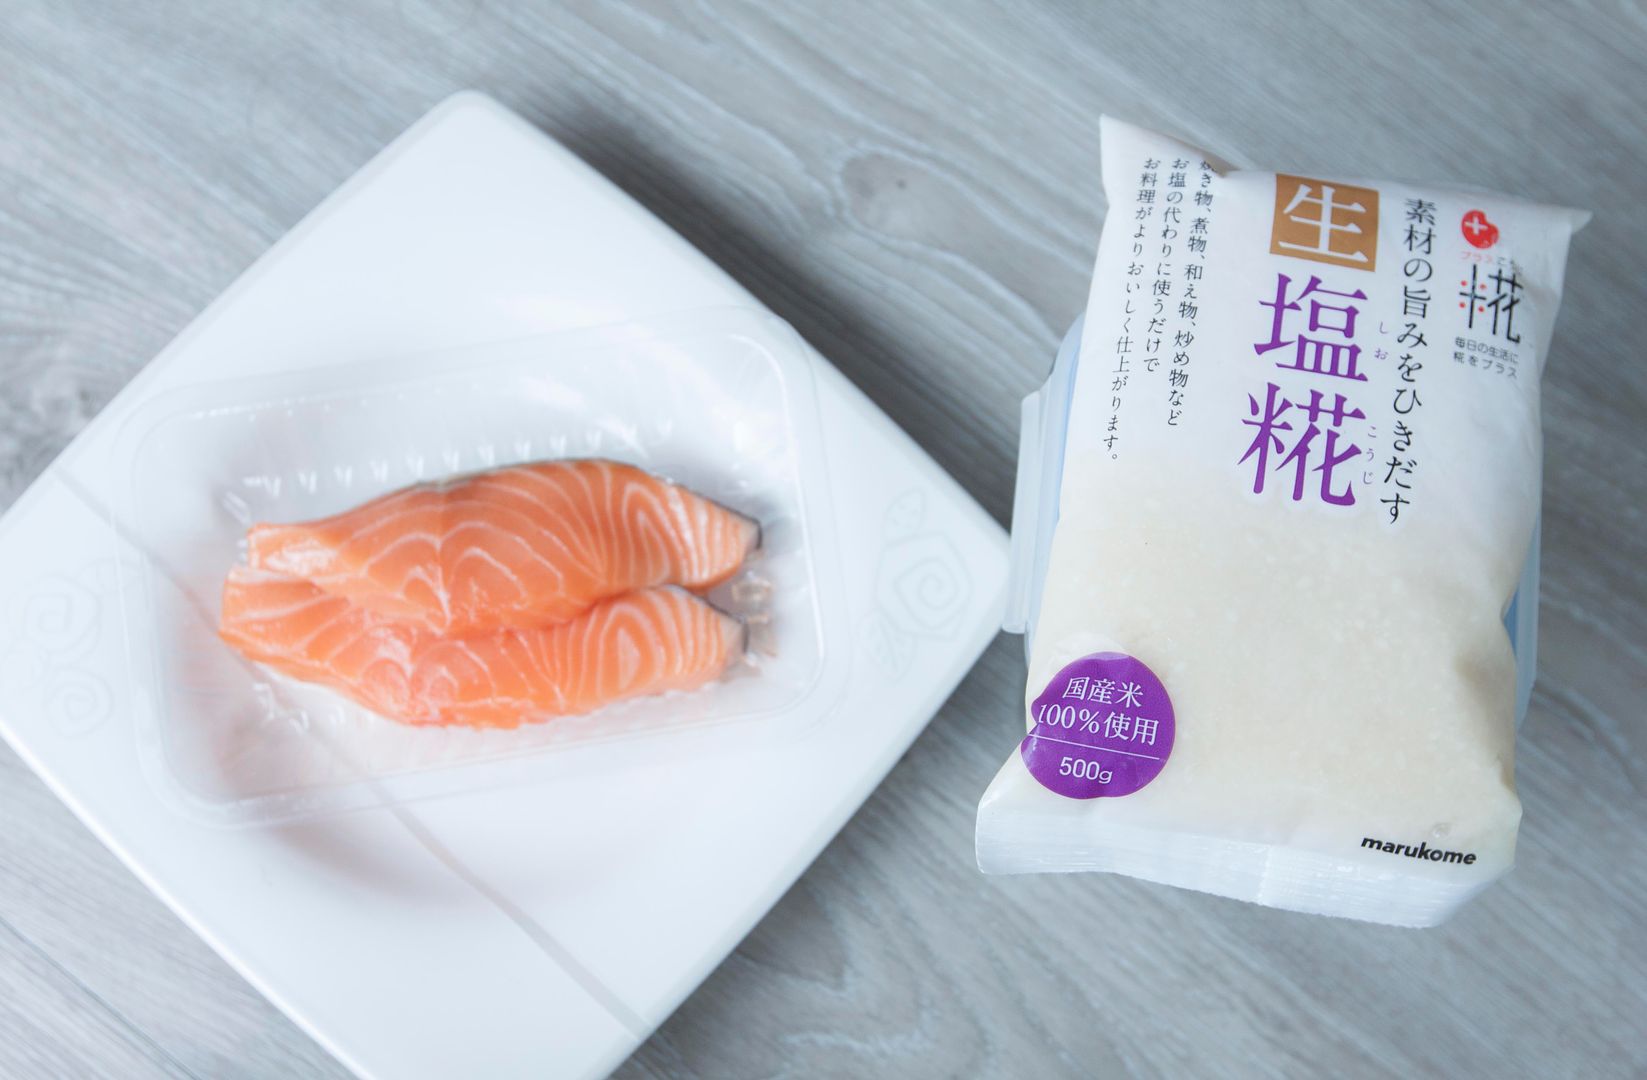
Shio koji has been one of the popular and healthy ingredients in Japanese kitchens. It's basically fermented rice that can serve as a great substitution for salt and MSG. While some add shio koji in stir-fry dishes, the easiest way is to use it as a marinade.
Just like the recipe below, which might be the shortest ingredient list even posted on this blog. All you need are some kind of protein and shio koji, marinate overnight then you'll have a light yet flavorful dish in no time.
Shio koji marinated salmon fillet -
Ingredients?
- 2 thin slices salmon fillets
- 1 1/2 tablespoons shio koji
- Small pinch toasted white sesame seeds
How?
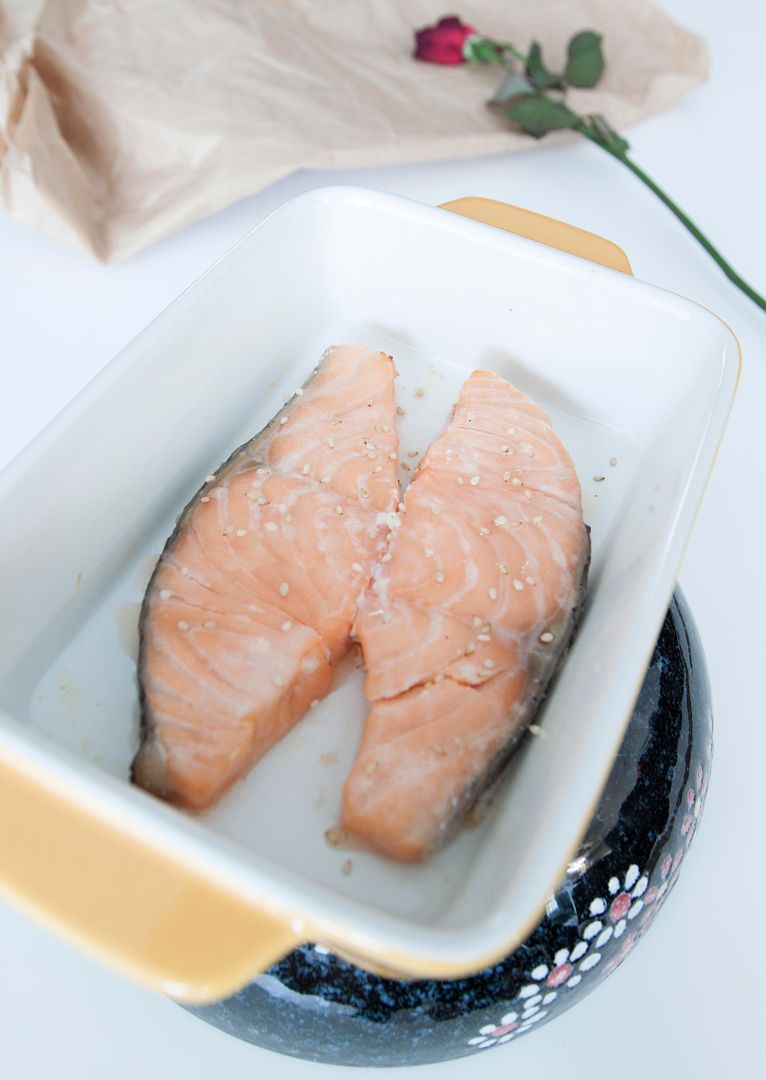
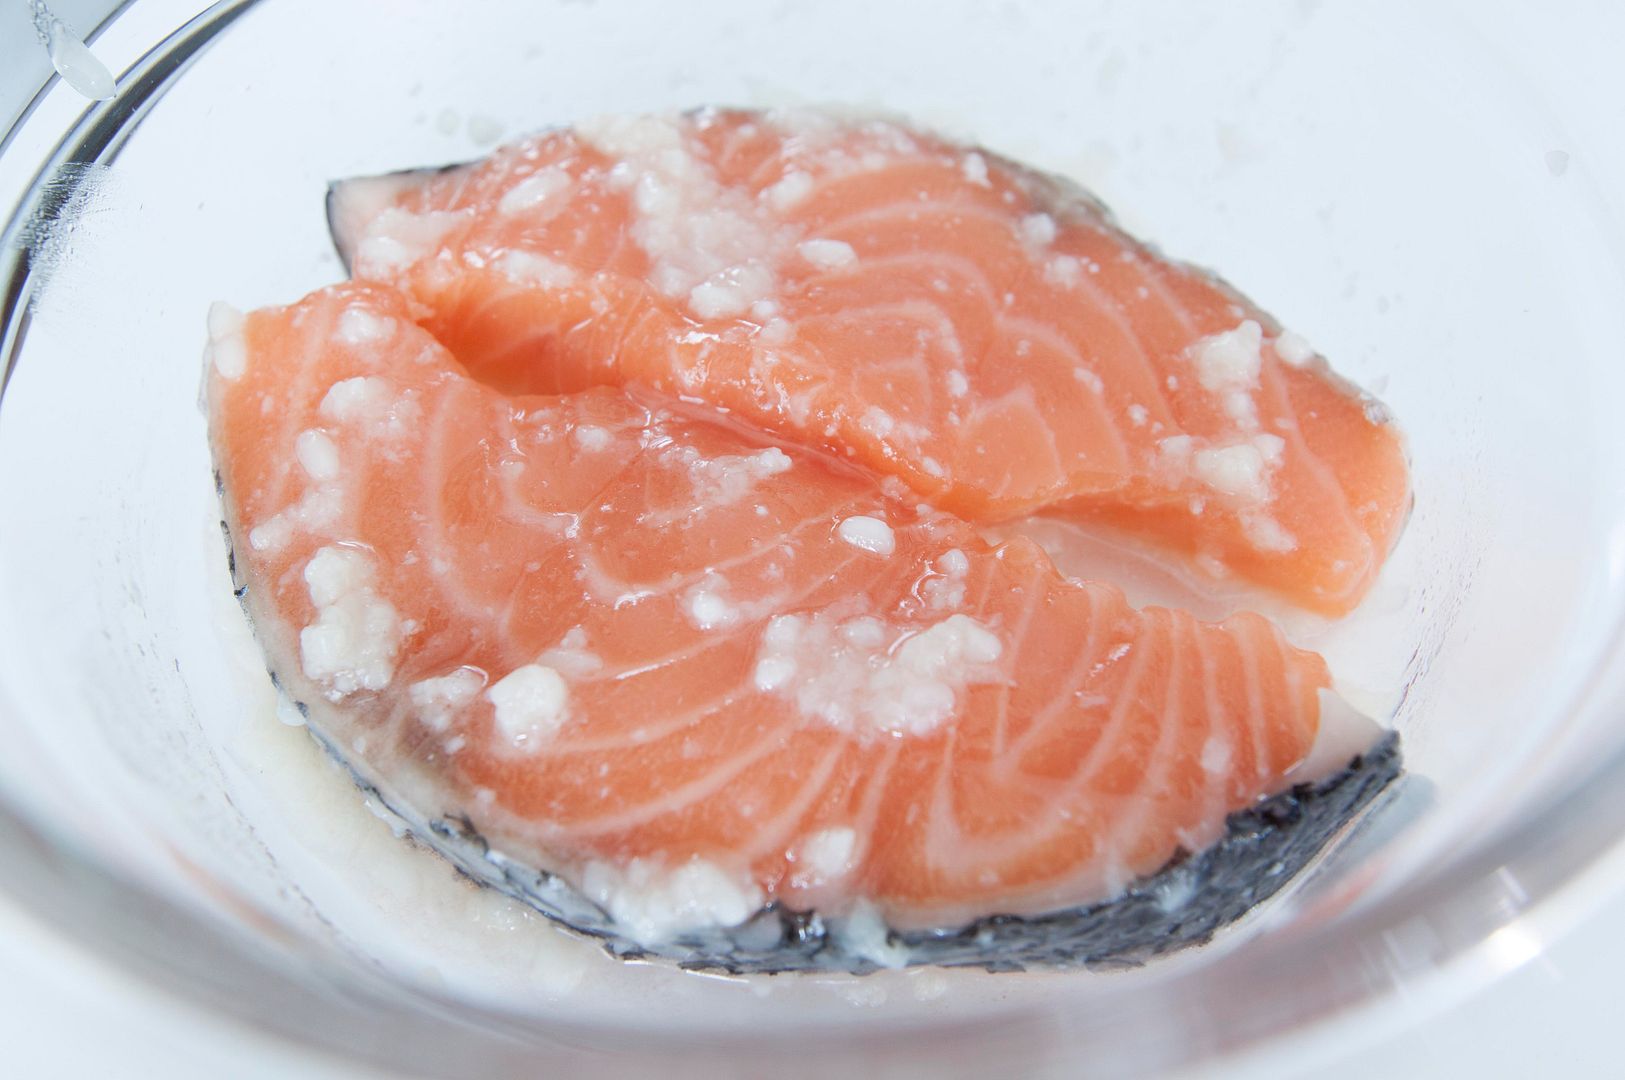
Marinate the salmon fillets with shio koji, make sure to rub on both sides. Cover with foil or close the lid then store in the fridge over night.
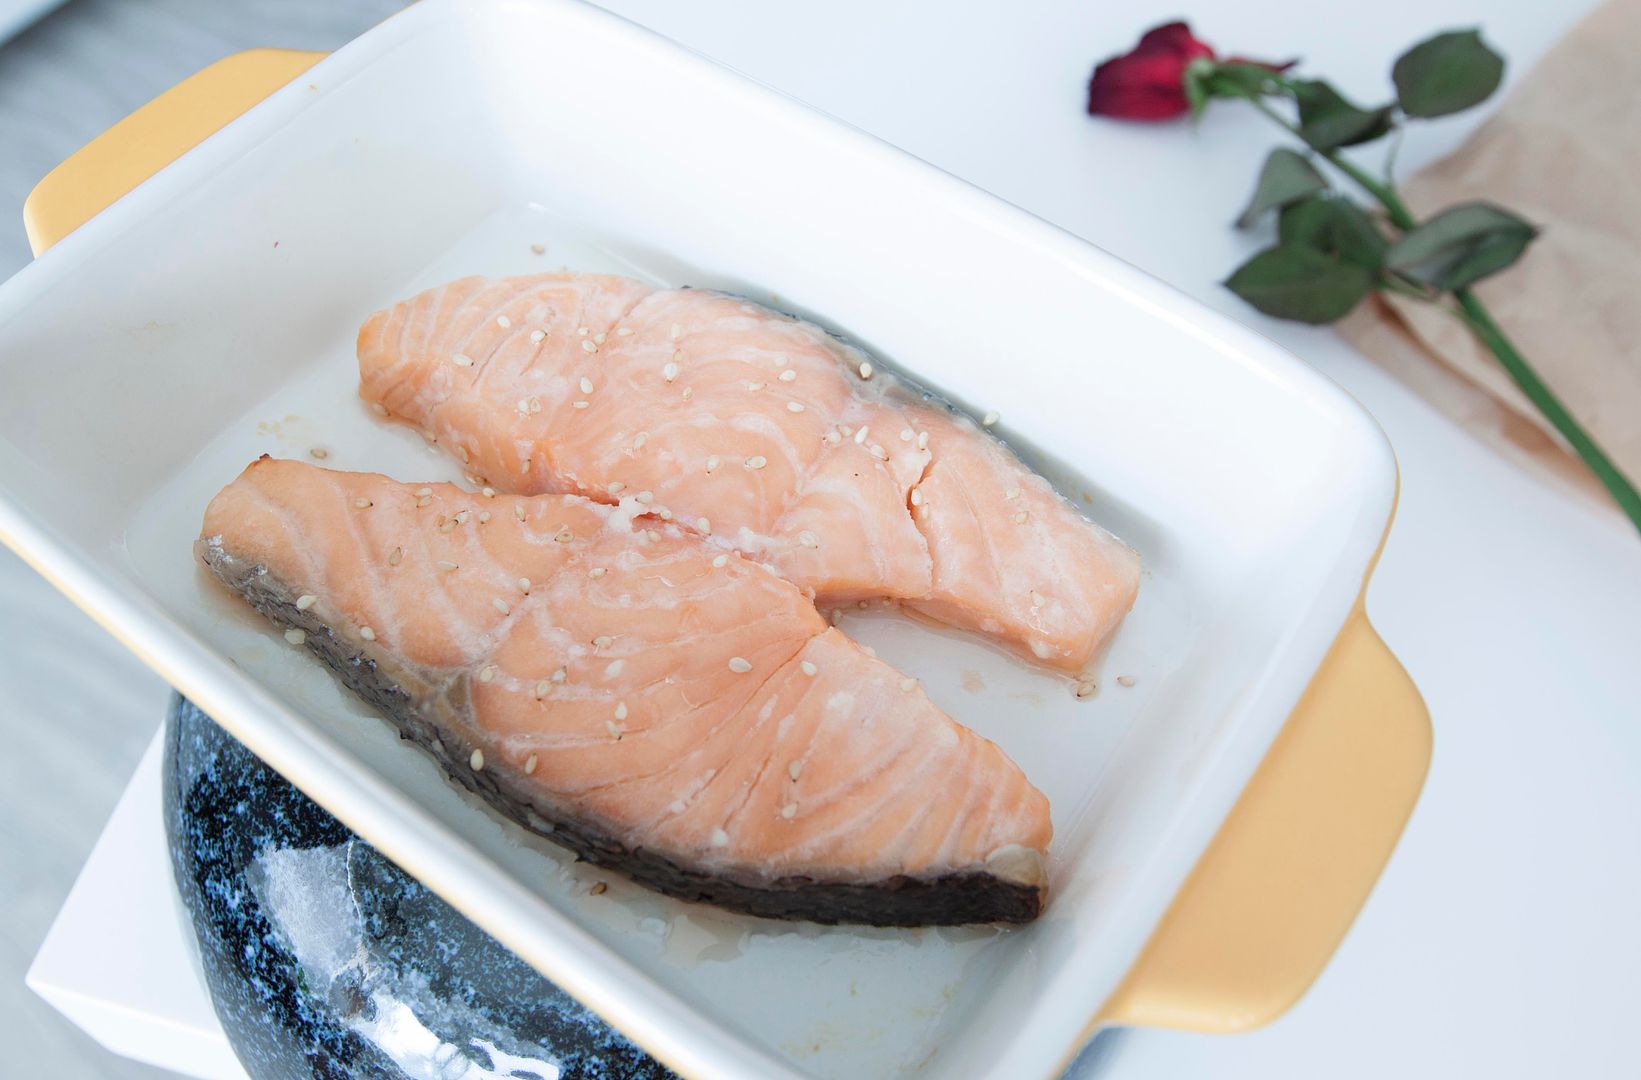
You can sear or bake the fillets, just make sure to rub off the grains before cooking to prevent the rice from burning. For easy cleaning purpose, I decided to bake the fish with open top foil for about 12 minutes under 375 degrees Fahrenheit.
Sprinkle some toasted white sesame seeds once ready. Preferably to serve the fillets as main entrée along with other Asian side dishes over steamed rice.
Other no fuss cooking Japanese food recipes:
Storing a couple canned pâté has becoming a recent habit over the past year. It's such a great helper when I'm trying to come up with a quick and semi-fancy dish or even just indulge a little by myself.
This recipe still use store bought canned pâté, but I'm seriously thinking about making my own version of chicken pâté or pâté de foie gras in the future, can't wait for it to happen!
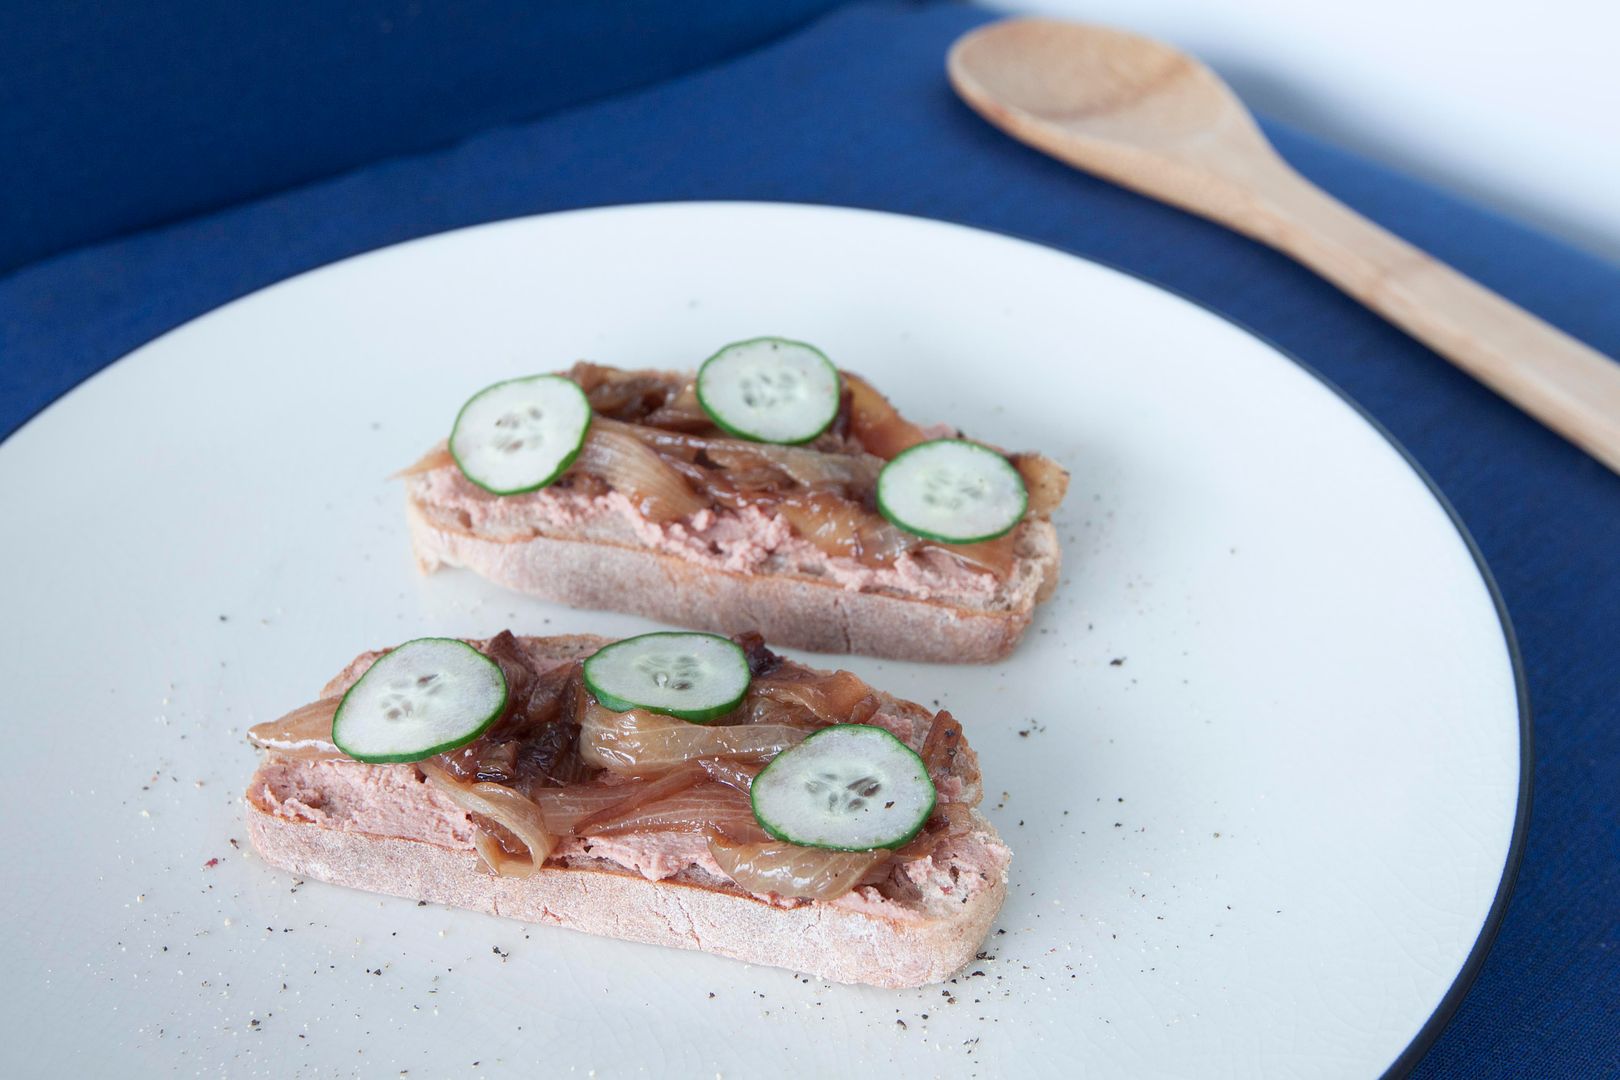
Mixed pâté and caramelized onions served on toast -
Ingredients (for 4 servings)?
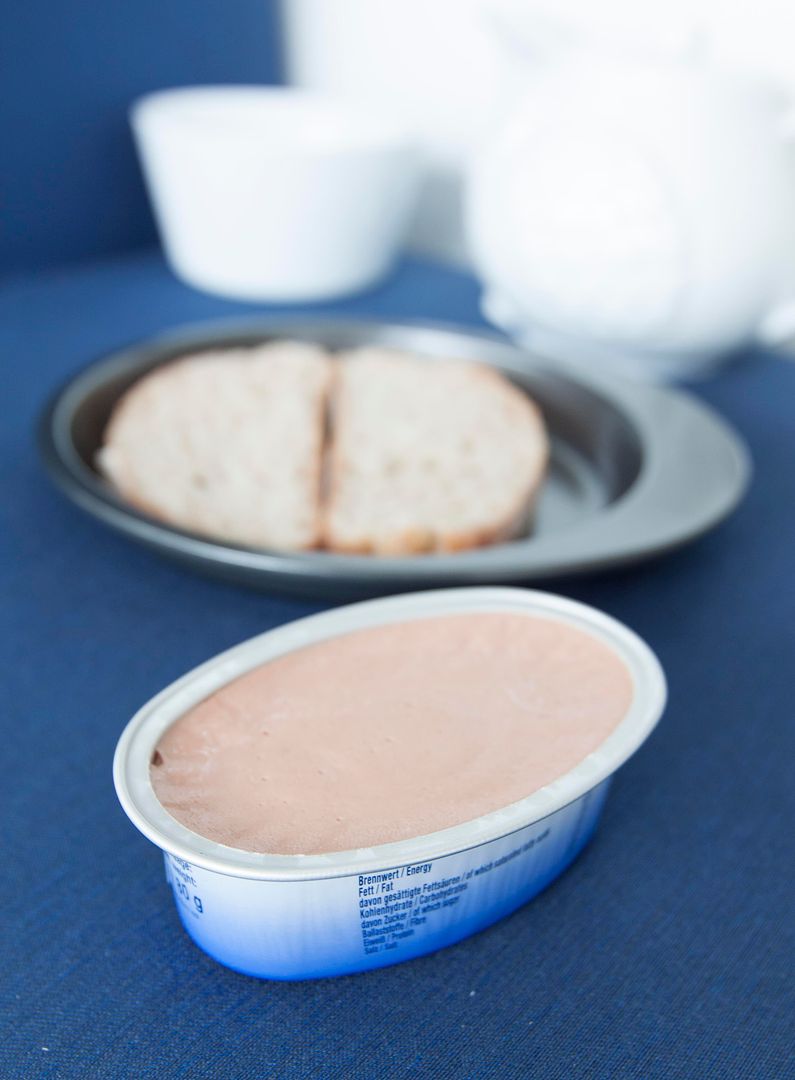
- 1 small can/80 grams pâté
- 4 big slices/6 medium slices simple bread (rye or sour dough preferred)
- 1/2 medium onion
- Short section cucumber
- 2 tablespoons olive oil
- 1/2 teaspoon balsamic vinegar
- 1/8 teaspoon salt
- Some rainbow peppercorn
- Some fleur de sel
How?
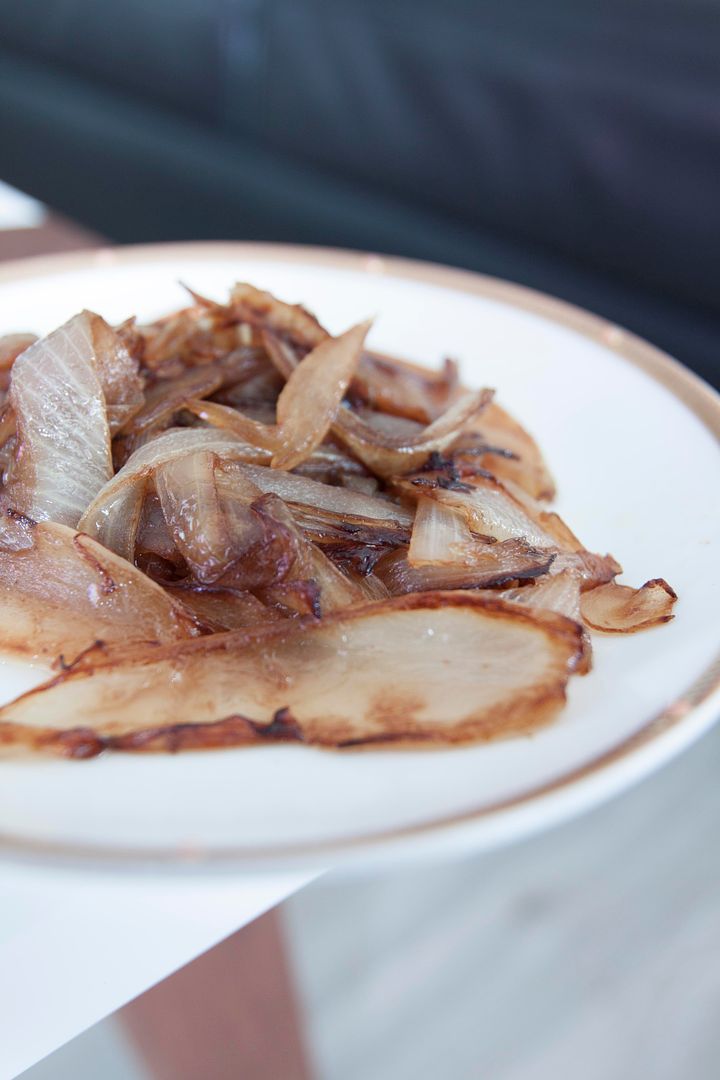
Peel and slice the onion. Drizzle 2 tablespoons of olive oil to a medium pot. Add in 1/2 sliced onion along with 1/8 teaspoon of salt. Give it a quick stir then turn to medium heat, cook for another 15 to 16 minutes. Remember to stir the onion once a while.
When the onion is about ready, add in 1/2 teaspoon of balsamic vinegar and cook till fully absorbed, about 1 minute. Remove from heat.
The canned pâté I got was made with 20% goose meat, 15% goose foie gras, and 15% pork product. Other variations such as chicken liver pâté can be a great alternative.
Slice the bread, toast or grill till hot and crunchy on the edges. There's no need to brush with olive oil or garlic before heating up the bread slices.
Top the bread slices with generous amount of pâté. Add some caramelized onion on top of pâté then garnish with thinly sliced cucumber. Sprinkle some freshly ground rainbow pepper on the plate, also sprinkle some fleur de sel on each toast before serving.
Just wait, next time it'll be homemade pâté on the plate.
Other tapas and bar food recipes: