Not familiar with shio koji? Here's my blog post few years ago with simple description and an image of this healthy Japanese fermented rice. Since then, I've made stir-fry leafy veggies and seared meat with shio koji. This time, shio koji was added to soy sauce based seasoning for a veggie pork roll recipe, adding more depth to the whole picture.
Shio koji flavored vegetable pork rolls (鹽麴豬肉捲) -
Ingredients?
- 12 pork slices
- 1 small/medium carrot
- 1 small bundle string beans
- 1 garlic clove
- 2 tablespoons shio koji
- 1 tablespoon soy sauce
- 1/2 teaspoon granulated sugar
- Some corn starch
- Some olive oil
How?
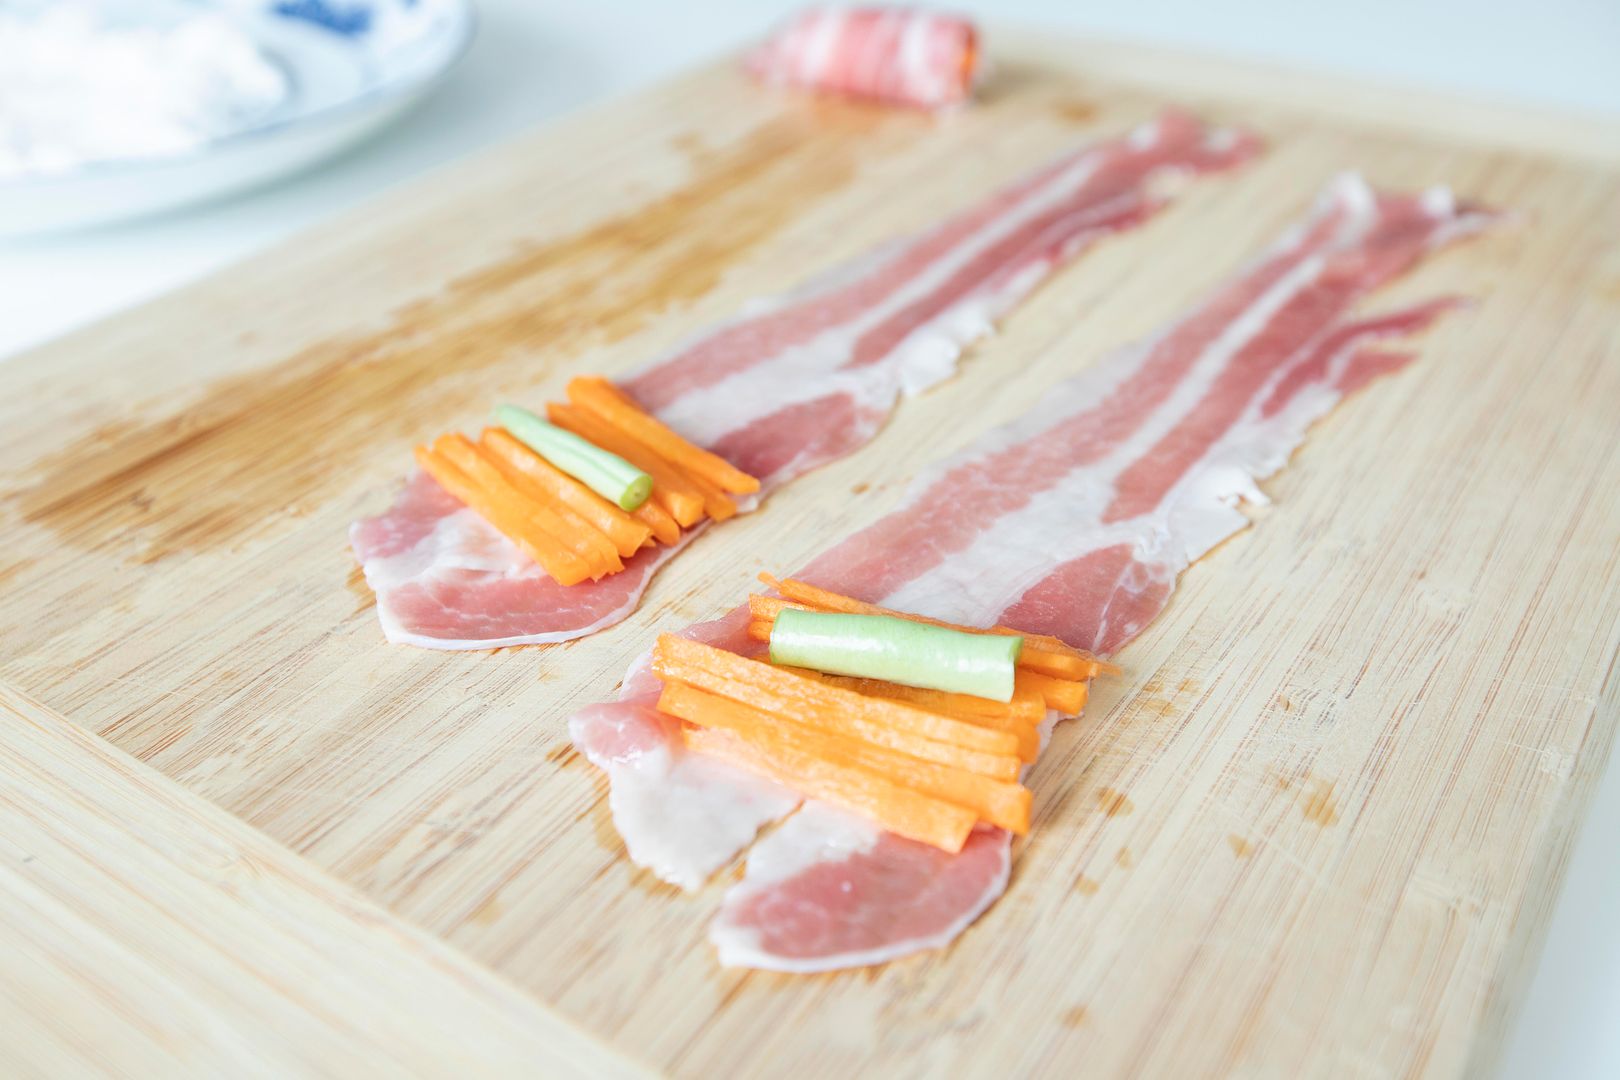
Check the width of pork slices first. Peel and cut the carrot into strips that's about the same width of pork slices. Take the tougher ends off string beans and cut in half, or about the same length as carrot strips. Peel and grate one garlic clove.
Lay out the pork slices, transfer some carrot strips to one end along with one or two string bean sections. Roll up the pork.
Prepare a plate with some corn starch. Dust the pork rolls with corn starch and set aside, make sure sealed side (end of the pork roll) down.
Prepare a non-stick pan and drizzle some olive oil to evenly coat the bottom. Turn to medium high heat, once warmed up, transfer the pork rolls one by one. It doesn't matter if sealed side down first or not, the pork roll shape should be set by now and enclosed securely with corn starch.
Sear the pork rolls till all sides turned slightly browned. Move the rolls to one side of the pan. If too oily, take a kitchen towel and wipe the bottom of the pan to absorb some excess pork fat, but not all of it.
To the free space, add the soy sauce, shio koji, grated garlic, and sugar. Give it a quick mix and move the pork rolls over. Make sure all sides of the pork rolls are coated with the sauce. Reduce a little if needed.
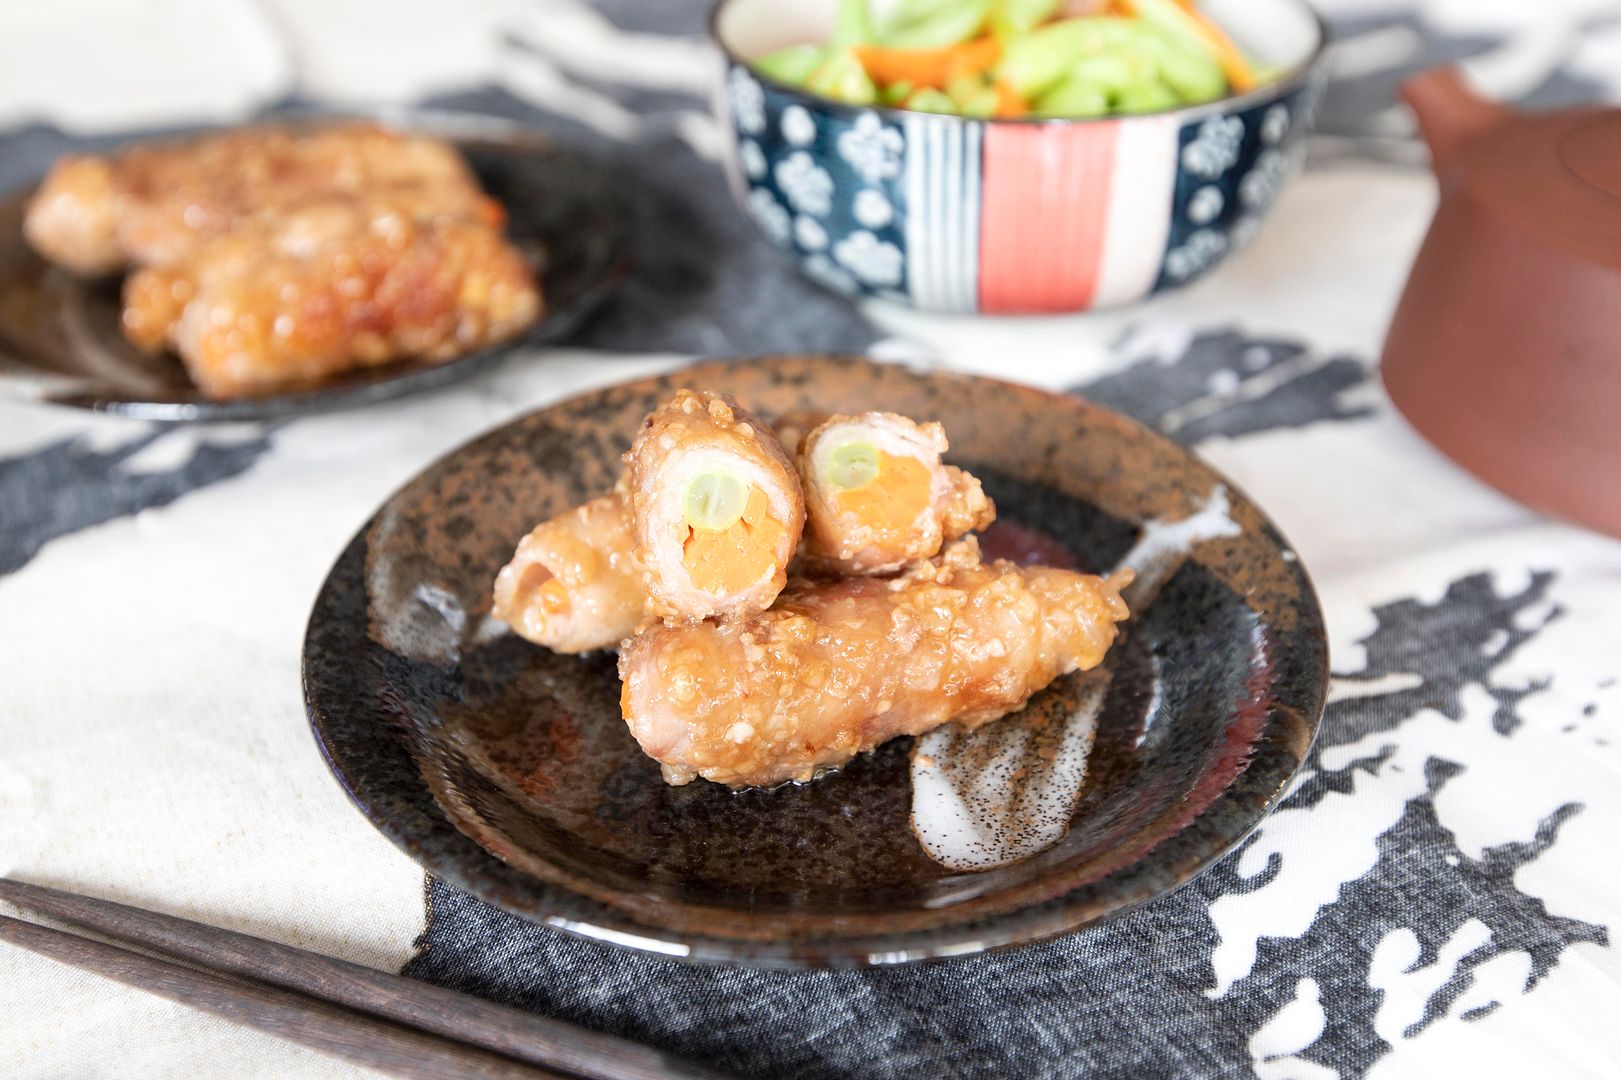
Plate and serve. Cut a couple rolls in half to show that colorful center veggie sticks arrangement.
Usually there are some veggies strips left, just use the same pan with remaining pork fat and seasoning to stir-fry all the leftover ingredients. That's why do not wipe out all the pork fat during the searing process. Add some salt and black pepper if needed, then you'll end up with one extra healthy dishes on the table.
Other recipes using shio koji:
Prepping savory dishes and making desserts are like two completely different realms. I might be somewhat good at cooking daily meals (say so myself and my forever supporter Mister), but bringing sweets to the table doesn't always go as planned.
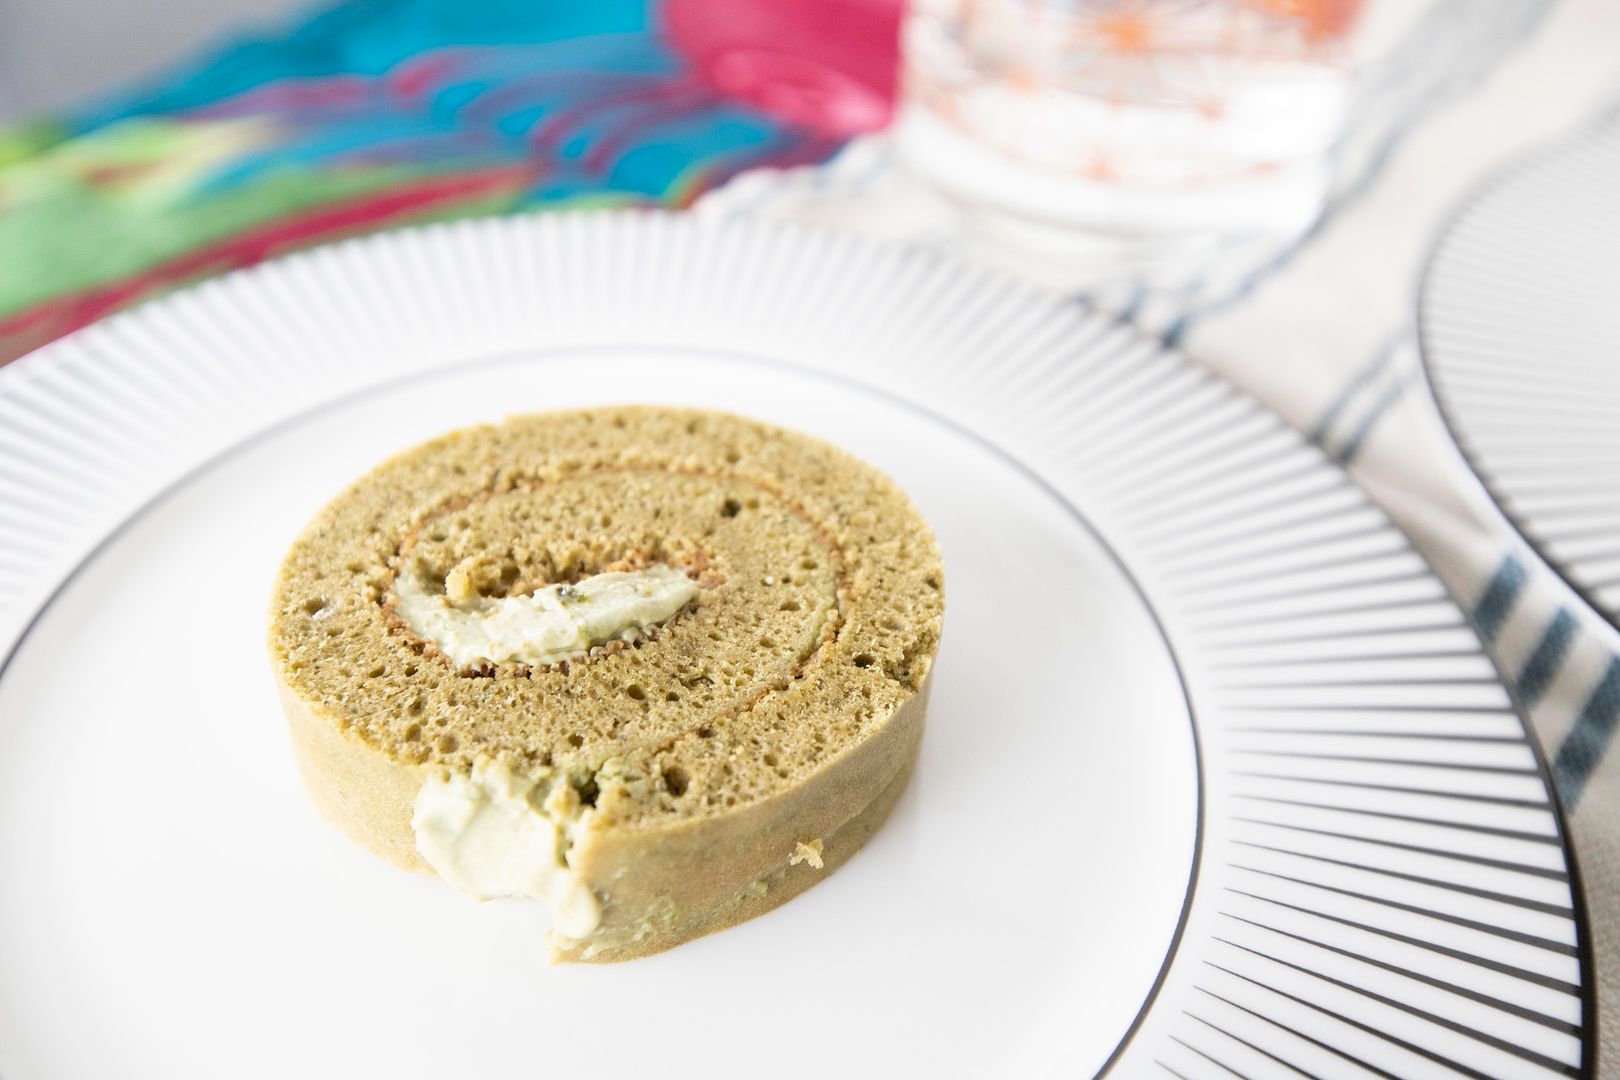
Obstacles need to be challenged, so I searched online for help, and came across Just One Cookbook's matcha Swiss roll recipe. The blog was well presented with detailed information, images, and even a video showcasing the entire cake-making process. So here it is, my very first try of making a Swill roll.
End result wasn't perfect, and definitely rooms for numerous improvements. Texture-wise, I need to be more careful about whipping up egg whites and creamy filling, so my sponge cake can get fluffier. Skill-wise, I need more practice so the matcha cream can stay in between sponge cake instead of being squeezed out while rolling up the cake, oops. But most importantly, taste-wise the cake was pretty darn good.
(Waiting for the sponge cake to cool down)
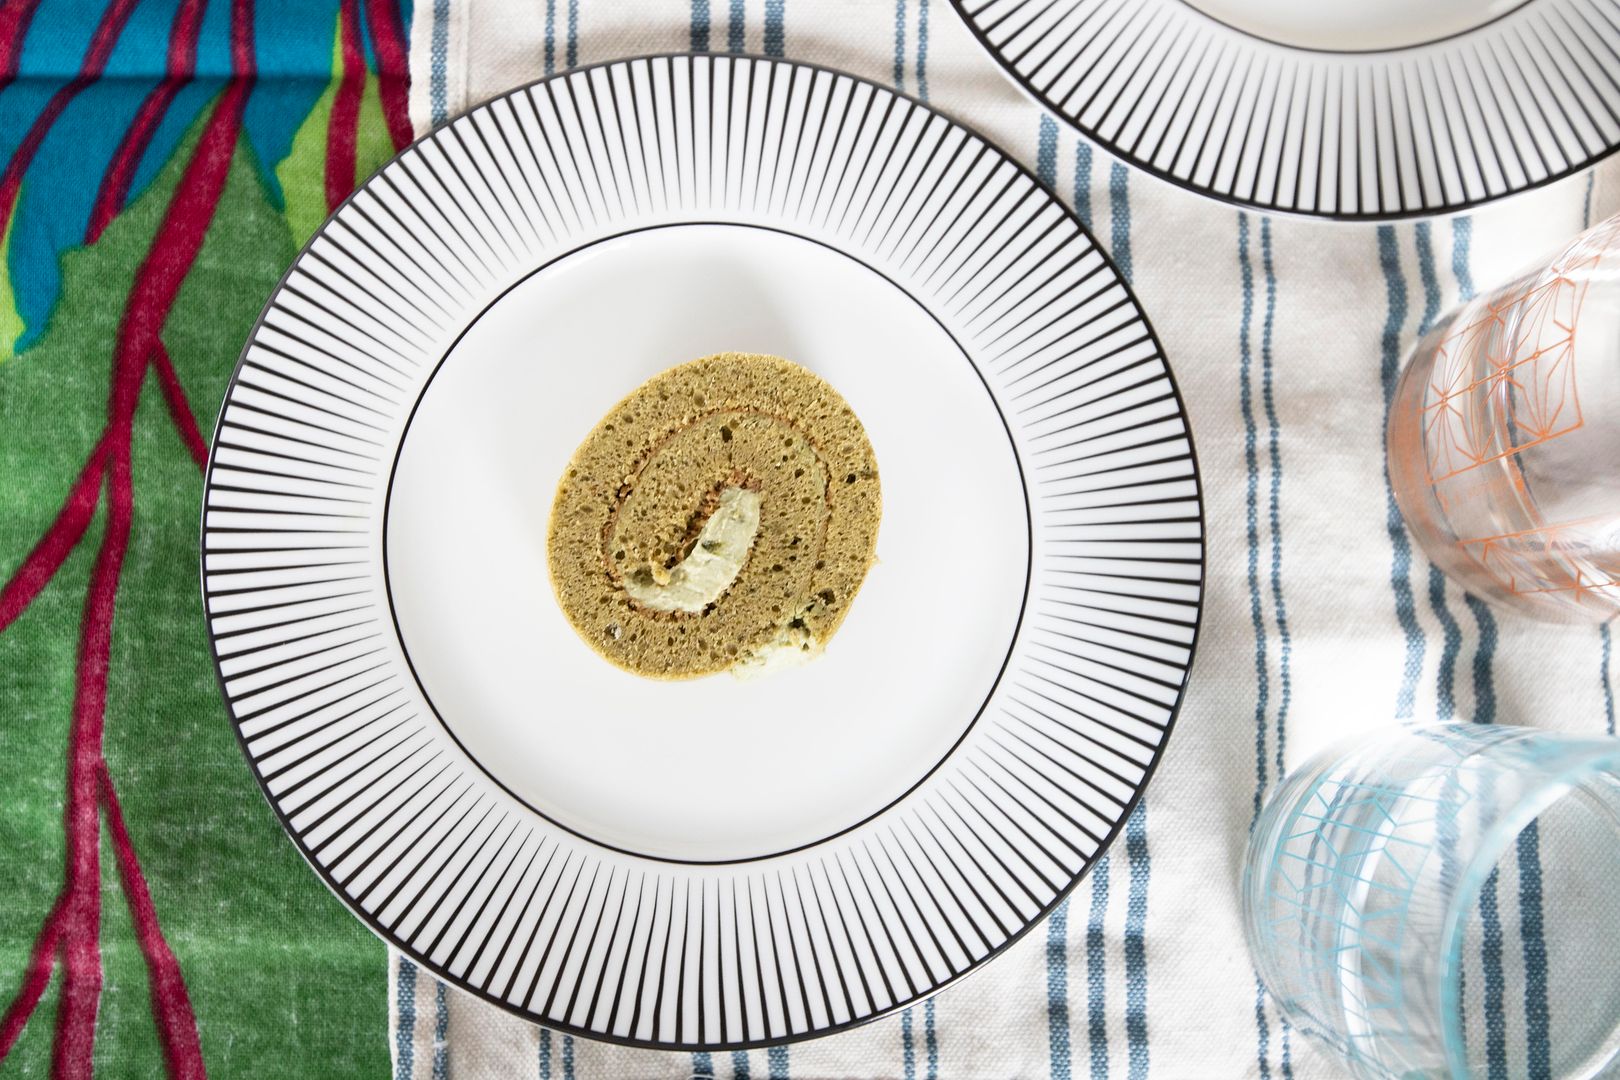
Despite all these defects, Mister and I are happy with my first Swill roll trial and the cake was gone in no time.
Is there anything need to be changed from the reference blog post? Nope, I think the flavor was great so that means the proportion of the ingredients were right. My cake was filled with elegant tea aroma with just the right amount of sweet touch. As for the last remaining cream, perhaps some got absorbed by the sponge cake along the way, was luscious and addictive. It's me who needs more practice. Next time it should be better, it will get better.
*By the way, the matcha Swill roll tastes even better when paired with brown sugar flavored milk.
Other dessert recipes:
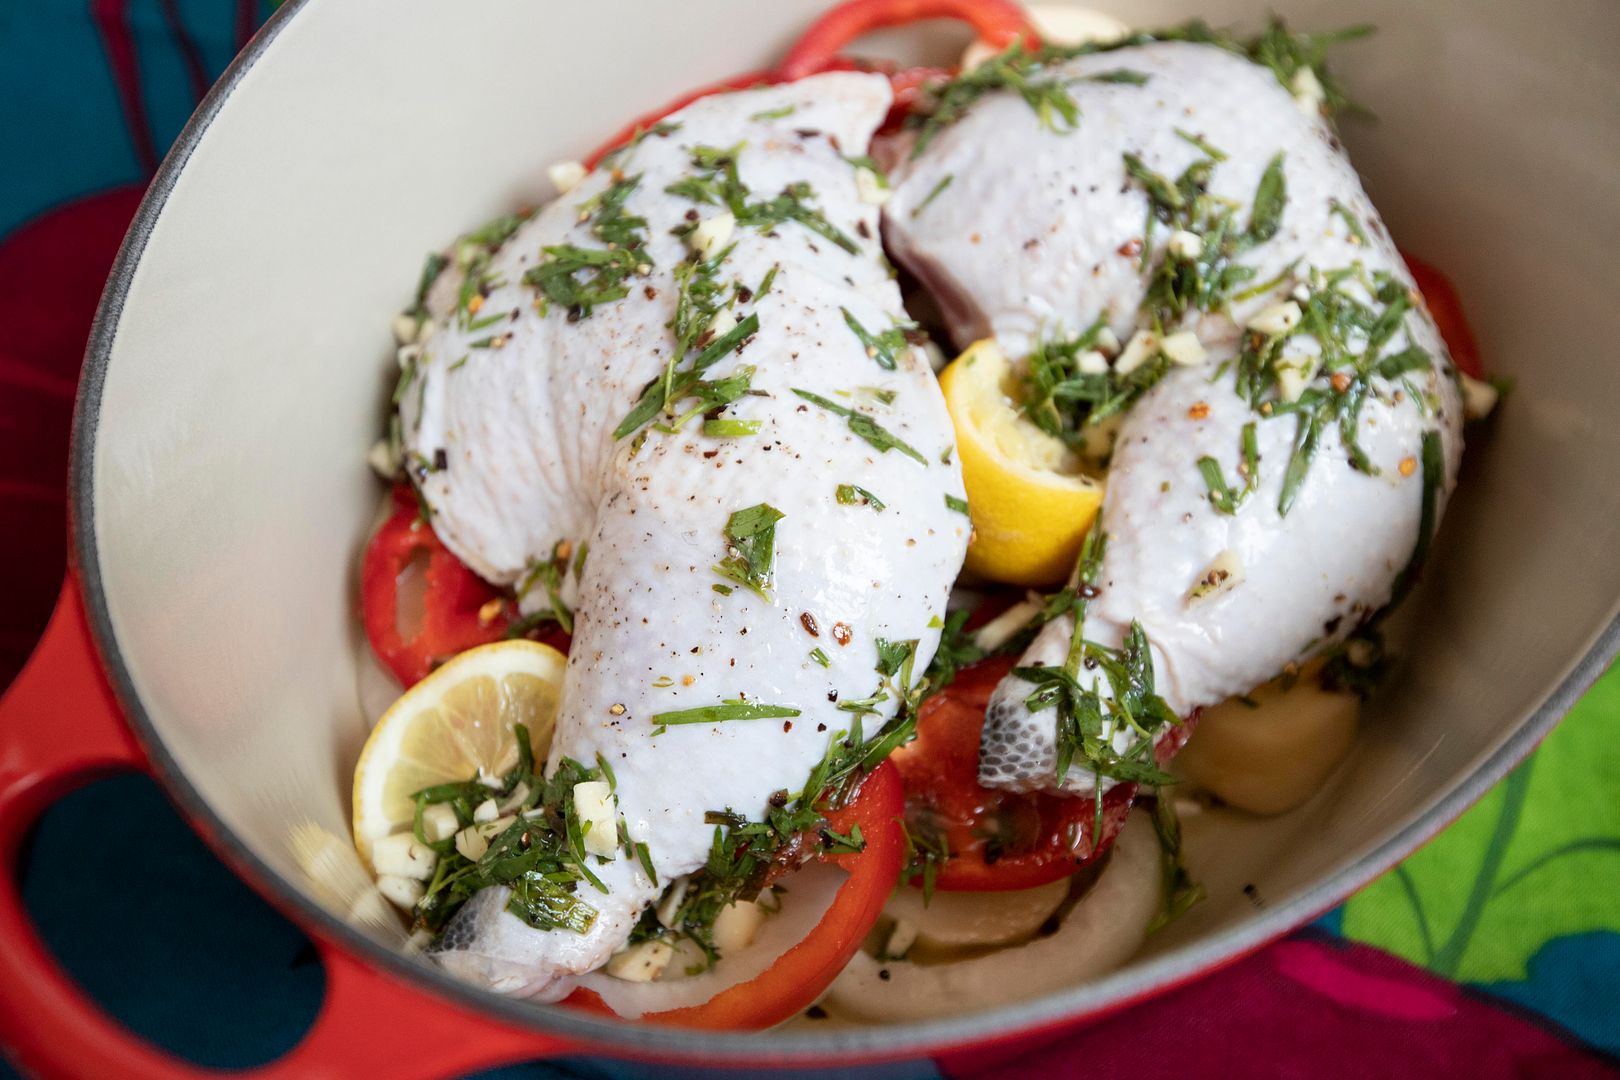
Never thought that adding whole lemon to roasted chicken can tremendously boost up the flavor. At first, I thought lemon might keep the roasted chicken moist and tender. But there's more to it. The oven heat further draws out the lemon juice and lemon oil. As they drip down to the bottom along with chicken fat, the vegetables, especially potato slices absorb all the essence, to a point even outshined the chicken legs.
Lemony roasted chicken legs -
Ingredients?
- 2 whole chicken legs (thighs and drumsticks)
- 2 medium small potatoes
- 1 red bell pepper
- 1 lemon
- 1/2 onion
- 2 garlic cloves
- Few sprigs fresh tarragon
- Some olive oil
- Some salt
- Some black pepper
- Some red pepper flakes
How?
Preheat the oven to 400 degrees Fahrenheit/205 degrees Celsius. Season both sides of the chicken legs with some salt and freshly ground black pepper.
Peel and thickly slice the potatoes. Peel and slice the onion into ring shape. Peel and roughly chop the garlic cloves. Remove tarragon leaves, it can pull out easily when pinching fingers to the end of the sprig and run down the opposite direction from where the leaves are growing. Roughly chop the leaves. Cut half of the lemon into slices and save the other half as a whole. Remove stem and seeds from bell pepper and cut into thick slices.
Squeeze half of the lemon juice to a bowl, also add in about 5 tablespoons of chopped tarragon, 1 teaspoon of salt, 1/2 teaspoon of red pepper flakes, 1/4 teaspoon of black pepper, 1/2 cup of olive oil, and 2 chopped garlic cloves. Mix till integrated.
Take a big ovenproof pot, lay the bottom with onion, bell pepper, potatoes, lemon slices, and that 1/2 squeezed lemon. Transfer seasoned chicken legs over. Drizzle pre-mixed sauce all over.
Into the oven for about 50 minutes.
Remove from heat and put on the lid. Let it rest for around 10 minutes before serving/carving.
The drippings become even more gelatinous, with added refreshing note from the lemon. If there's anything need to be changed for this recipe, I'll use more potatoes! Potatoes filled with lemon oil and chicken fat, to die for.
Perhaps with some bread too so I can wipe out all the drippings!
Other roasting recipe:
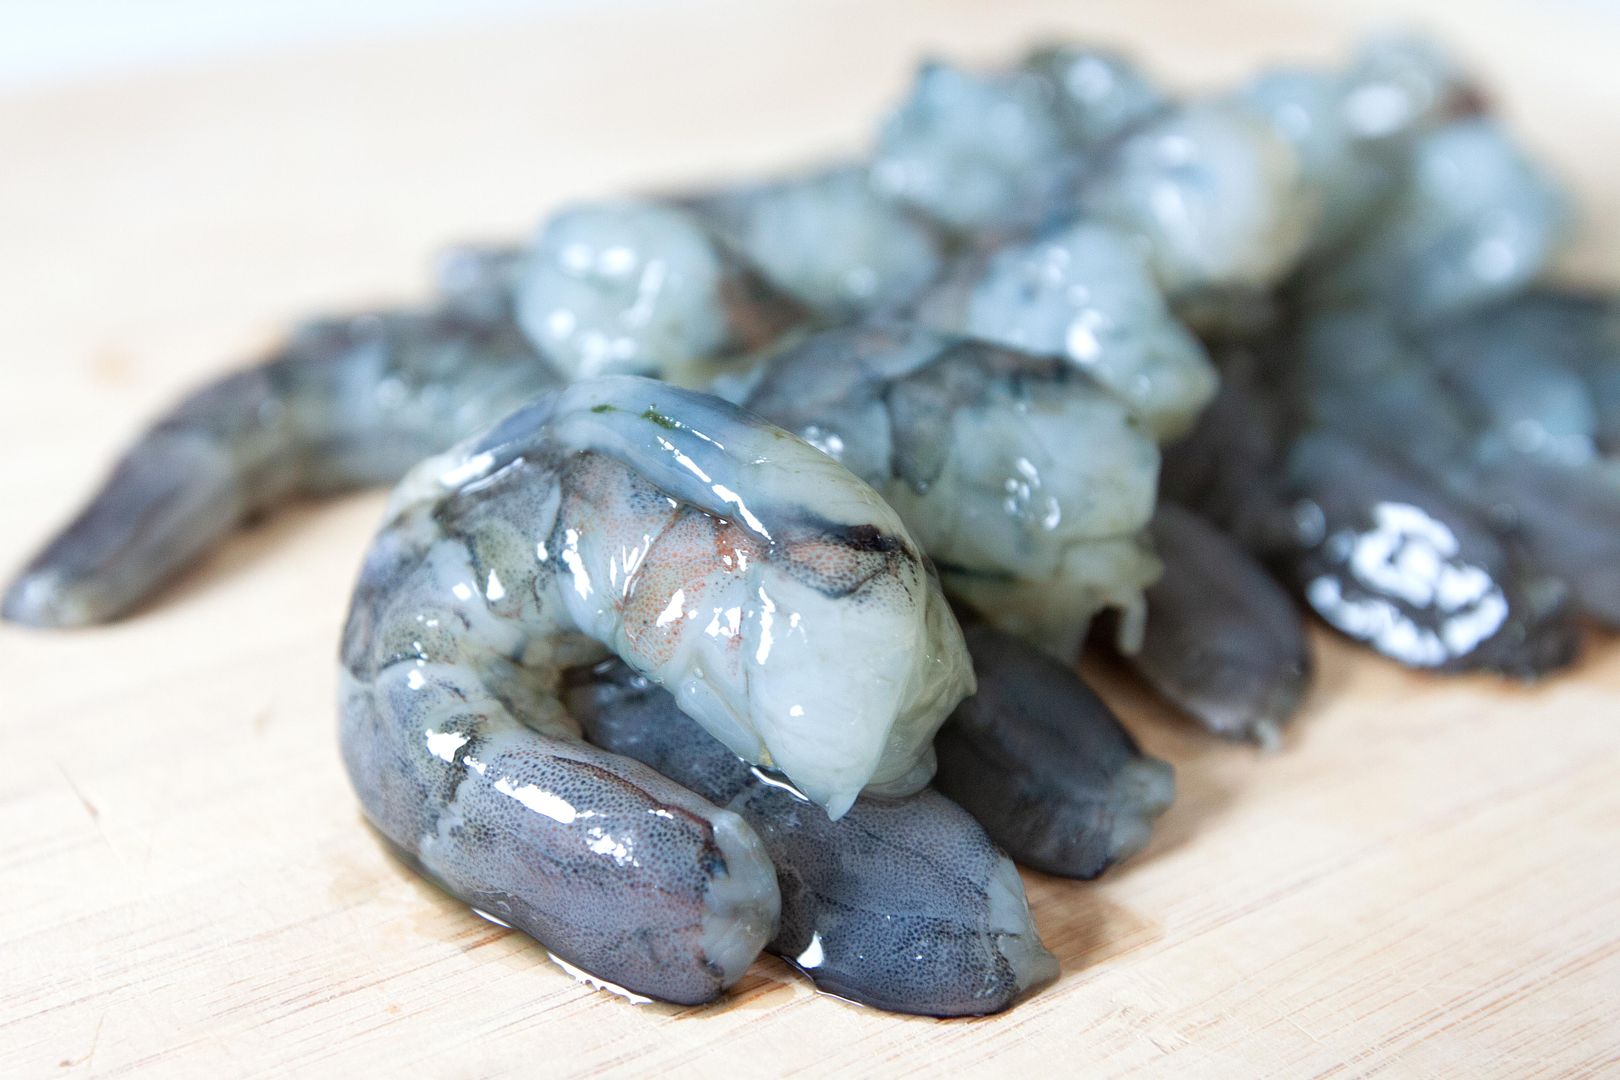
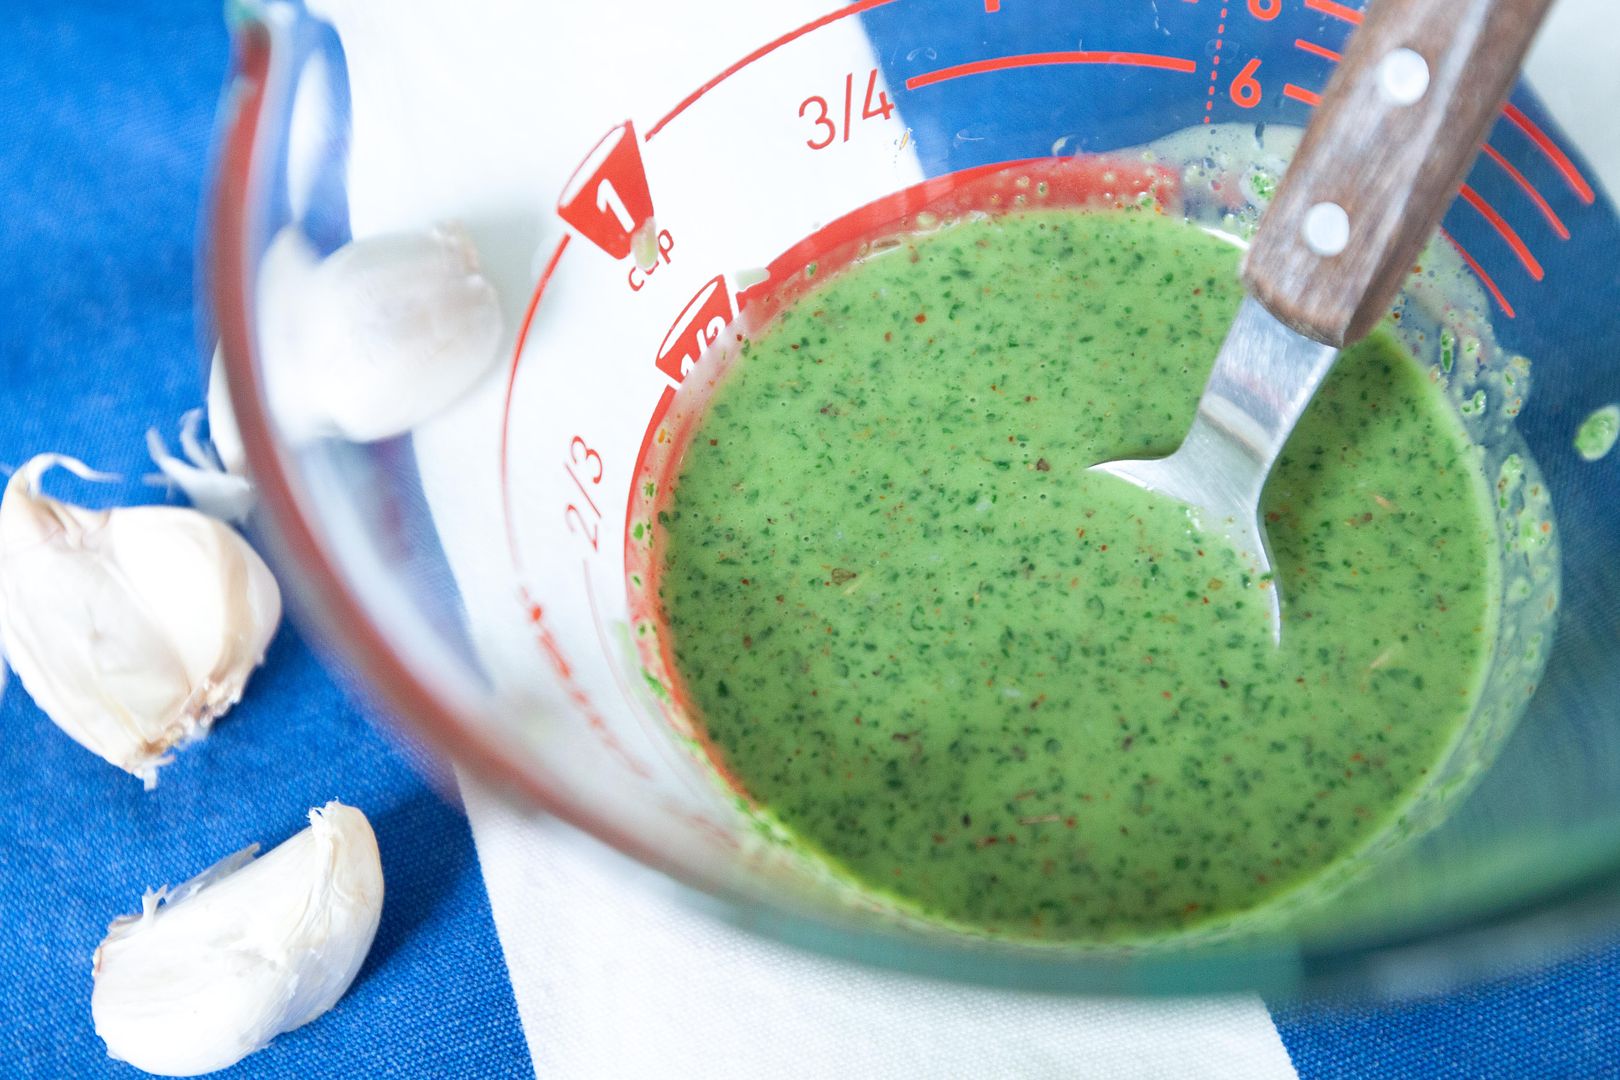
This is a fairly simple recipe, the most troublesome part falls to shrimp preparation. Oops, ok, maybe cleaning the food processor can be quite a hassle too. As for the sauce, all you need to do is toss all the ingredients to the food processor and let it does all the work. You can even make the sauce ahead of time and store in the fridge, it can last up to days. Use it on baked, steamed, or seared seafood ingredients, or even mix some with pasta. Perhaps use the sauce as a sandwich spread or faux chimichurri for steaks. Be creative and have fun!
Grilled shrimps with spicy parsley sauce -
Ingredients?
- 14 medium/large shrimps
- 1 tablespoon olive oil
- 1/8 teaspoon salt
- 1/8 teaspoon black pepper
- 1/8 teaspoon smoked paprika
Sauce -
- 1 1/2 cups loosely packed parsley
- 2 tablespoons white wine vinegar
- 2 garlic cloves
- 1/4 cup extra virgin olive oil
- 1/4 teaspoon salt
- 1/4 teaspoon black pepper
- 1/4 teaspoon cayenne pepper
- 1/2 teaspoon mixed Italian seasoning
How?
Butterfly and devein the shrimps.
Transfer the shrimps to a bowl and mix with 1 tablespoon of olive oil, 1/8 teaspoon of salt, 1/8 teaspoon of black pepper, and 1/8 teaspoon of smoked paprika. Cover with lid or cling foil, marinate for about 10 minutes.
Meanwhile, peel and roughly chop the garlic cloves. Roughly chop the parsley. Transfer all the ingredients under the "sauce" section to the food processor and blend till fully incorporated.
Take a pan or a grill, remember there is no need to brush the surface with more oil. Turn to medium high heat and sear both sides of the shrimps till nearly cooked through then quickly removed from heat. The remaining heat will further cook the shrimps, and the texture should be just right when ready to serve.
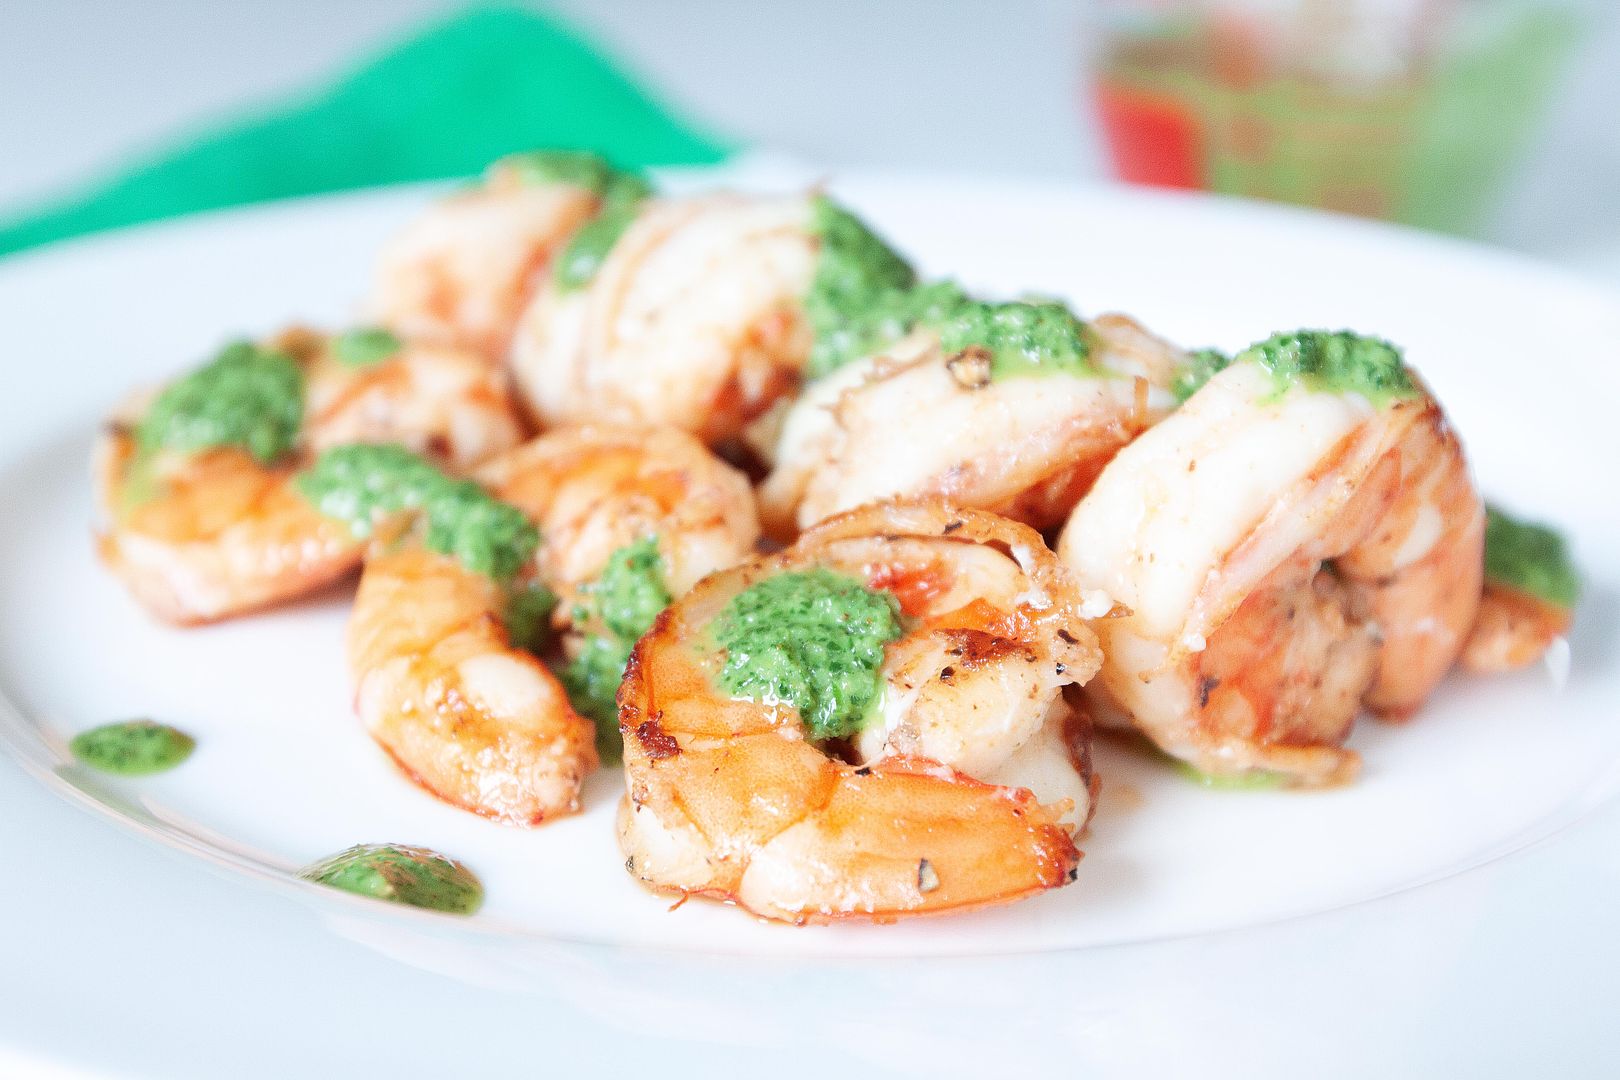
Plate the shrimps and drizzle over some spicy parsley sauce.
Refreshing in a way but still got a kick from raw garlics and cayenne pepper, maybe that's why it's so addicting. I even drizzle some over my steamed rice, what an uncommon combo!
Other recipes using shrimps:
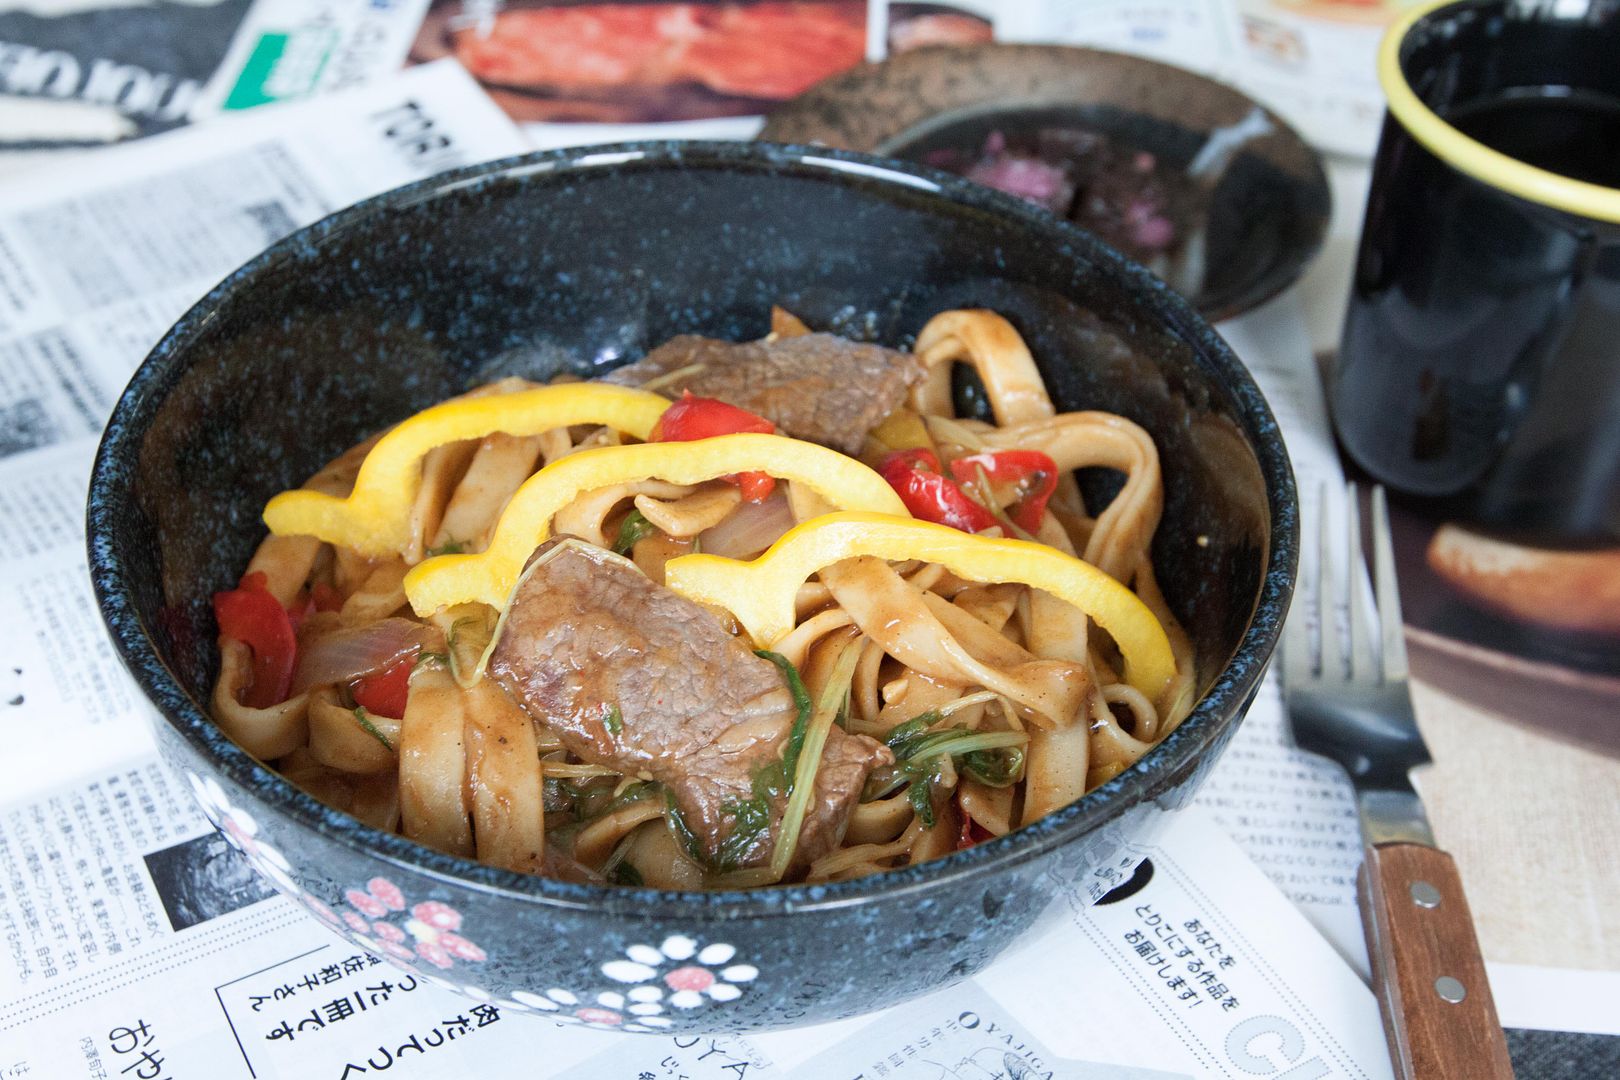
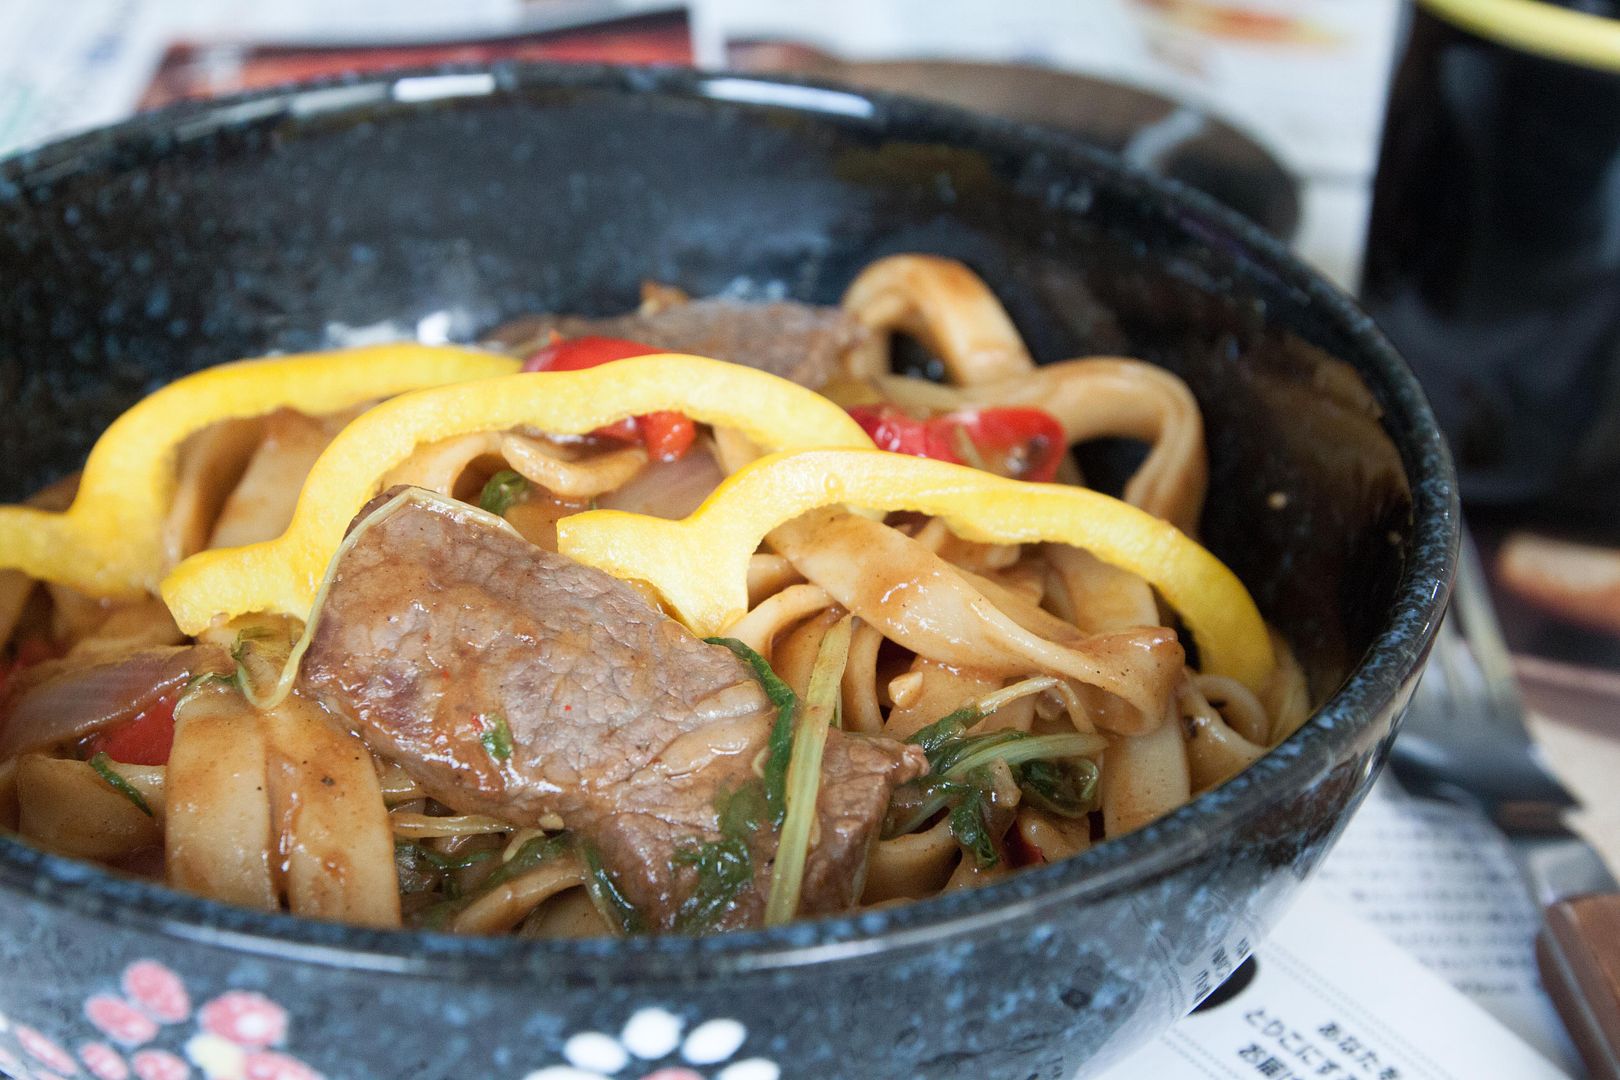
A little Japanese influence, with a little shortcut. This recipe mixes Japanese curry with Italian fettuccine. The al dente pasta matches very well with thick and heavy-tasting sauce. But instead of making curry from scratch, let's use pre-made Japanese curry cubes. It cuts down quite workload and the end result can just be as addicting.
Curry fettuccine -
Ingredients (about 4 to 5 portions)?
- 250 grams mizuna (Japanese mustard greens)
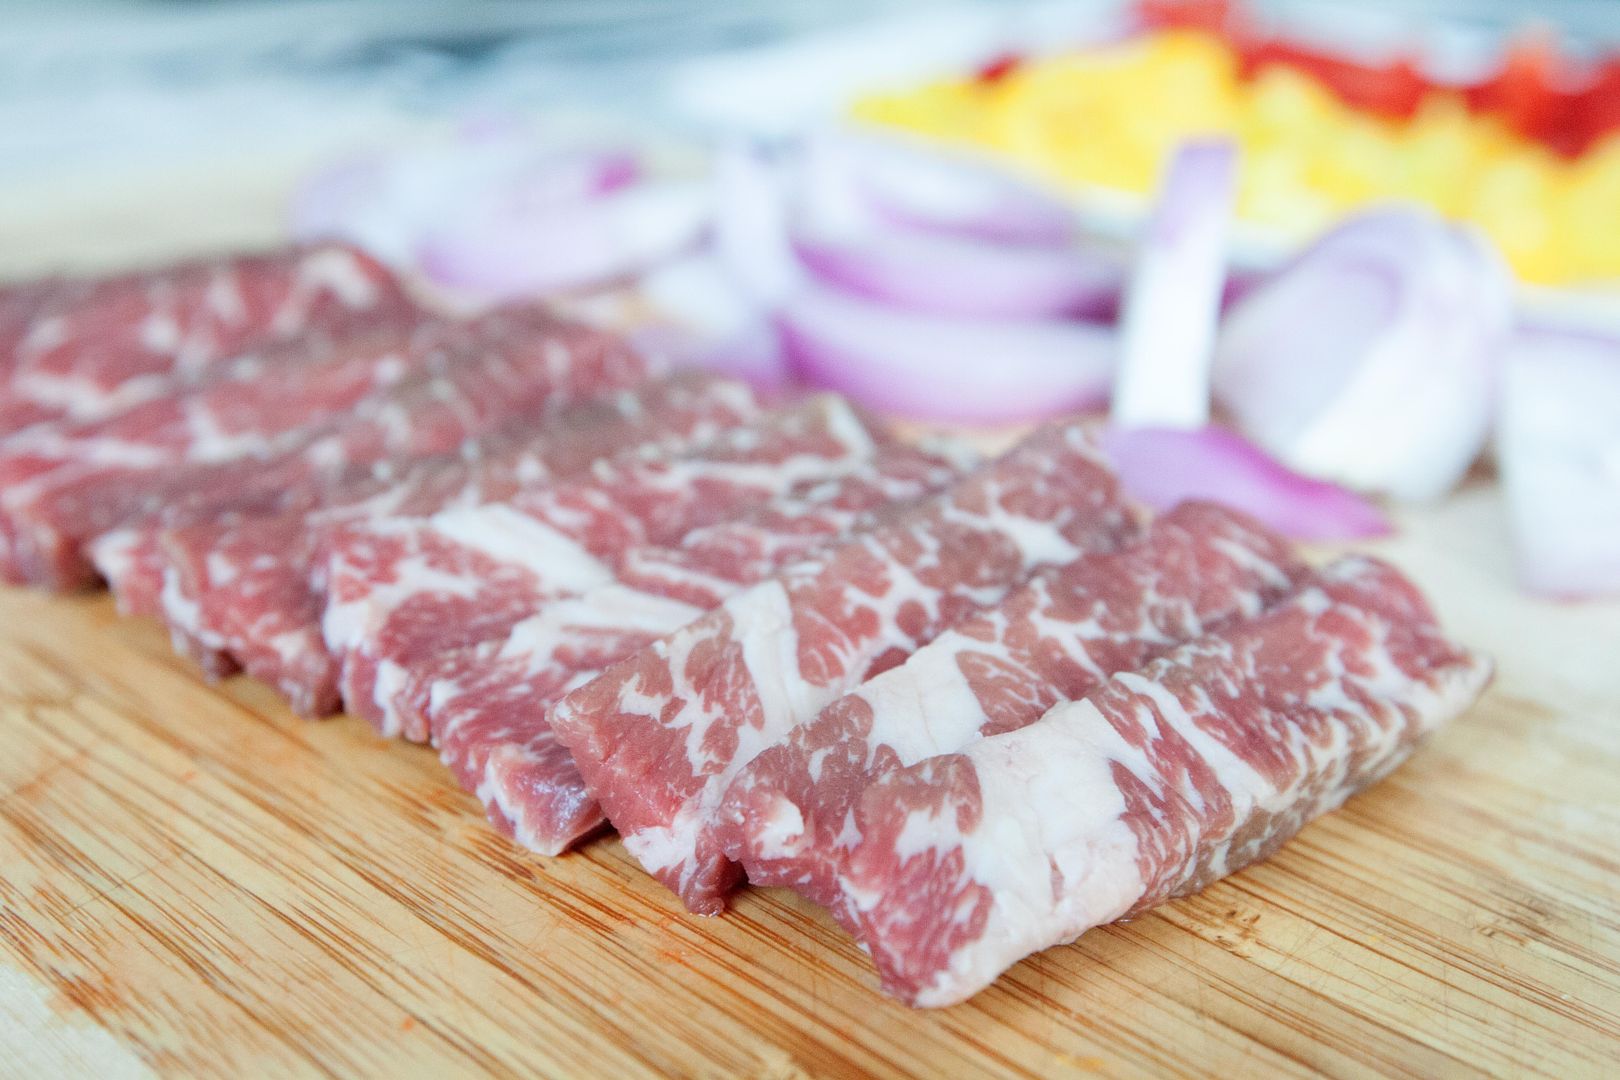
- 175 grams thicker cut boneless short ribs
- 1 yellow bell pepper
- 1 red bell pepper
- 1 purple onion
- 2 garlic cloves
- 100 grams/4 cubes Japanese spicy curry
- 1 2/3 cups chicken stock
- 1 tablespoon Japanese twice concentrated tsuyu
- Some olive oil
- Some salt
- Some black pepper
- Some pickled Japanese vegetables (to serve as a side, optional)
How?
Peel and chop the onion. Peel and chop the garlic cloves. Cut the mizuna into shorter sections. Cut the short ribs into thicker, larger bite size pieces. Remove the stems, get rid of the seeds, and then slice bell peppers. You can save a few strips or cut a small portion into rings to use as garnish once the pasta is ready.
Bring a big pot of water to a boil and add in generous amount of salt to flavor the water. Transfer pasta over and cook till nearly al dente. Once ready, drain and set aside. It you time it well, the pasta should be ready when the sauce is about done too.
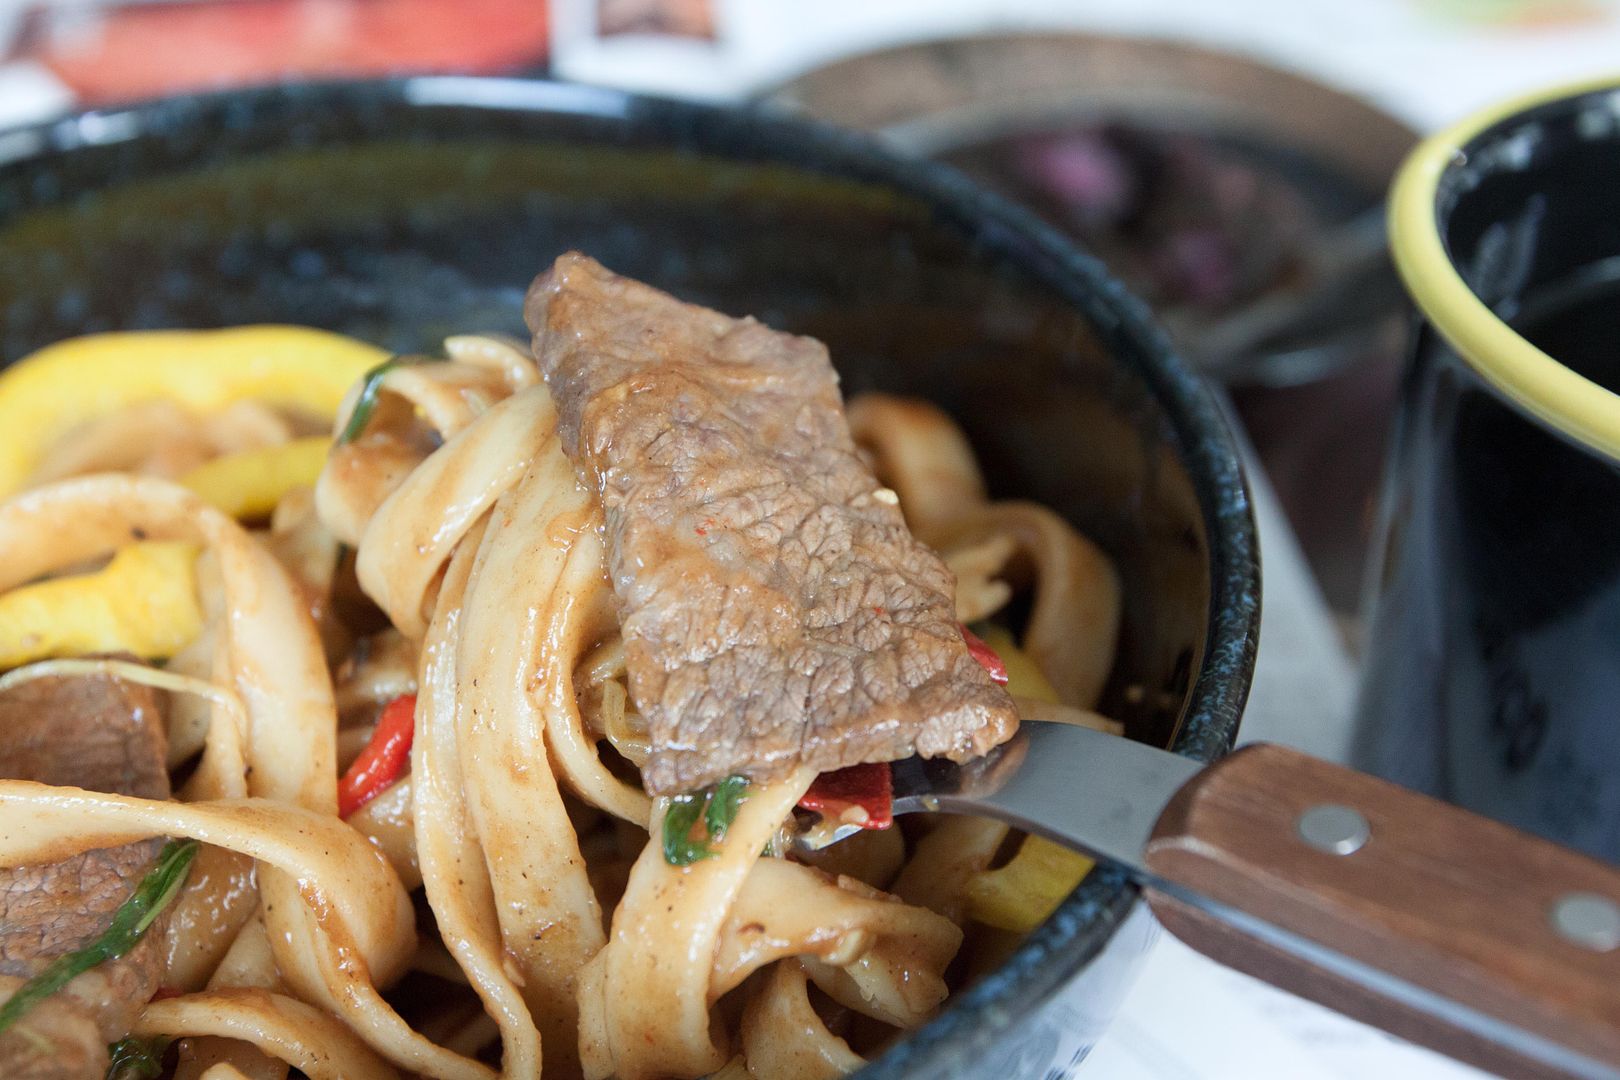
Season beef pieces with salt and pepper on both sides. Take a non-stick pan and drizzle just enough olive oil to coat the surface. Switch to medium high heat. Once warms up, transfer beef slices over and sear till colored, flip and do the same for the other side. When done, remove from heat and set aside.
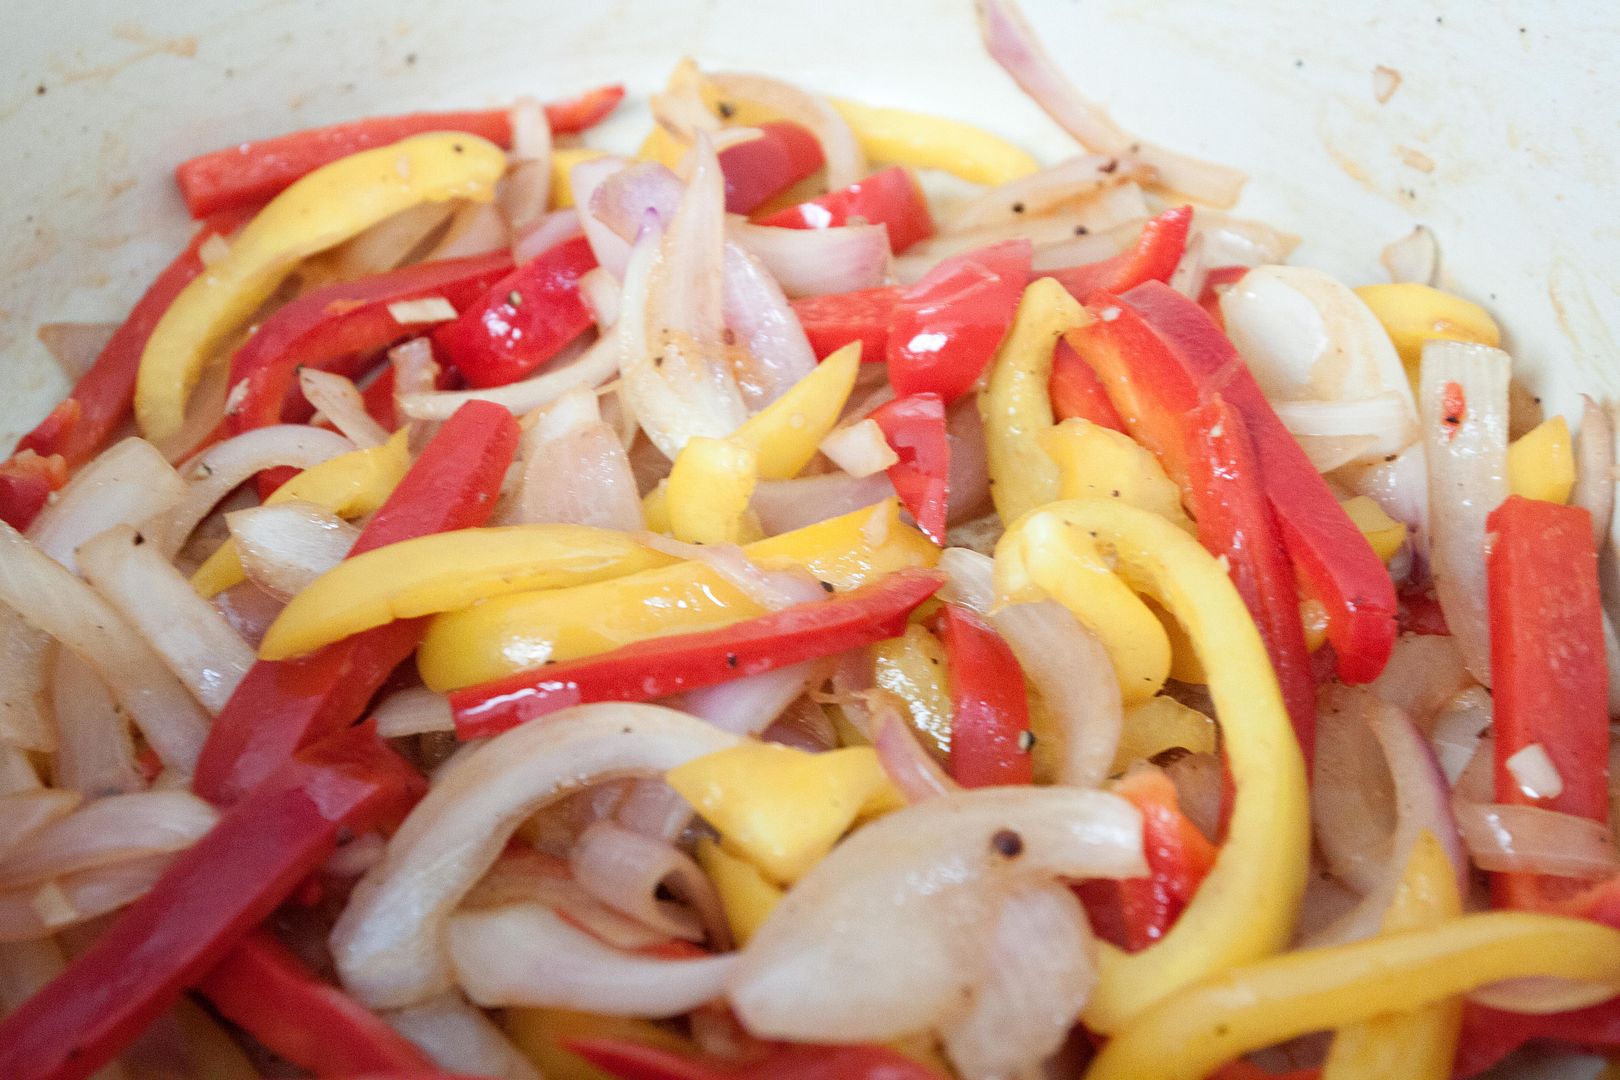
Prepare a big non-stick pot and turn to medium high heat. Add in 2 tablespoons of olive oil along with onion, 1/4 teaspoon of salt, and 1/4 teaspoon of black pepper. Give it a quick stir and cook till the onion turns translucent.
Add in garlic pieces and cook for another 30 seconds or so. Add in bell pepper strips and cook for 30 seconds to about one minute.
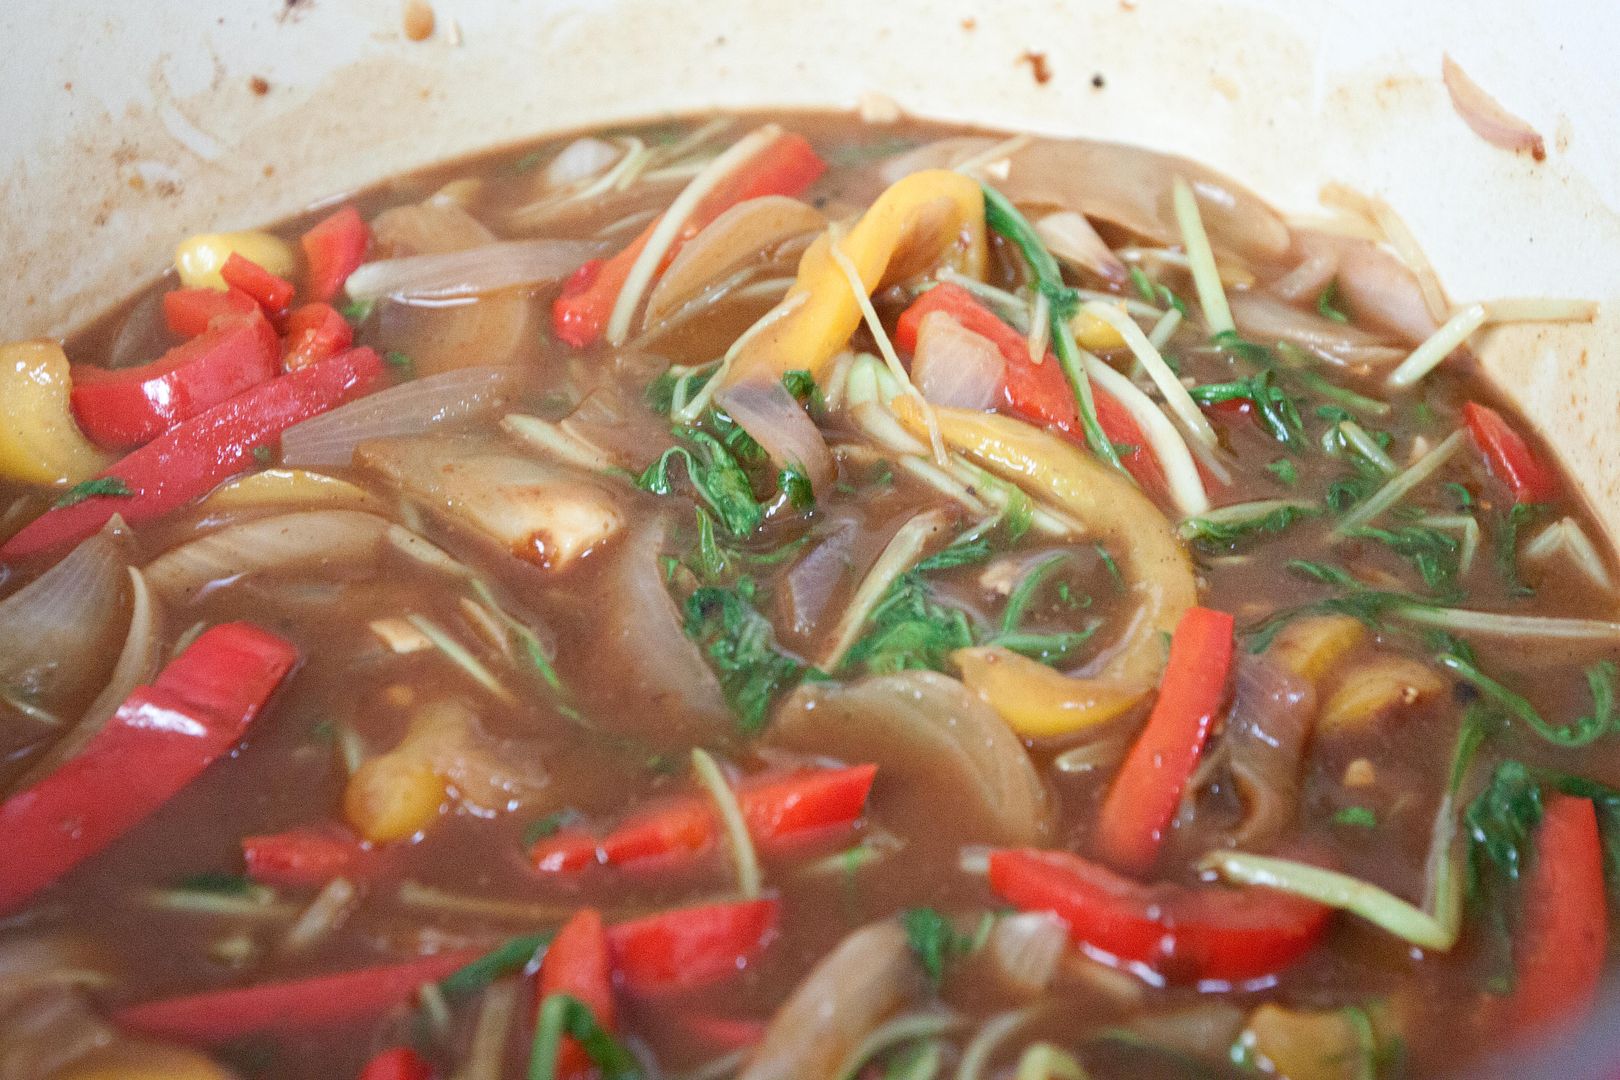
Add in mizuna and quick stir-frying it, shouldn't take long.
Pour in chicken stock along with 4 curry cubes and 1 tablespoon of Japanese tsuyu. Bring to a boil then lower the heat a bit to keep it at a light bubbling. Make sure to gently stir the mixture during the process to help the curry cubes melt and spread out evenly.
Mix in fettuccine and short ribs, make sure every pasta is coated with curry sauce. Cook till pasta reaches desired texture.
Plate and garnish with uncooked bell pepper strips. Serve with pickled veggies on the side if desired.
It was so spicy, even spicier than the extra spicy curry cubes I always get at a grocery store. It was actually a special version made with bhut jolokia (ghost pepper). So spicy to a point it becomes addicting. Hope Mister can withstand the heat...
Other pasta recipes: