Shouldn't I be craving for something like a burger or boba milk tea? Squid instead? What's going on?
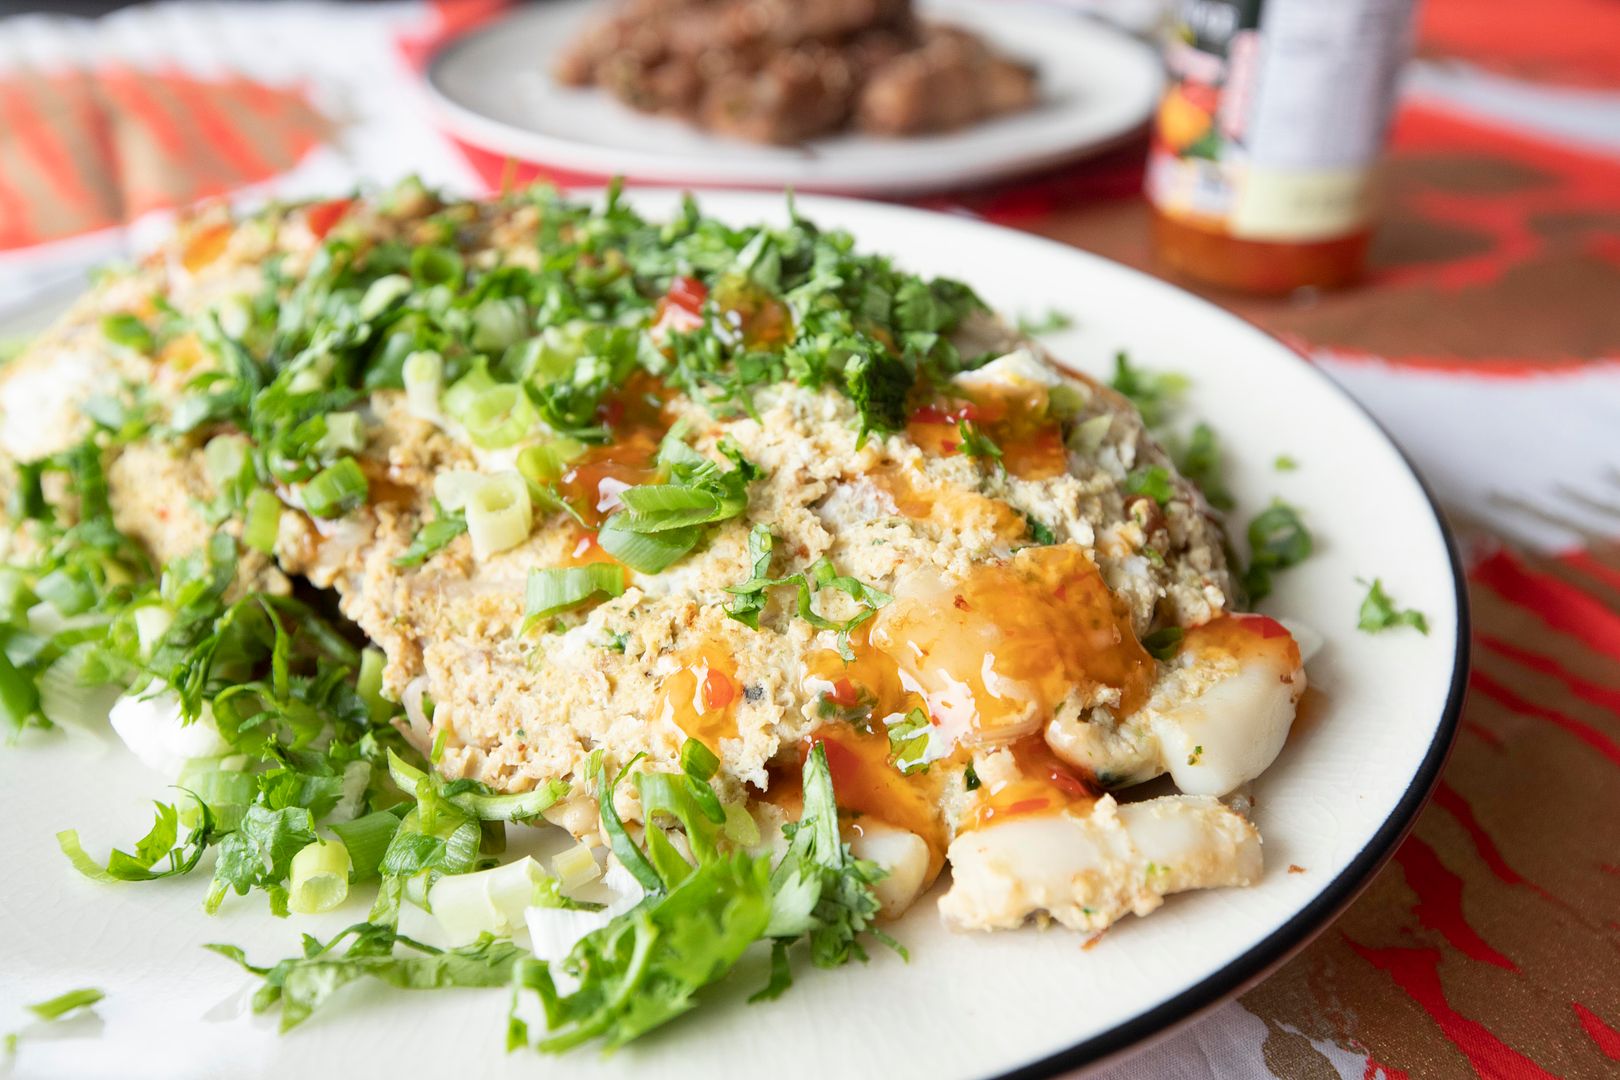
Thai style seafood omelet -
Ingredients?
- 12 shrimps (peeled and deveined)
- 120 grams squid
- 2 cups bean sprouts
- 8 eggs
- 3 to 4 garlic cloves
- 2 stalks scallion
- 1 bundle cilantro
- 1 red chili
- 2 tablespoons olive oil
- 1/2 tablespoon drinkable water
- 2 teaspoons fish sauce
- 1 teaspoon grated ginger
- Some salt
- Some black pepper
- Some sweet chili sauce
How?
Remove the tips and roots from bean sprouts. Peel and finely chop the garlic cloves. Destem and finely chop the red chili. Destem scallion stalks and chop the remaining section. Chop the cilantro too. Peel and grate the ginger.
Peel and devein the shrimps. Cut the squid into bite size pieces.
Beat the eggs with 1/2 tablespoon of water and a tiny pinch of salt.
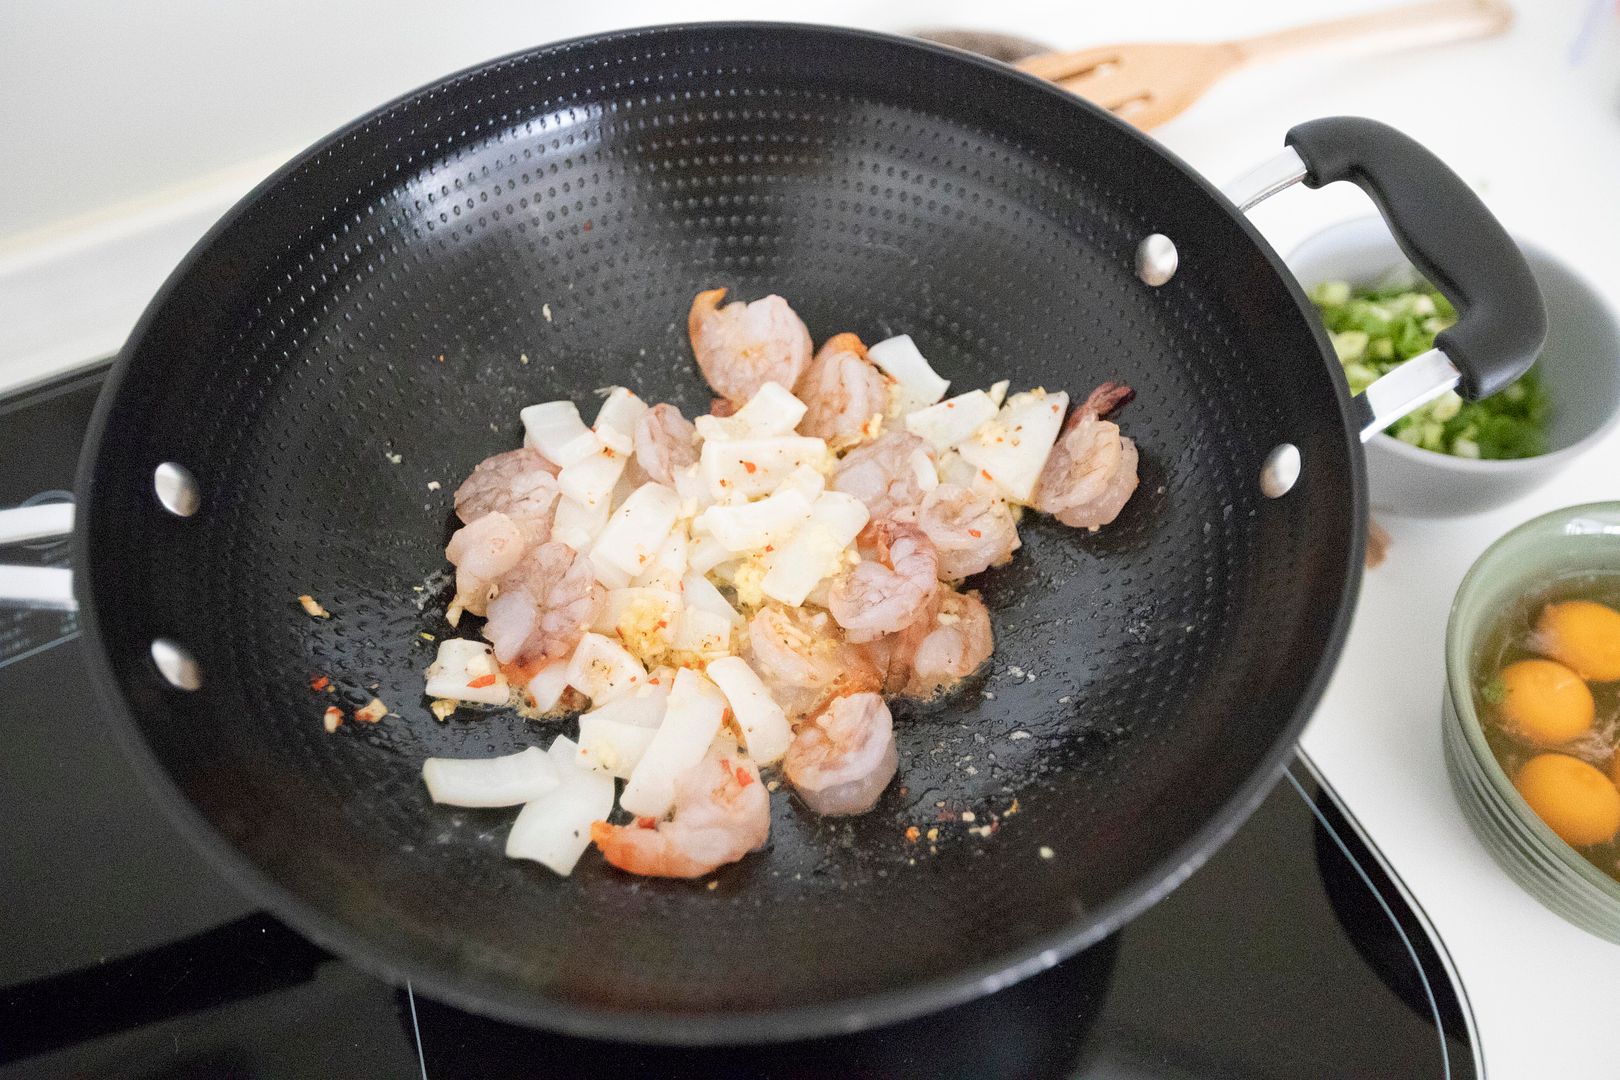
Drizzle some olive oil to a wok, or preferable a non-stick pan, it'll make sure the eggs won't stick to the surface. Use high heat, add in garlic and chili, along with 1/4 teaspoon of salt and 1/4 teaspoon of black pepper. Cook till garlic turns slightly browned but not burnt.
Transfer shrimps and squid over and add in grated ginger. Cook till slightly colored, then quickly add in bean sprouts, 2/3 of chopped scallion, about 1/2 cup of chopped cilantro. Also pour in 2 teaspoons of fish sauce. Give it a quick stir, till shrimps and squid nearly cooked through.
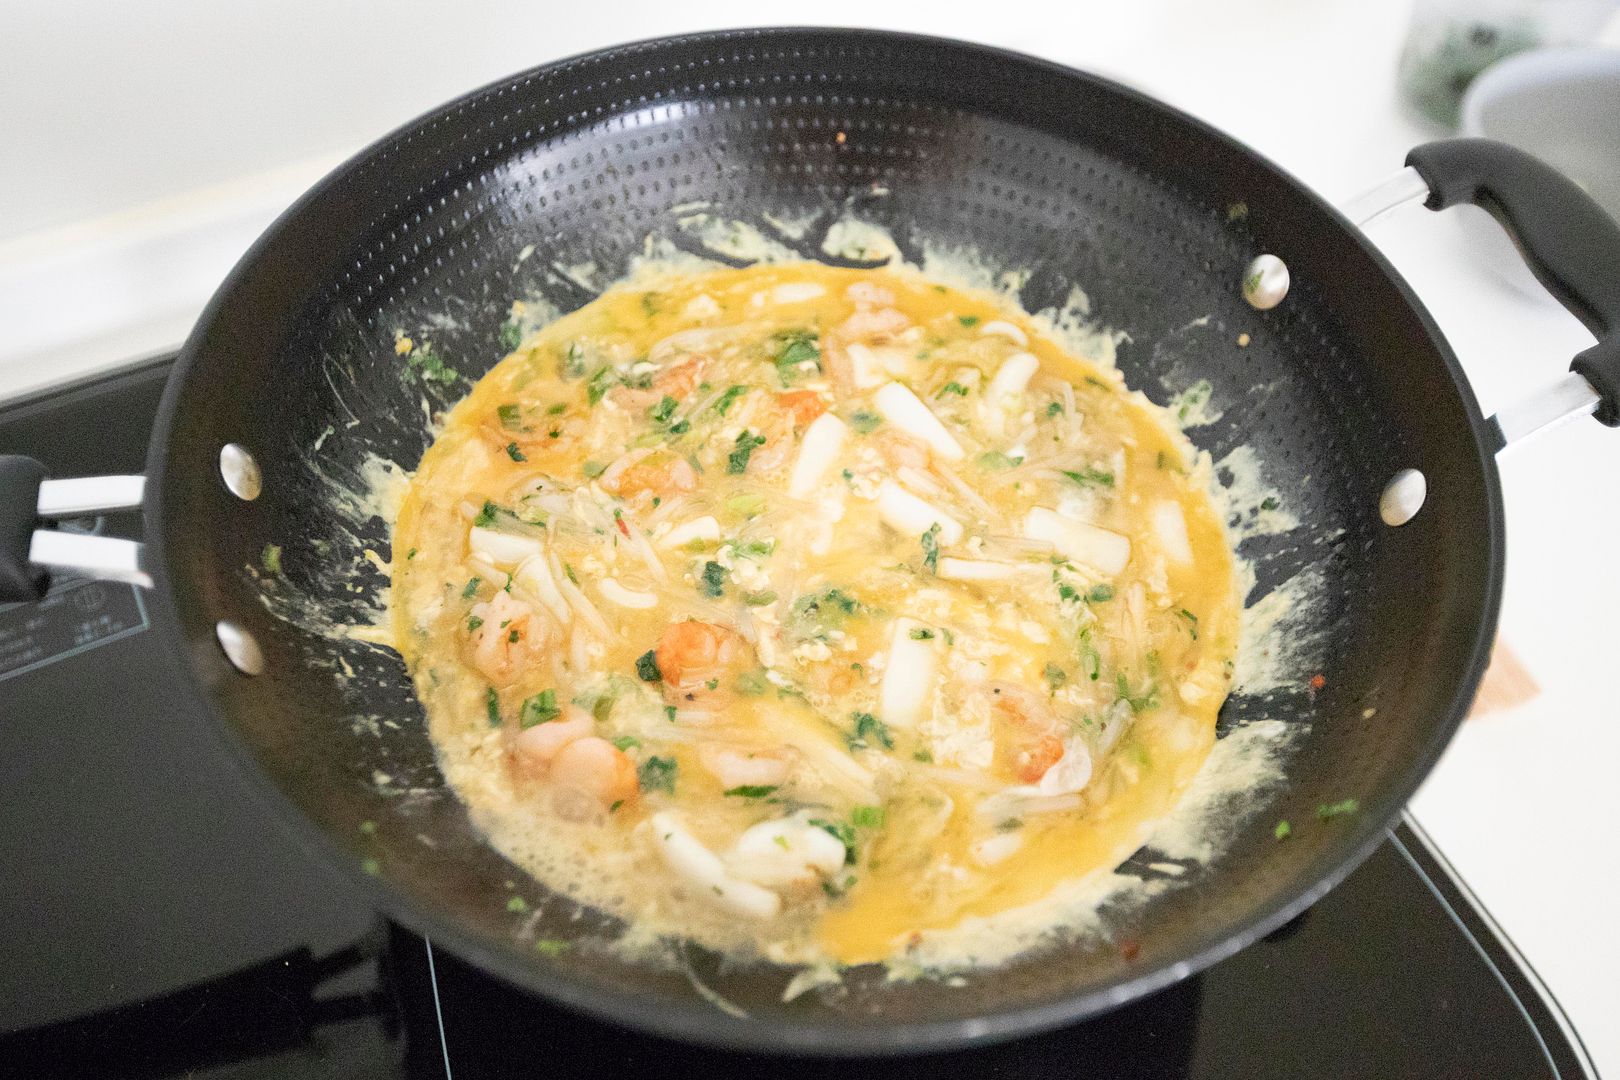
Pour in beaten egg mixture. Stir slightly in the beginning then just let the bottom of the egg mixture to firm up. The whole thing should be fairly thick now, instead of laying out like a thin wrap.
Once the bottom seemed to set, fold half of the mixture over to form a half moon omelet. It can be tricky here, just try your best. If the shape doesn't look perfect, it's fine, we can always cover it up with sweet chili sauce (wink).
Keep searing till colored. You can try to flip the whole thing again, but it can be a daunting job and making all the ingredients falling apart. Or you can simply cover the wok with lid, let the trapped heat finish cooking the rest. Less seared mark and aroma that way, but at least everything is intact.
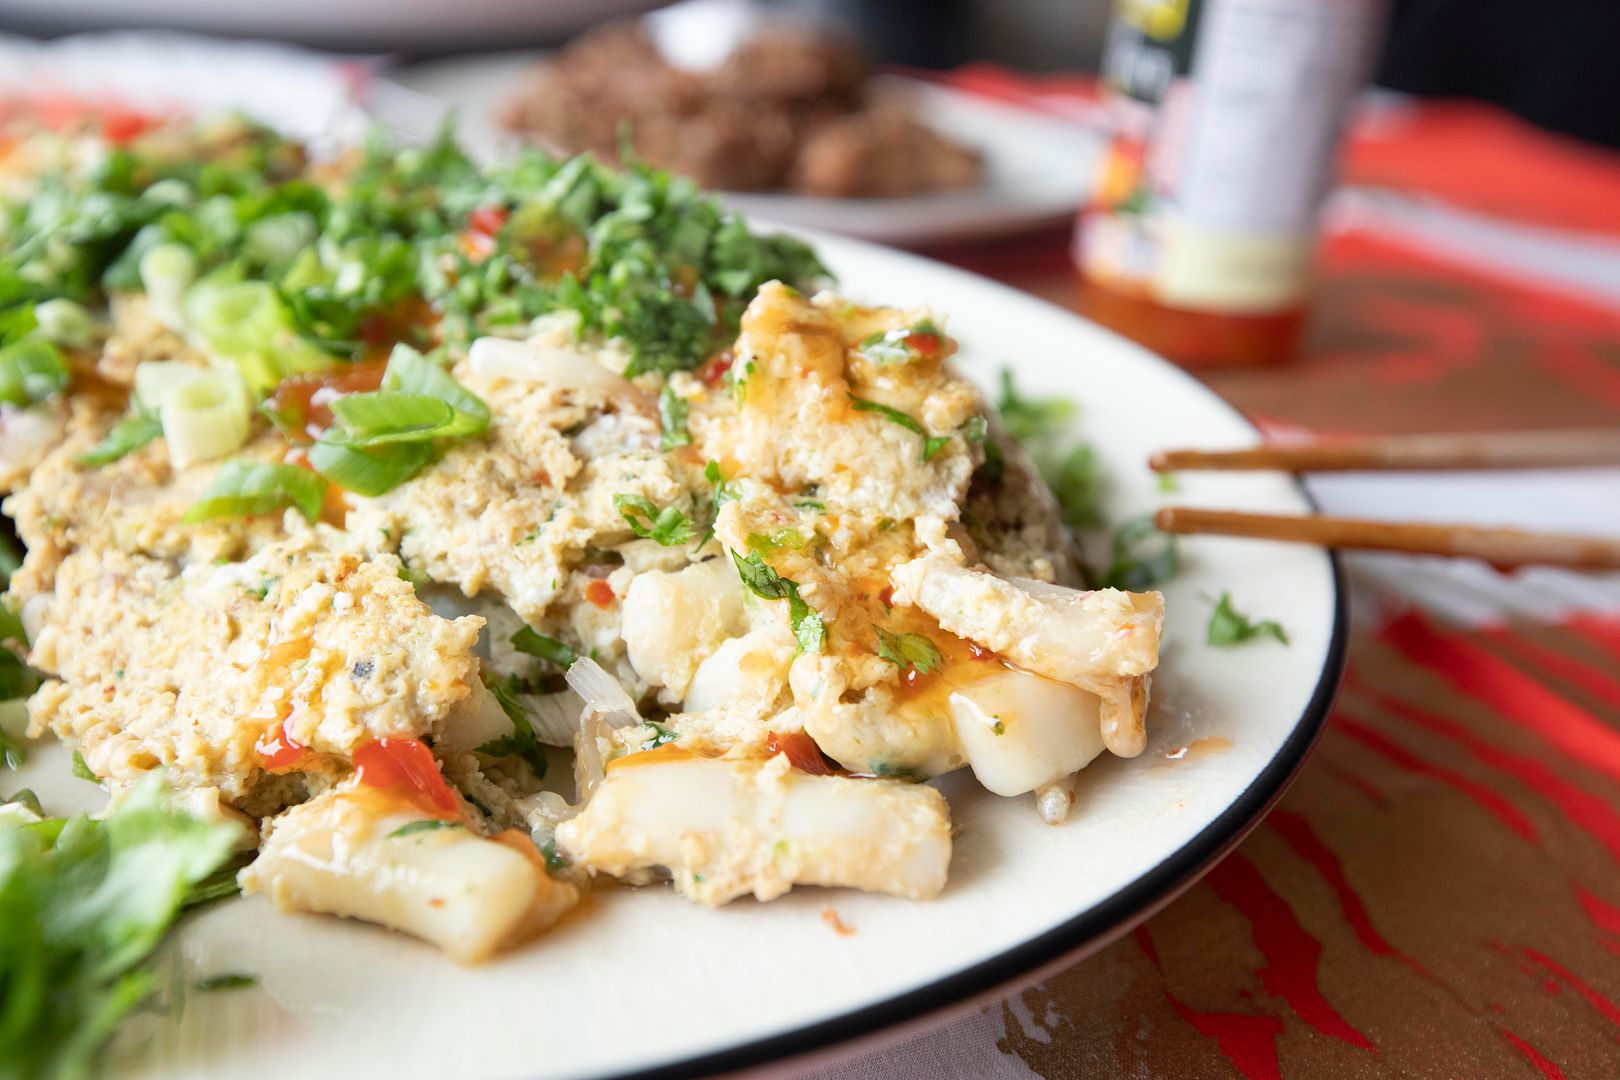
Once done, flip the omelet onto a serving plate, or just slide to the plate. Pour some sweet chili sauce over and garnish with remaining chopped scallion and cilantro.
After a few bites, I think I kind of know why I was craving for squid.
Usually I'll be searching for boba, which is also slightly chewy like squid. Perhaps that's what happened when my sweets cravings turned into savory dishes. From boba to squid, who'd have thought there's something connected between the two.
Other Thai style dishes:
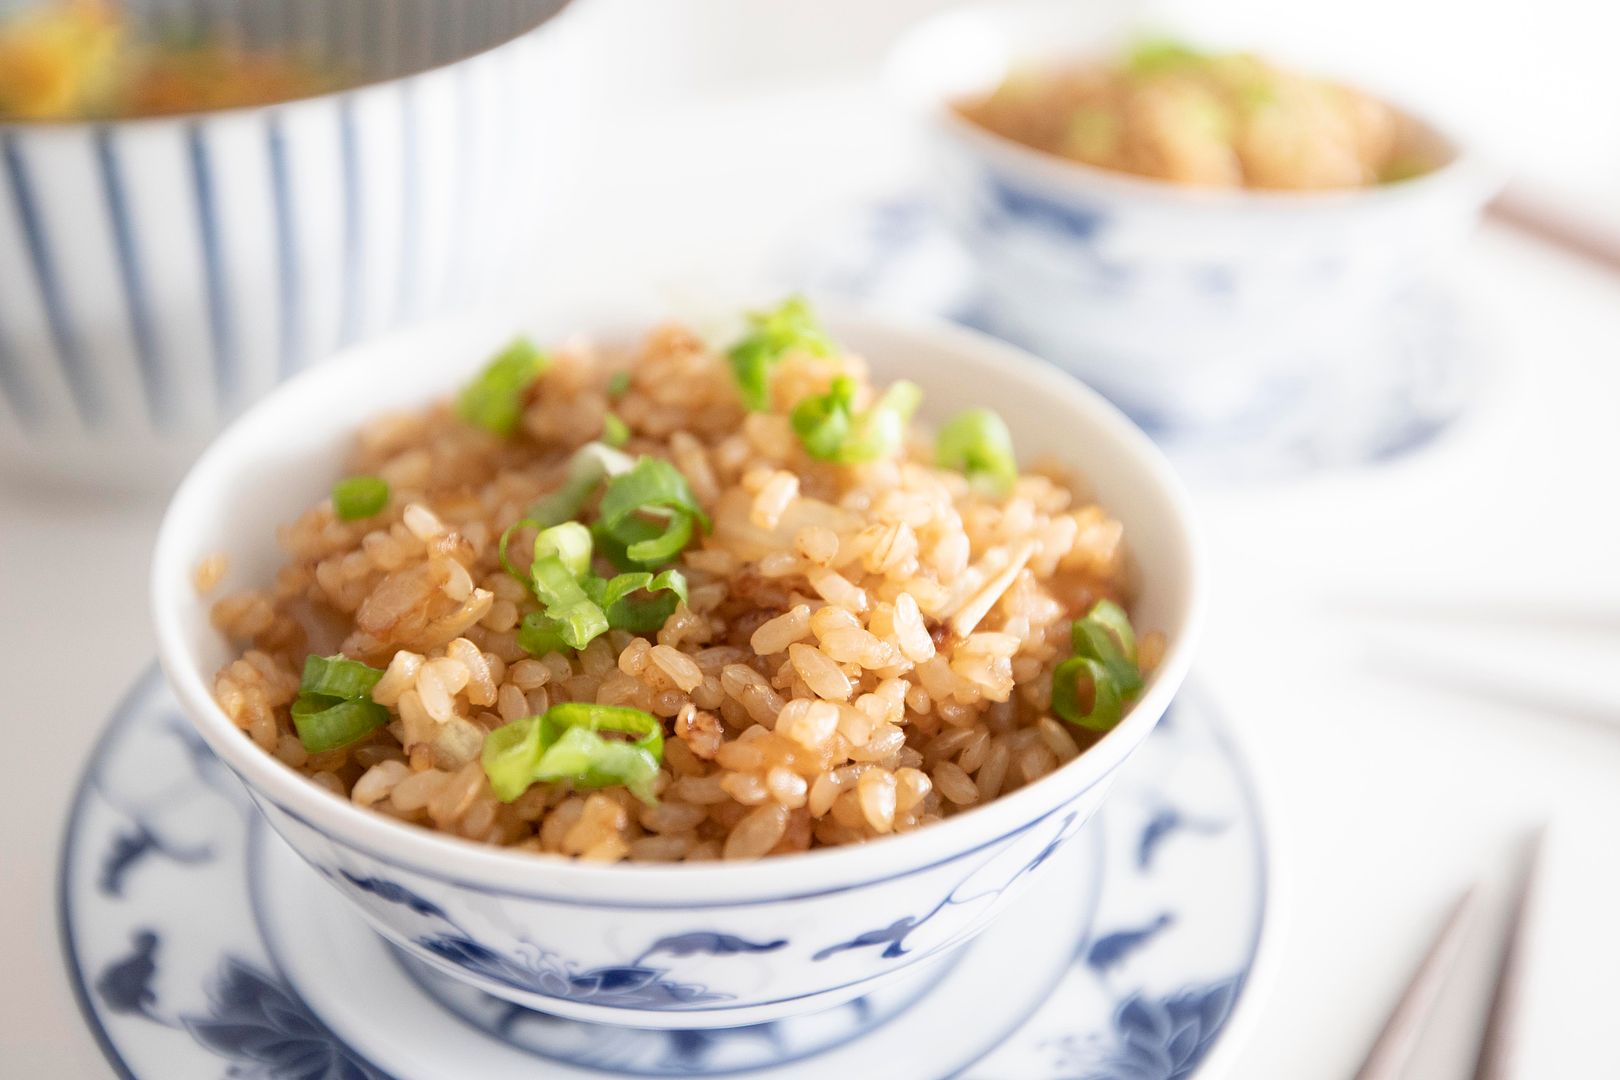
Just to be honest, days before making this butter and soy sauce fried rice, I went overboard on eating, actually too much junk food. It was time to cut back, so no fancy ingredients, no meats, just the old butter and soy sauce combo, and served with some mixed veggies on the side. It's a compensation kind of thing.
Butter and soy sauce fried rice 奶油醬油炒飯 -
Ingredients (about 3 to 4 portions)?
- 3 rice cups uncooked brown rice
- 1/2 onion
- 1 stalk scallion
- 1/4 teaspoon grated ginger
- 3 tablespoons unsalted butter
- 3 tablespoons soy sauce
- 1/4 teaspoon salt
How?
Cook the rice first, or even make it the day before. Use less water than usual since it's going to be made into fried rice. Be sure to measure the rice using rice cups, not the regular measuring cups.
Destem and chop the scallion. Peel and cube the onion. Grate the ginger.
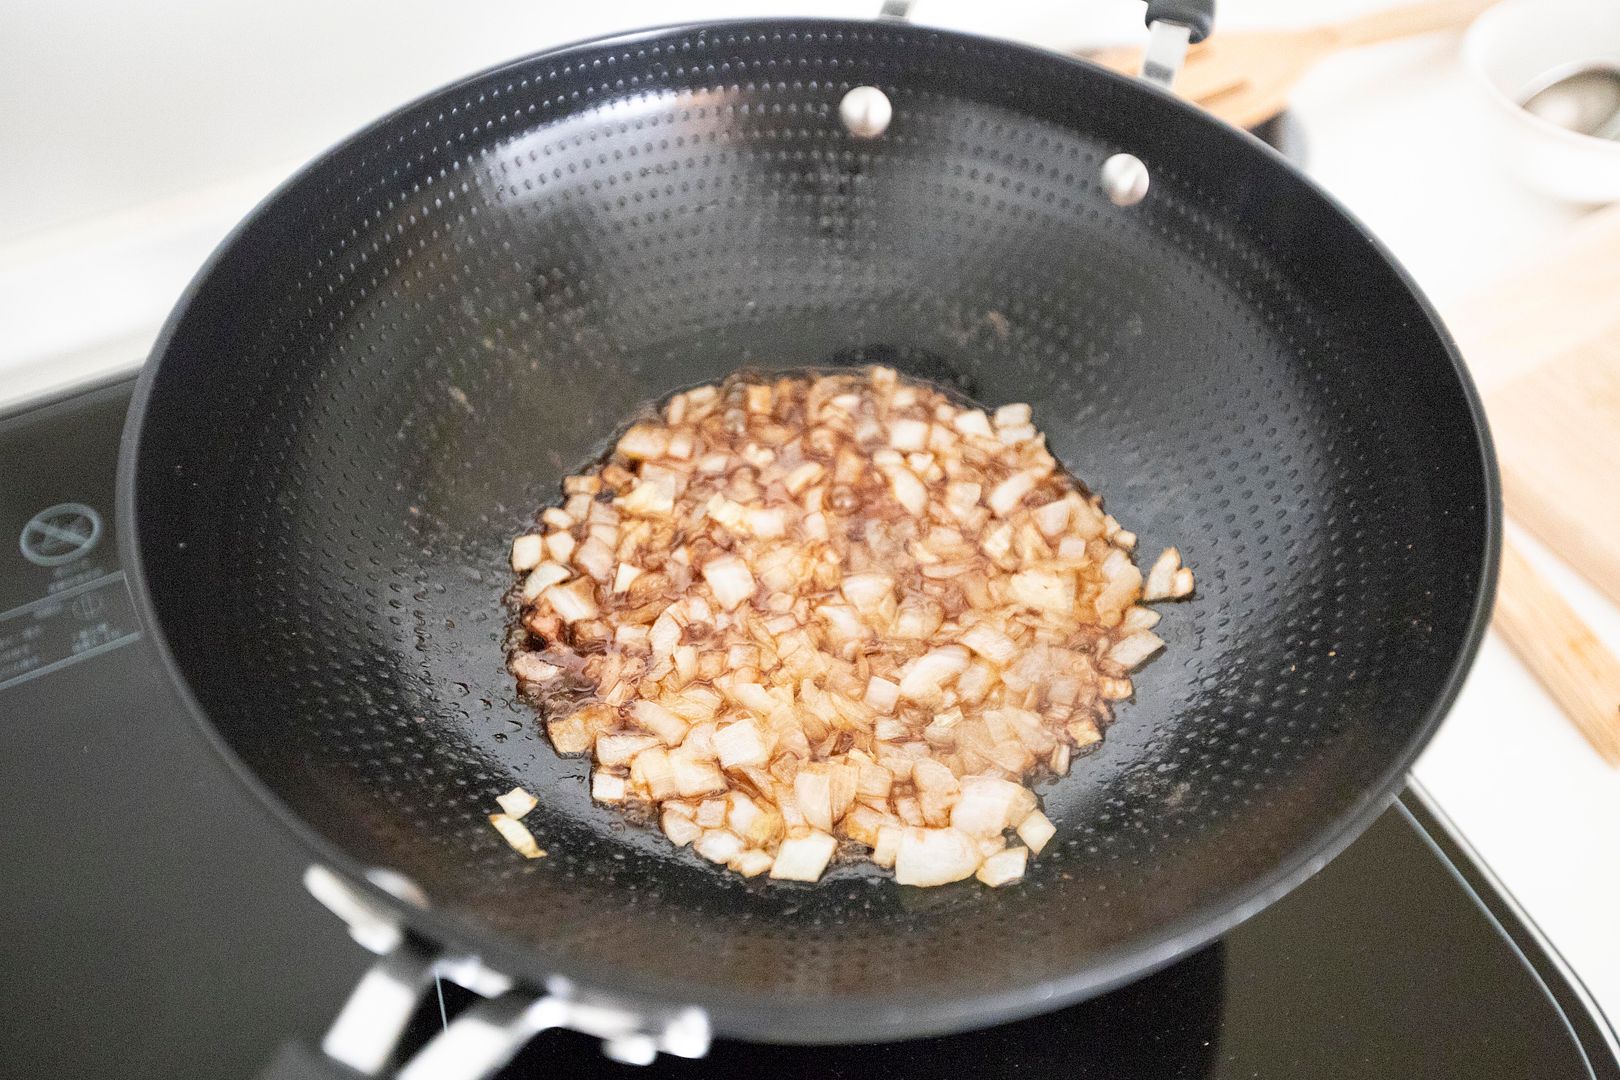
Transfer the butter to a big pan or use a wok. Turn to medium high heat. Add in diced onion, grated ginger, and 1/4 teaspoon of salt.
Give it a stir and cook till the onion turns slightly browned on the edges.
Pour in about 3 tablespoons of soy sauce, cook for a little bit so the heat can further bring out that distinct aroma, should be less than one minute. The soy sauce will reduce a little under such high heat, it's ok, just make sure it won't dry up. If that's the case, use more soy sauce, at least enough to coat the grains later on.
Transfer cooked rice over in two batches. Mix before adding in the second batch. Mix and make sure every grain is coated with our seasoning. Cook till nearly all dried up, the grains should be fluffy and separated in a way.
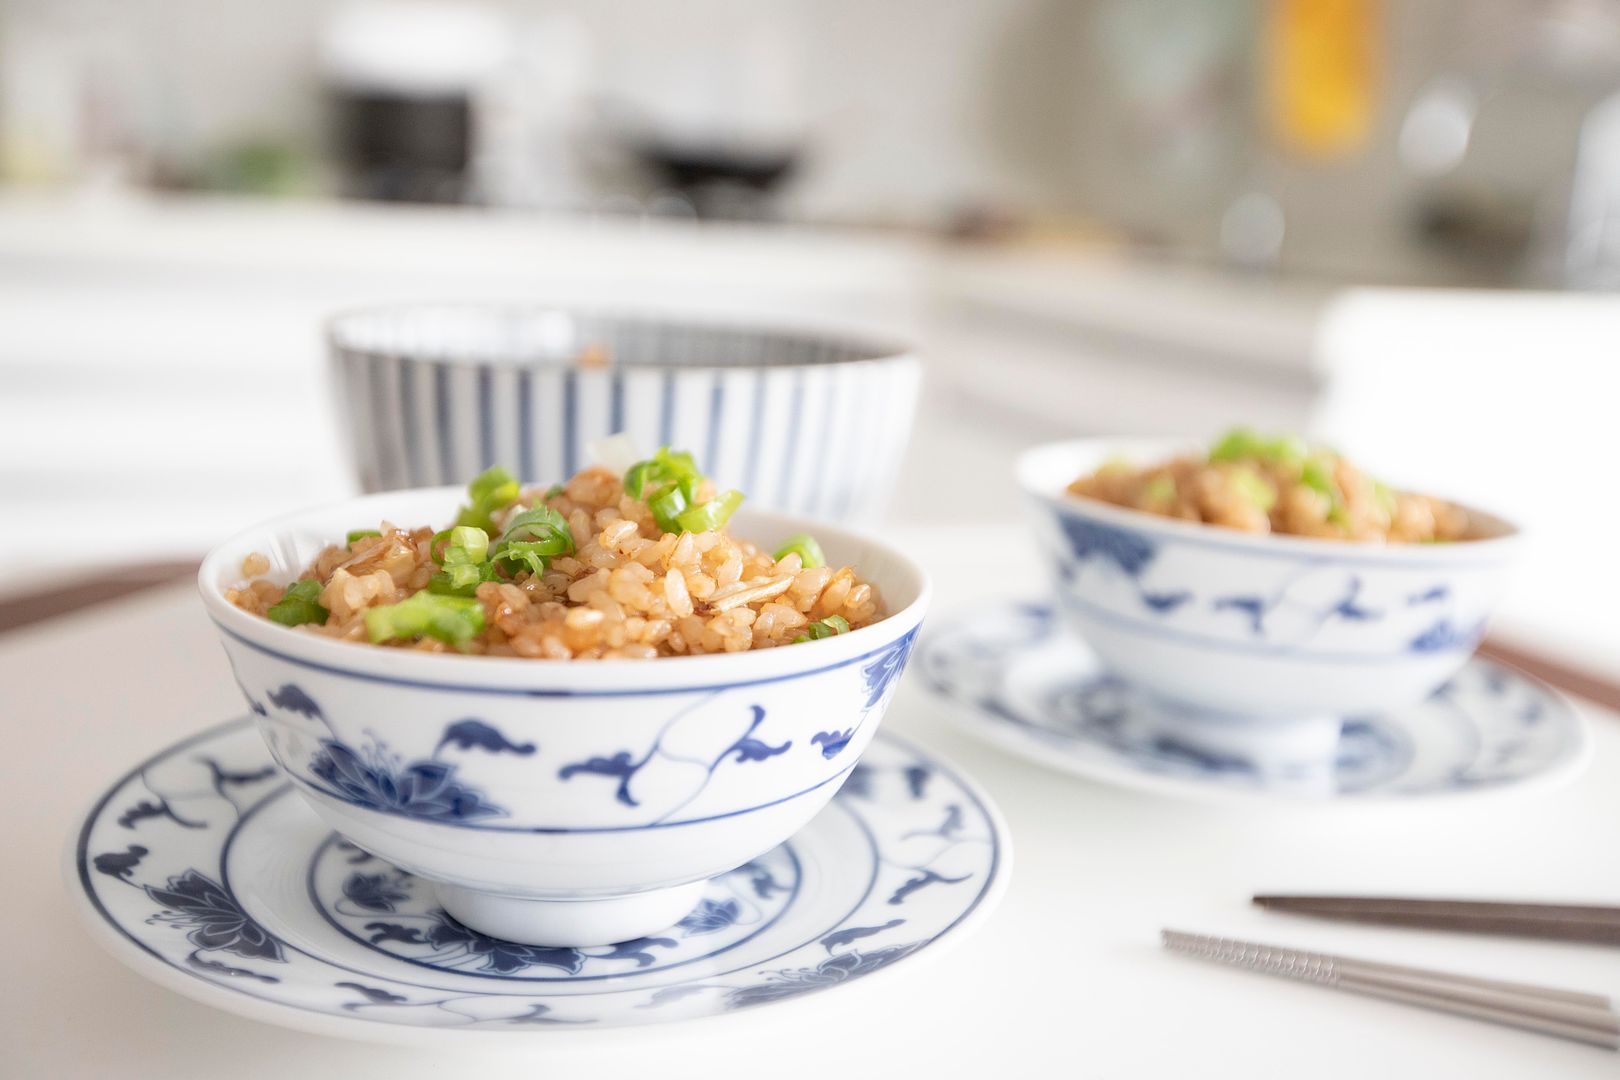
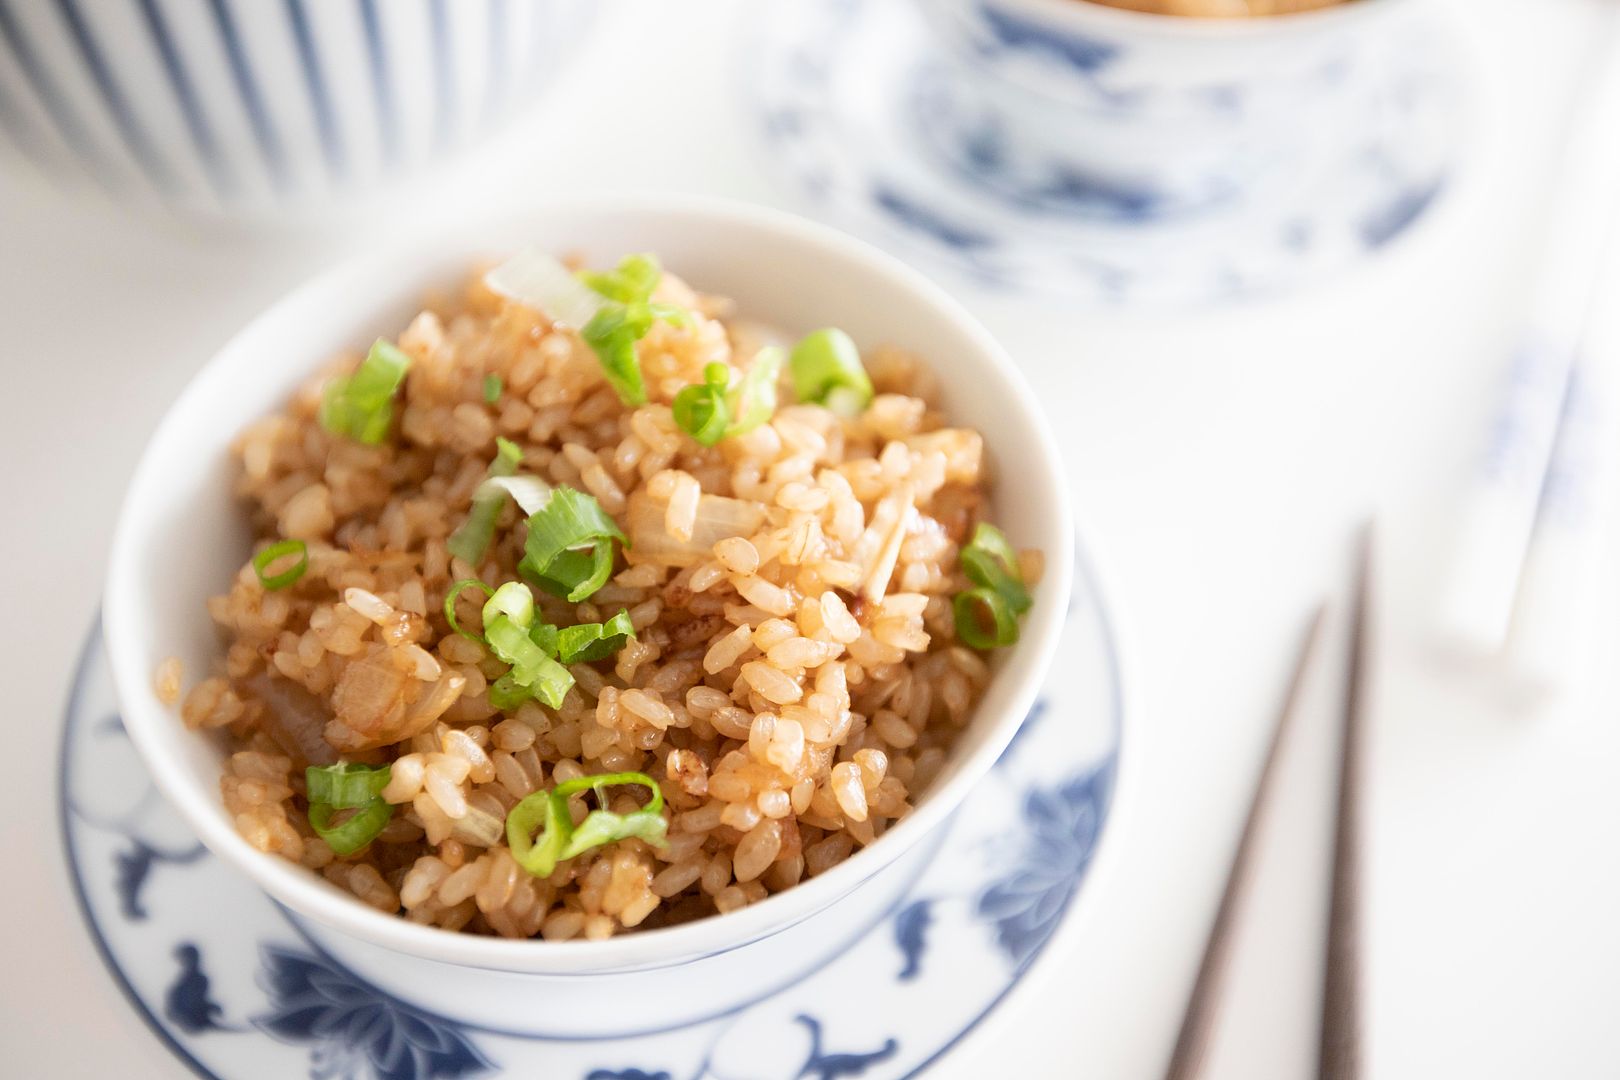
Transfer this simple fried rice to serving bowls and sprinkle with chopped scallion.
Sounds easy, but it can be even harder to get the aroma out. Make sure to fully sear the onion till slightly browned, and let the soy sauce bubbling away to intensify the flavor even more.
Nostalgic it is. Be sure to prep some dishes on the side. Per my case, braised mixed veggies. Something needs to be done to offset my earlier junk food binge.
Other Asian rice recipes:
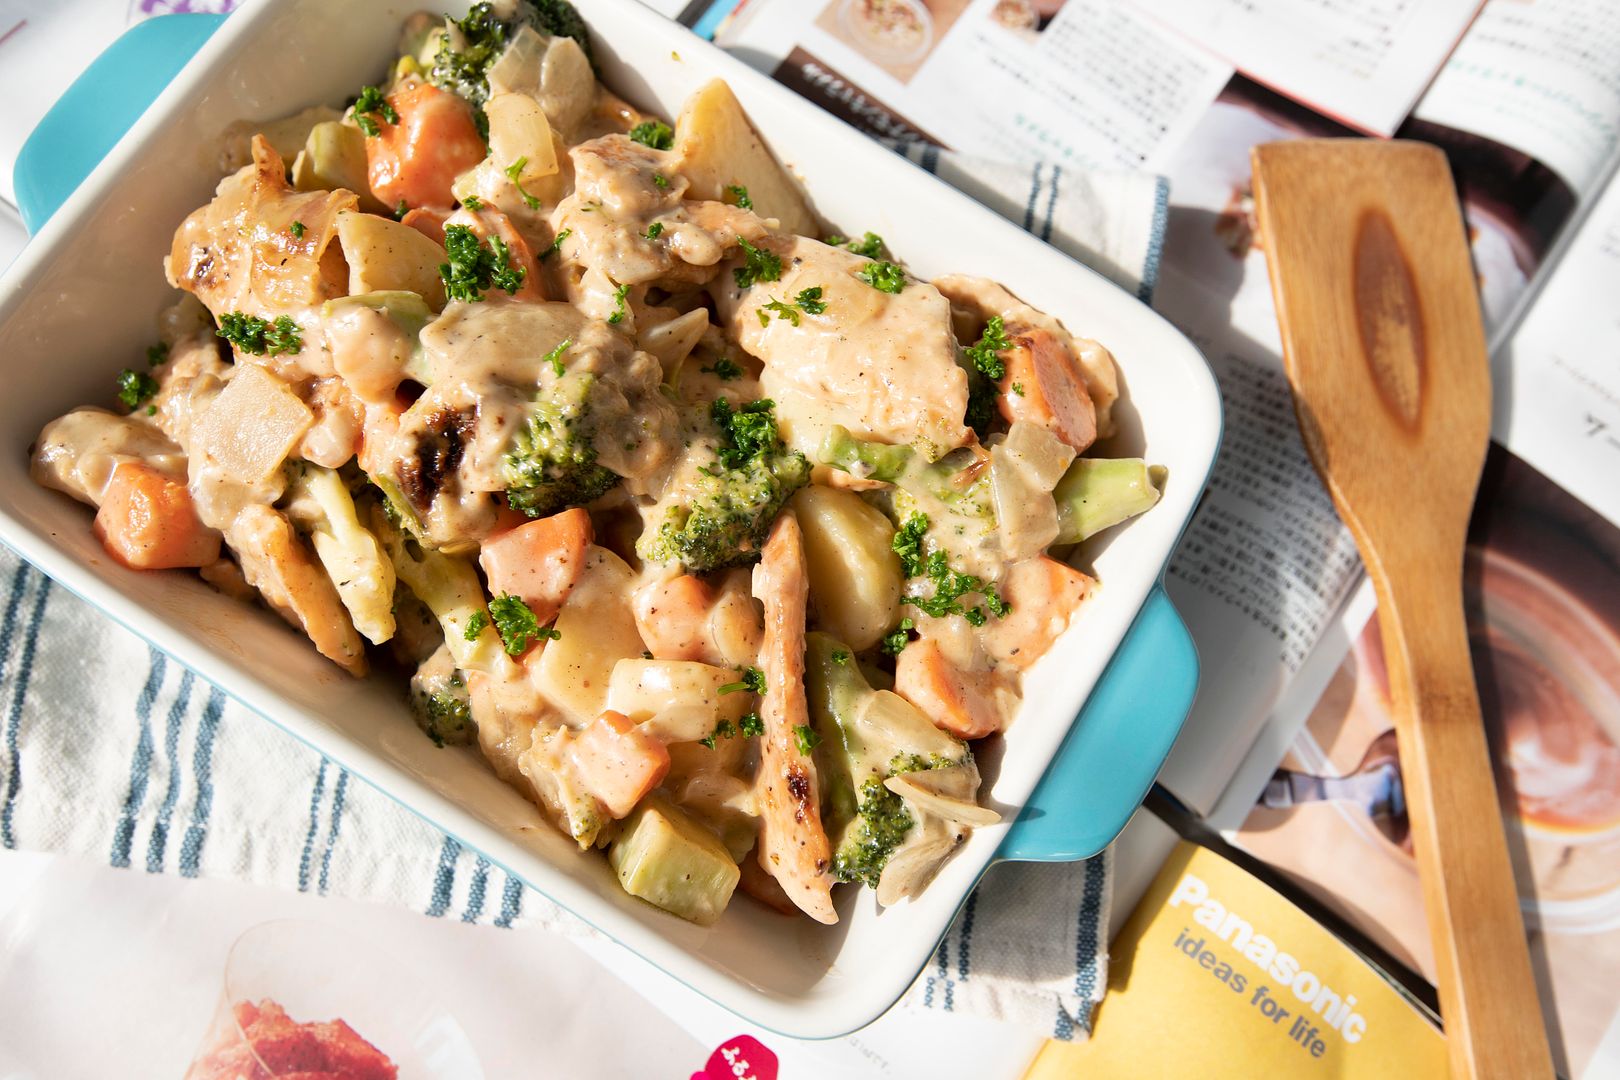
White stew (ホワイトシチュー), a Japanese style stew starting with roux and finished off with heavy whipping cream. However, I feel uneasy calling my version "white" stew, since the result came out somewhat brownish. Maybe not as pretty as a purely "white" stew, but trust me, this darkened version is packed with flavor and will not disappoint.
Japanese salmon stew -
Ingredients?
- 200 grams salmon (fillet preferred, but slices will do too)
- 1 onion
- 2 garlic cloves
- 1 medium/small broccoli
- 2 medium/small carrot
- 3 small potatoes
- 1 cup heavy whipping cream
- 1/2 cup chicken stock
- 4 tablespoons unsalted butter
- Small pinch nutmeg
- Some parsley
- Some flour
- Some salt
- Some black pepper
- Some white wine (optional)
How?
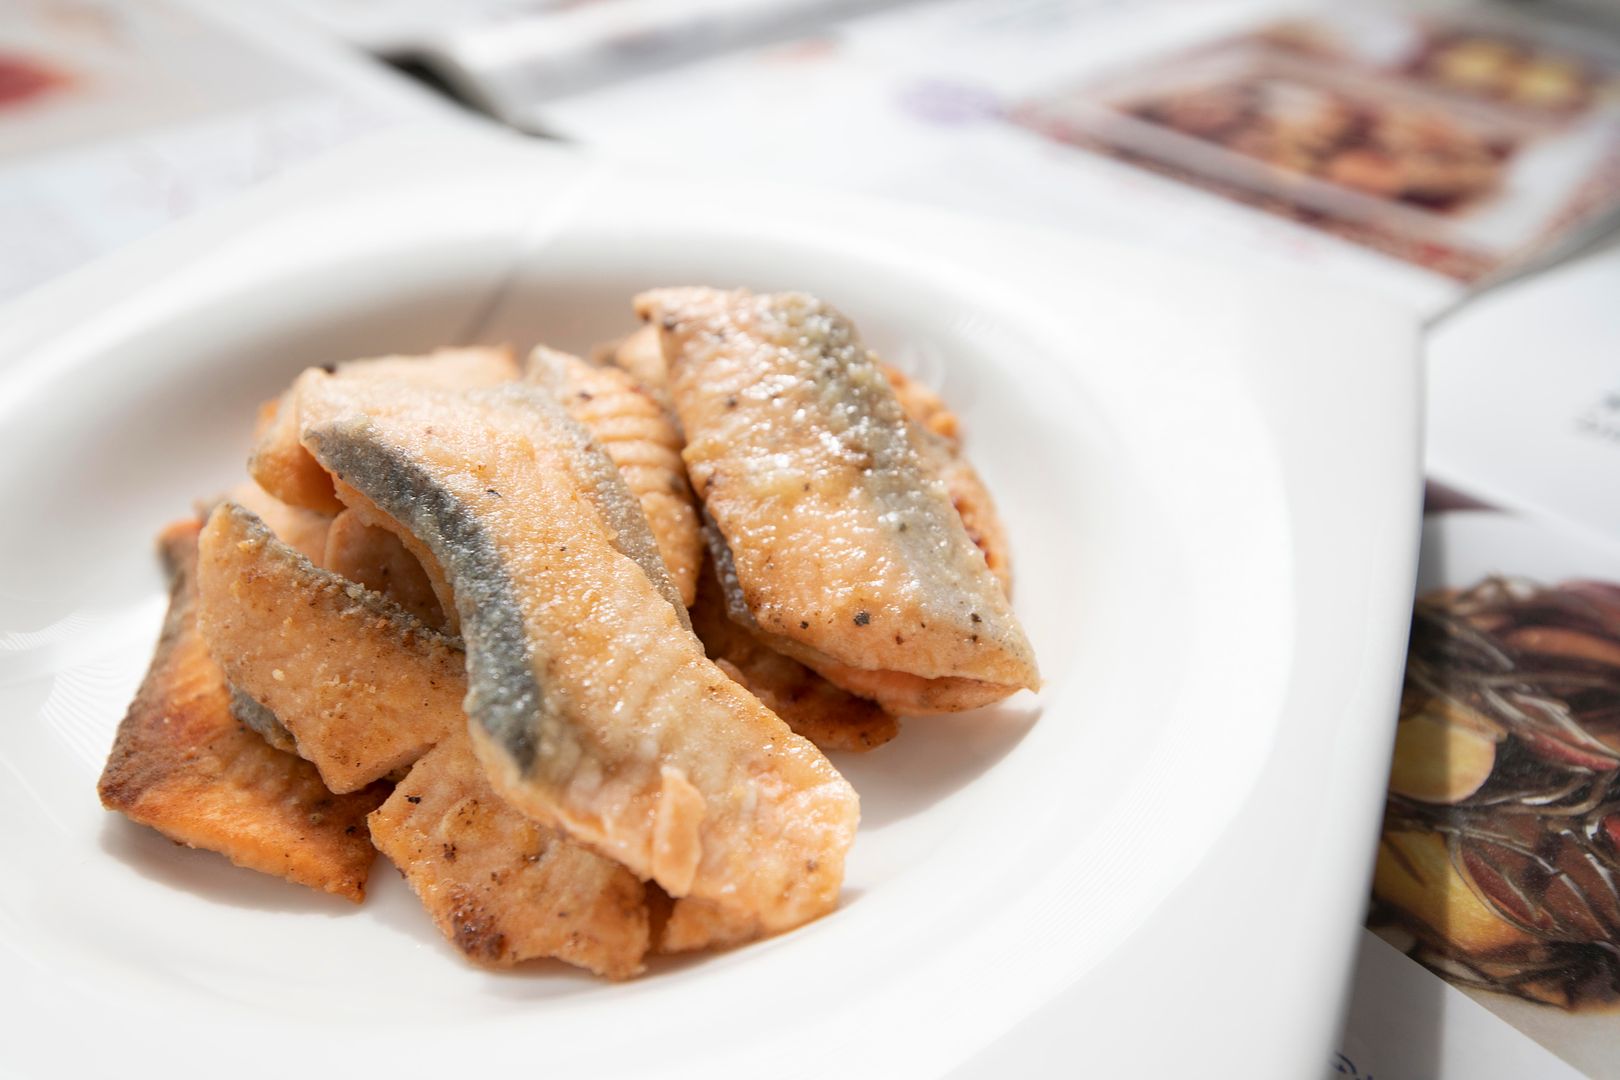
Chunky salmon is preferred, cut into large bite size pieces. I couldn't get a hold of salmon fillet, so had to adapt with thinner slices instead.
Sprinkle some salt and pepper to the fish, then dust with flour.
Add 2 tablespoons of butter to the pot and turn to medium high heat. Once melted, sear the fish till both sides turned slightly browned. Remove from heat and set aside for later use.
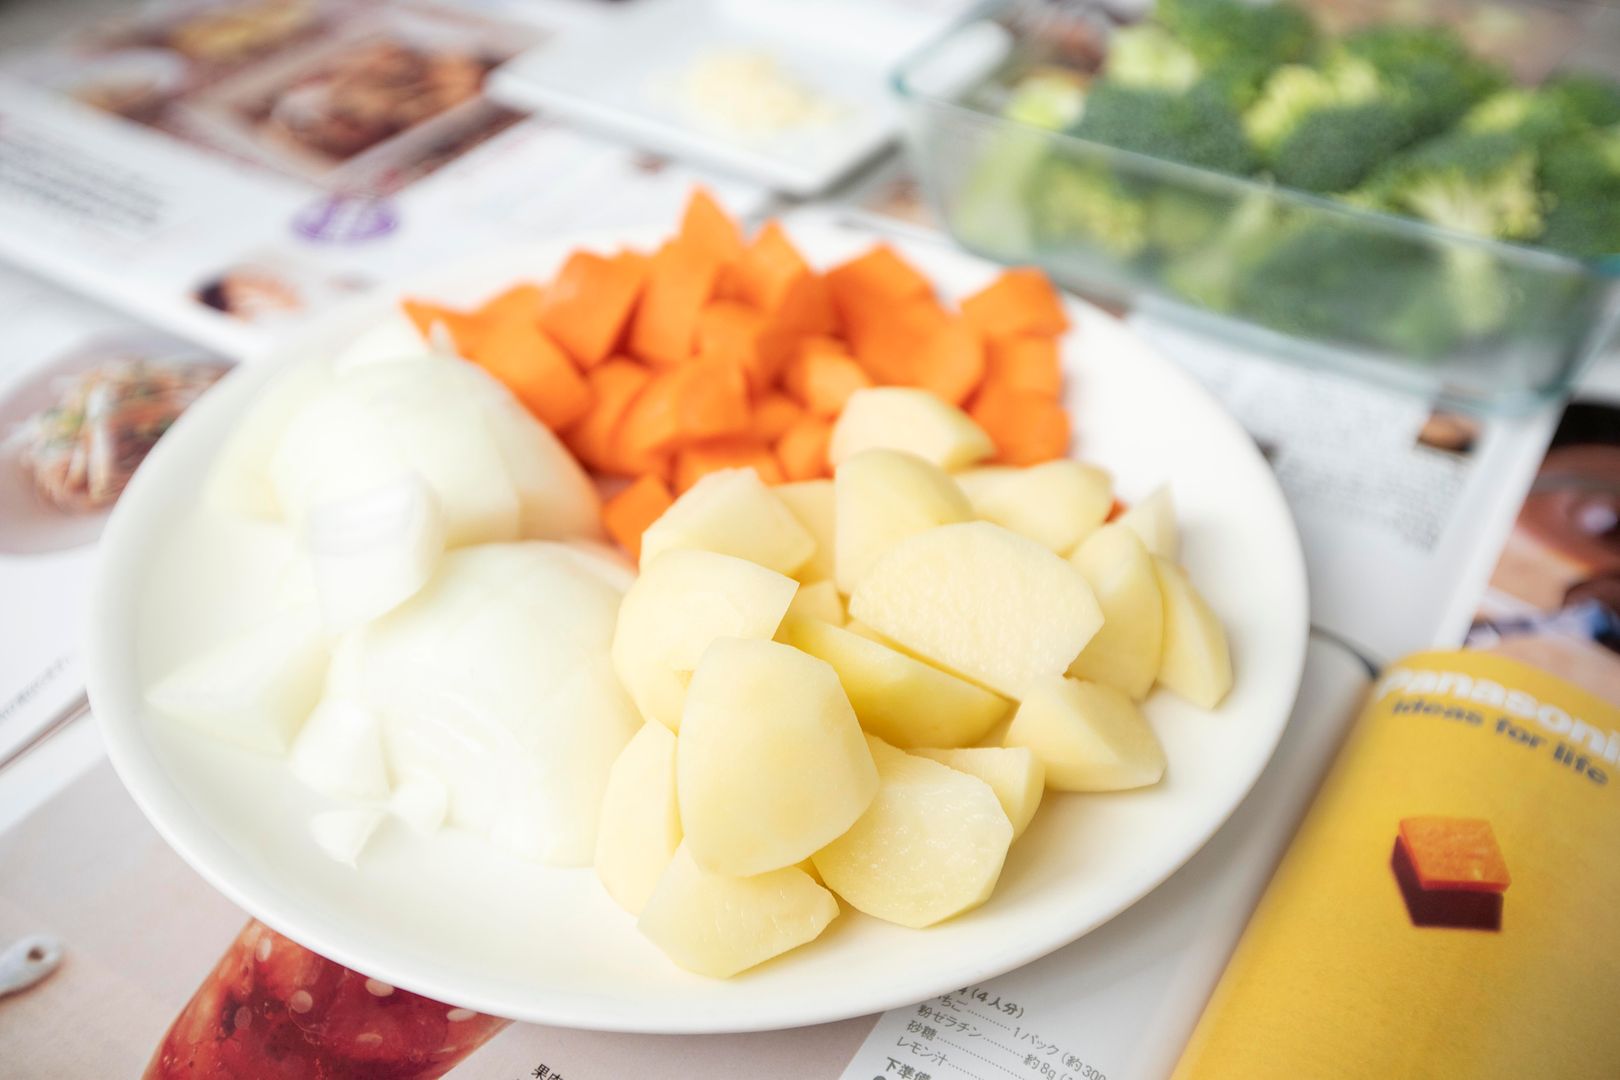
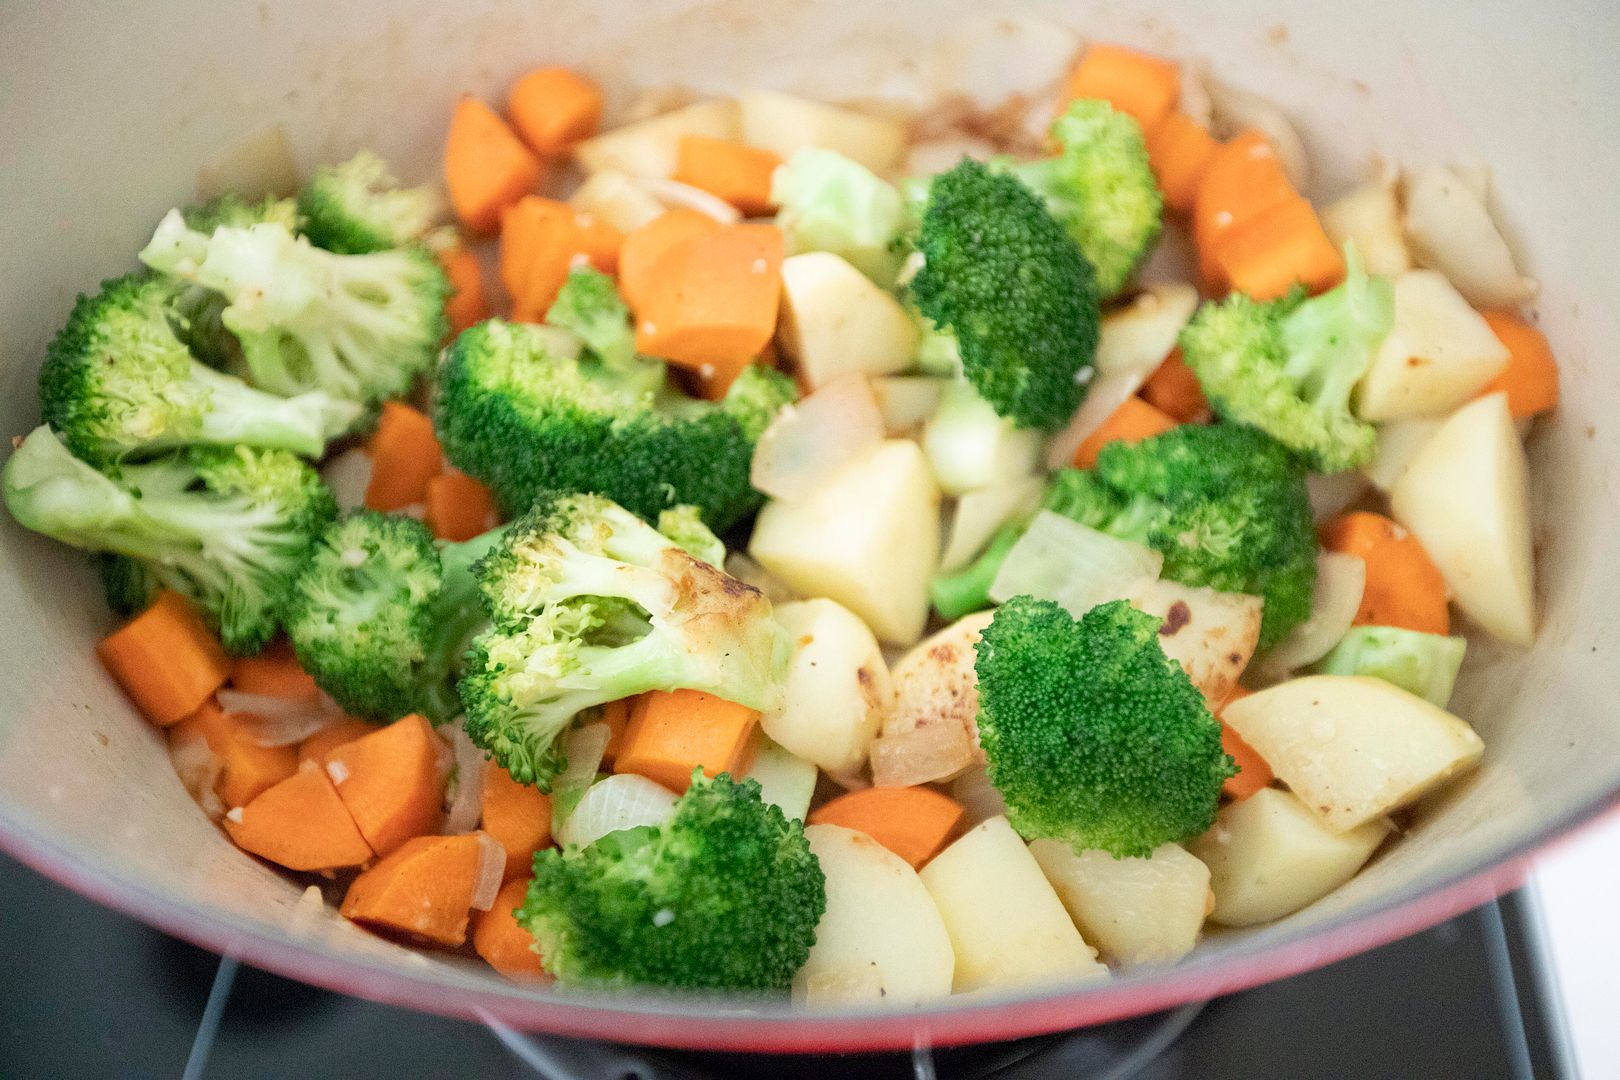
Break the broccoli into smaller pieces. Do not discard the stem, peel away tougher layer then cut into chunks too. Peel and cut the carrot into smaller chunks, do the same with potatoes. Peel and dice the onion. Peel and finely chop garlic cloves. Finely chop some parsley.
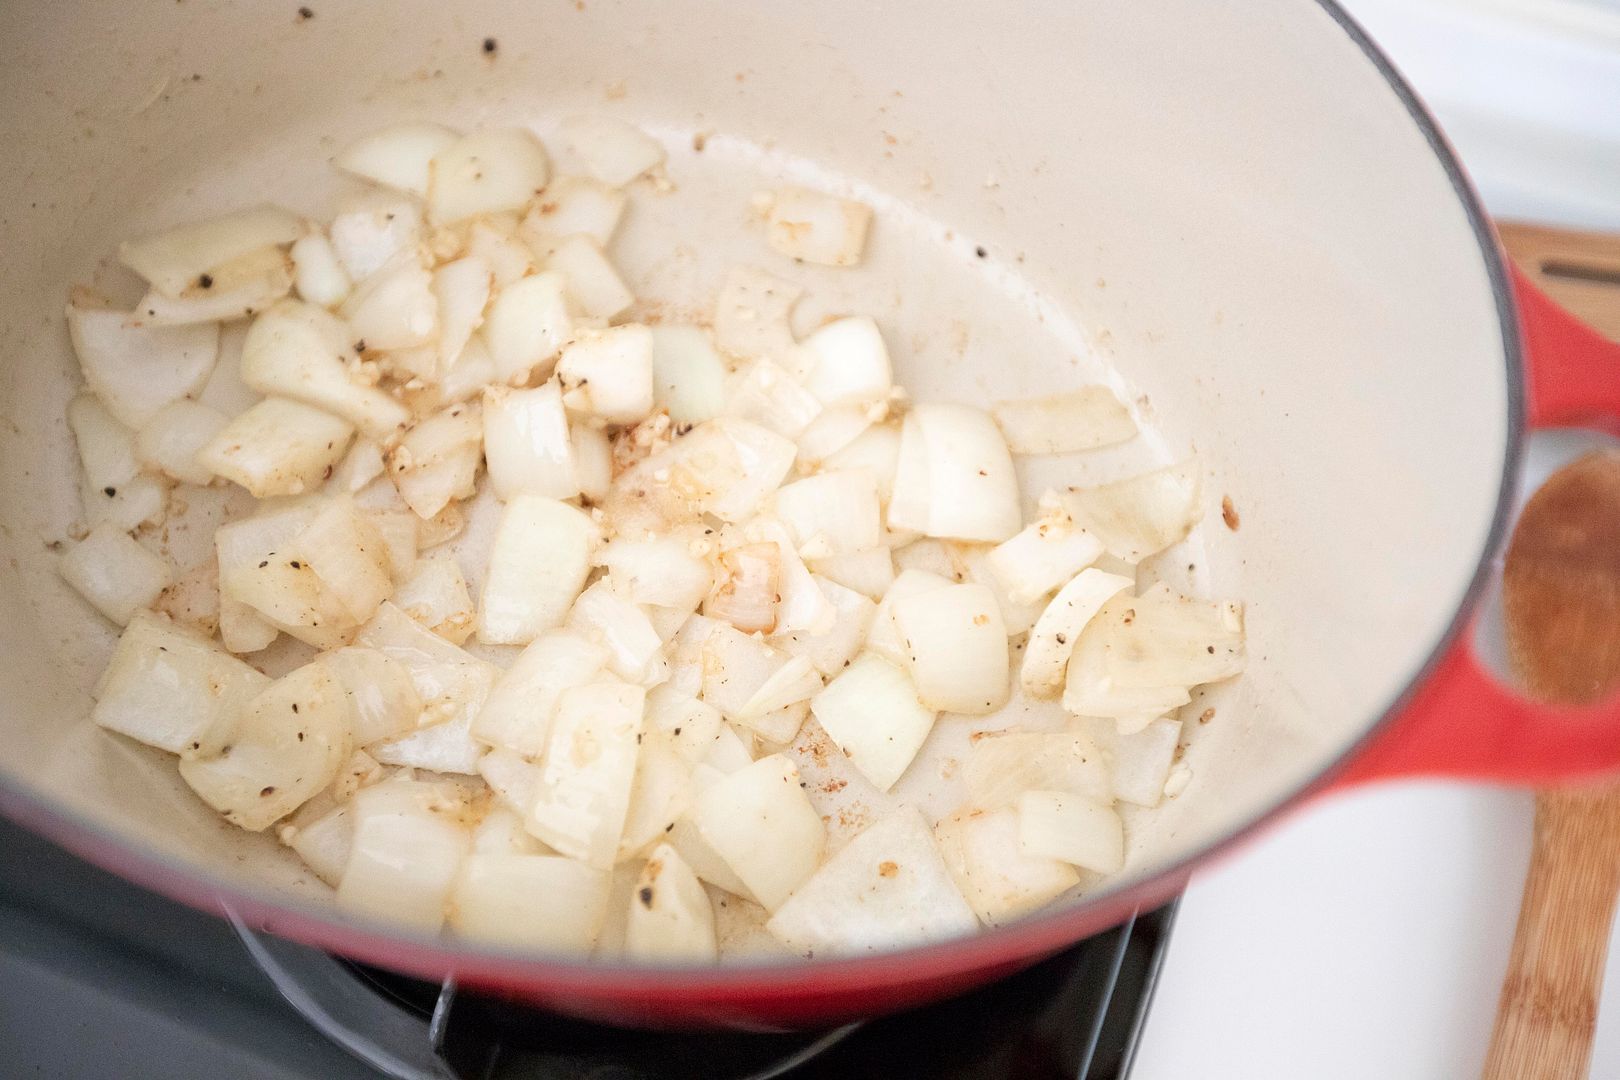
Use the same pot, add in 2 more tablespoons of butter and turn to medium high heat. Transfer chopped onion over along with 1 teaspoon of salt and 1/4 teaspoon of black pepper. Cook till the onion turns translucent. Add in garlic and cook for another 30 seconds or so.
Transfer broccoli, carrot, and potatoes over. Sear and wait till they get slightly softened, it can take up to 10 minutes or so.
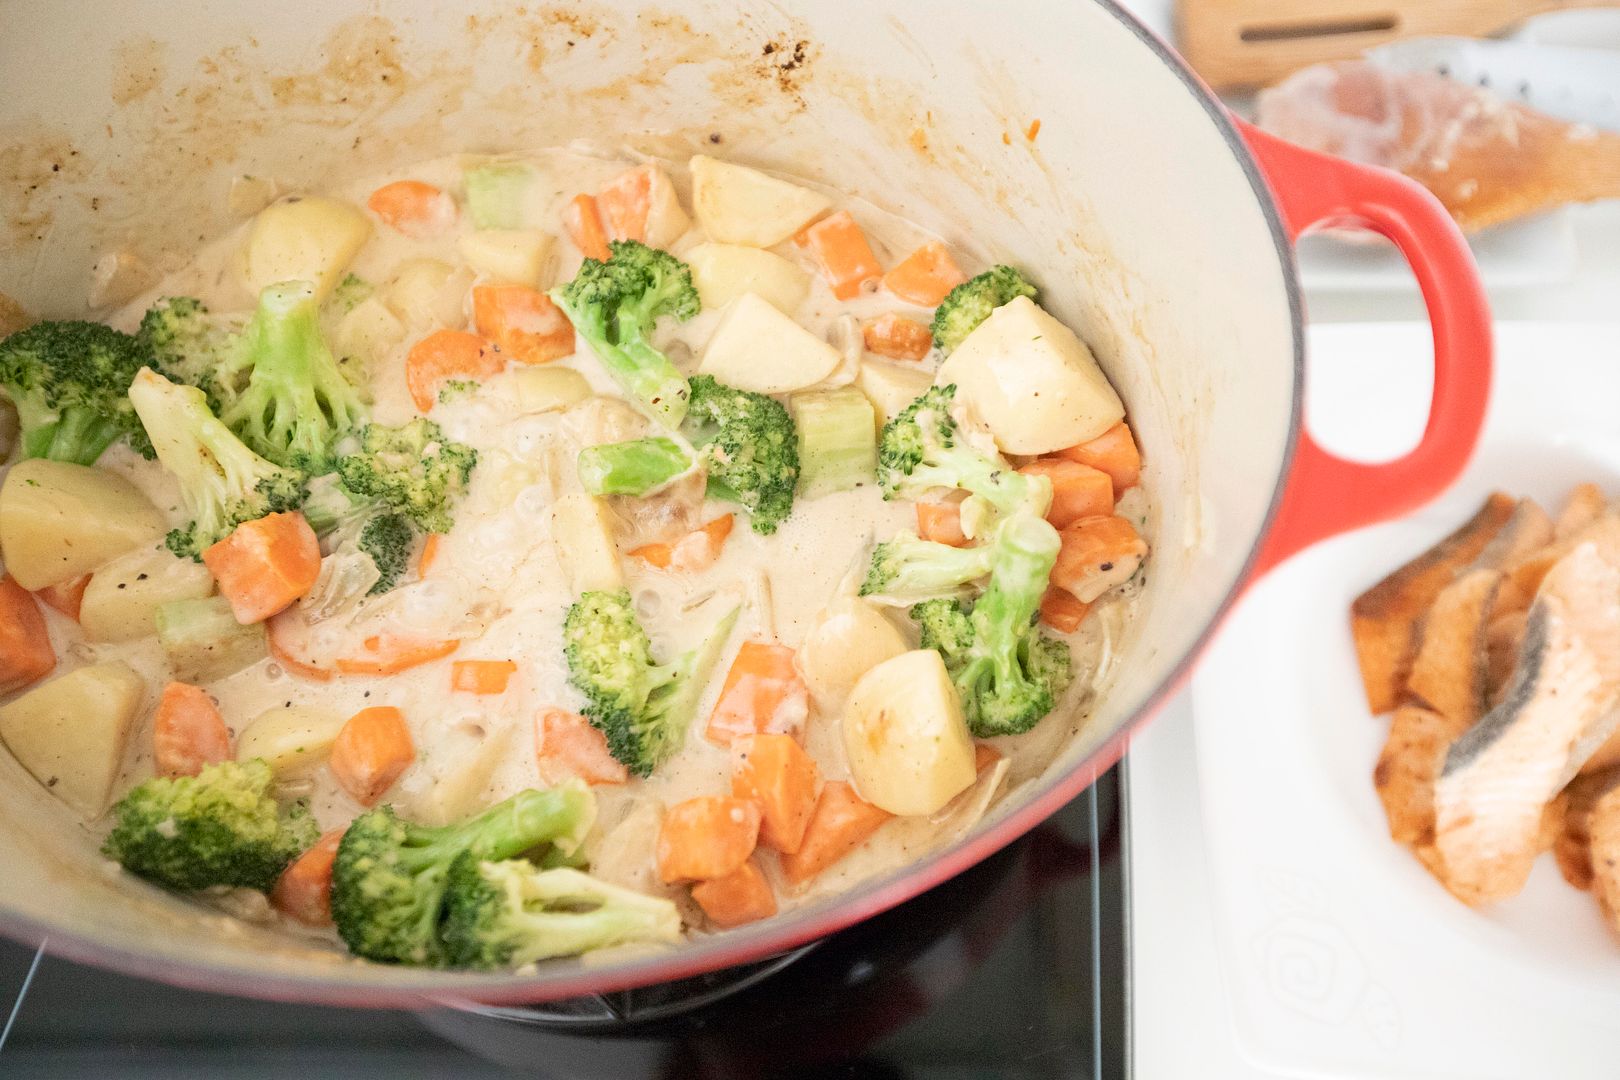
Add in about 2 tablespoons of flour and give it a quick mix, a thicker roux will start to form. Pour in chicken stock, also few splashes of wine if using. Cook for couple minutes.
Pour in heavy whipping cream and bring the whole pot to a slight boil, then keep it at a simmer. Taste and adjust with salt if needed.
Salmon goes in now, also small pinch of nutmeg. Simmer for another 20 to 25 minutes.
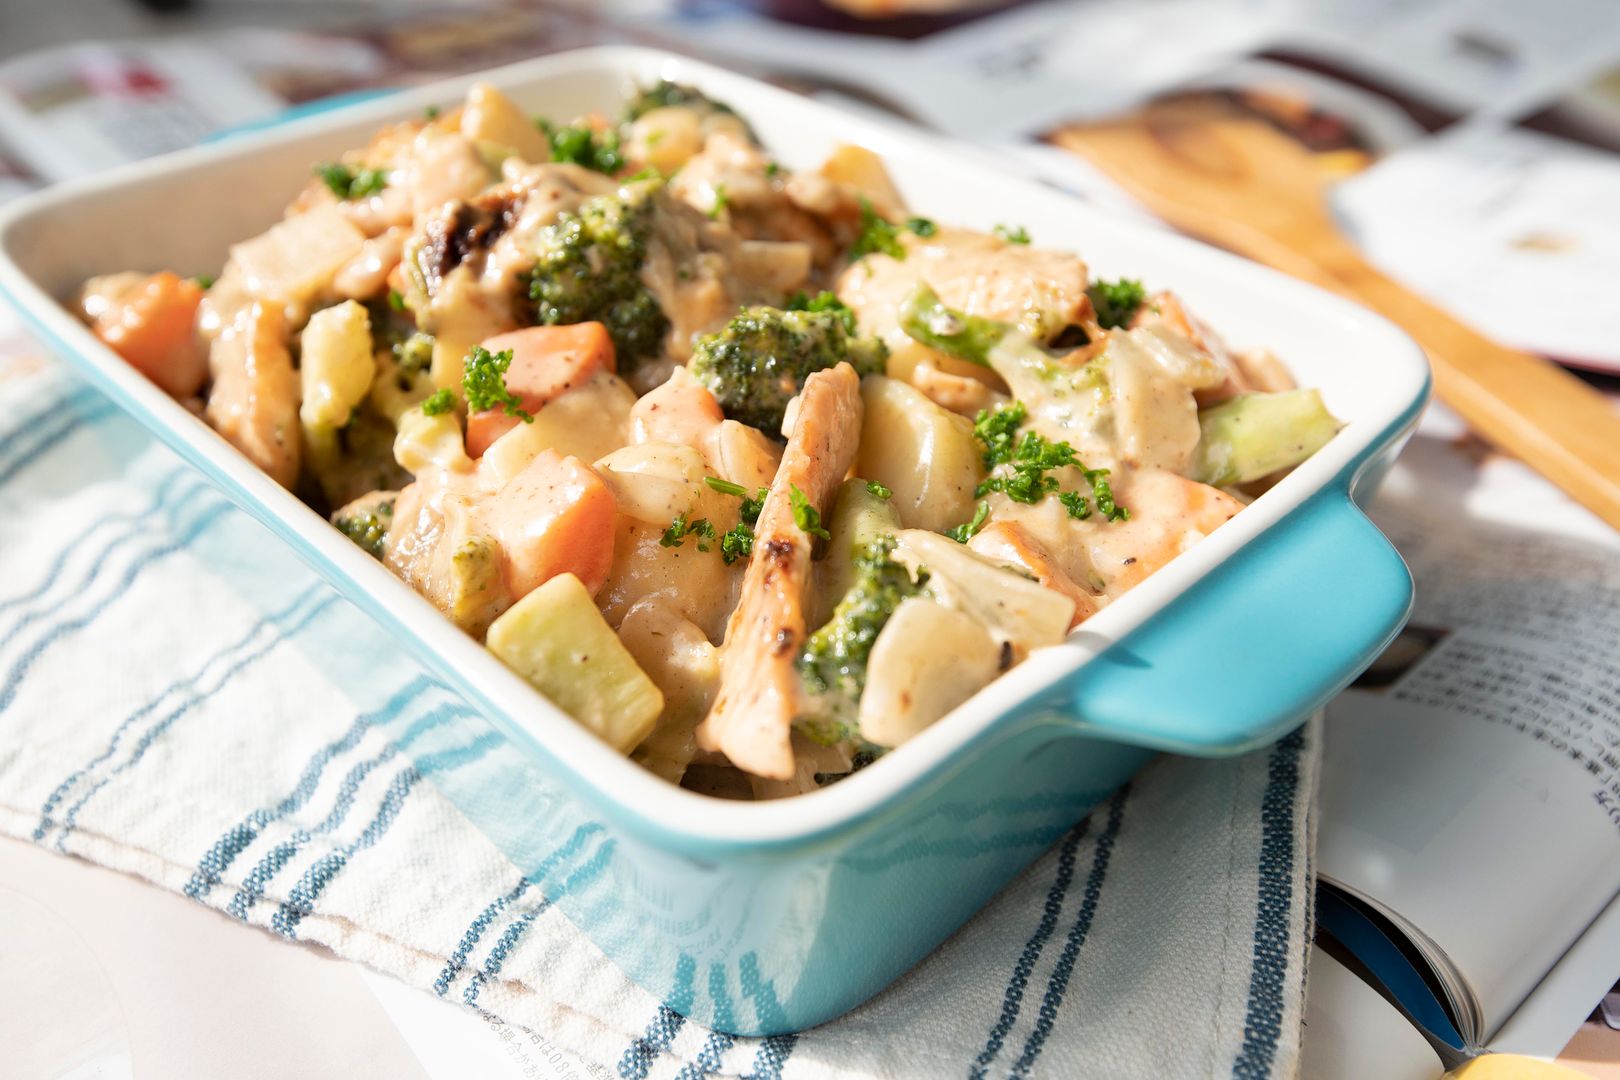
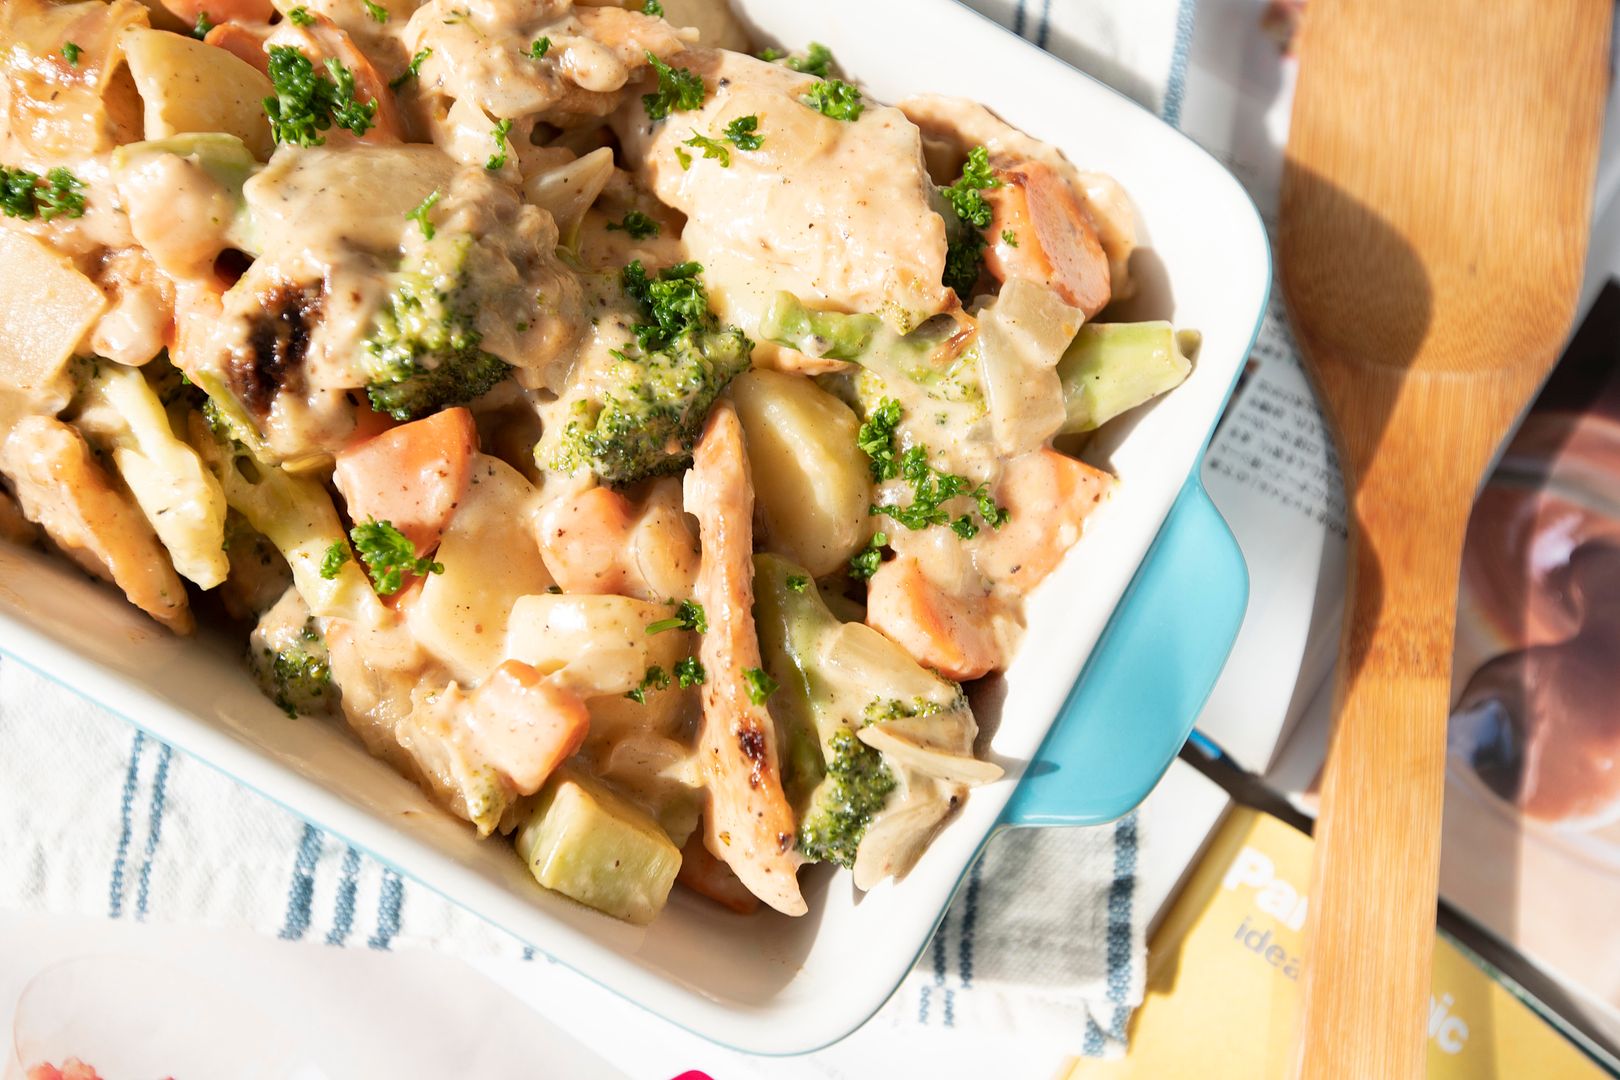
Once ready, transfer to a serving dish if desired. Garnish with chopped parsley right before serving.
One tip here, dice these root vegetables to even smaller pieces to speed up the cooking time.
My finished dish should be more like a braise than stew, but I'll stick with its Japanese origin and kept the name "stew." Either way, as long as it tastes good, don't bother with such details.
Other stew recipes:
This recipe is adapted from another blog LiveLoveLaughFood. The original recipe calls for Gorgonzola, but I use Bavarian blue, another type of blue cheese instead. Also there are some variations on the amount of ingredients applied. But mostly, I've taken on the method used to make the cheese cream for the savory tart, the end result was better than expected, very addicting so to speak.
Blue cheese and asparagus tart -
Ingredients (makes about 6 pieces)?
- Some frozen puff pastry (enough to cover the area of a baking sheet)
- 4 ounces or 114 grams Bavarian blue cheese
- 114 grams or about 2 dozen asparagus (medium thickness)
- 1/2 cup heavy whipping cream
- 1 egg
- Some aged Parmigiano Reggiano
- Some olive oil
- Some salt
- Some black pepper
How?
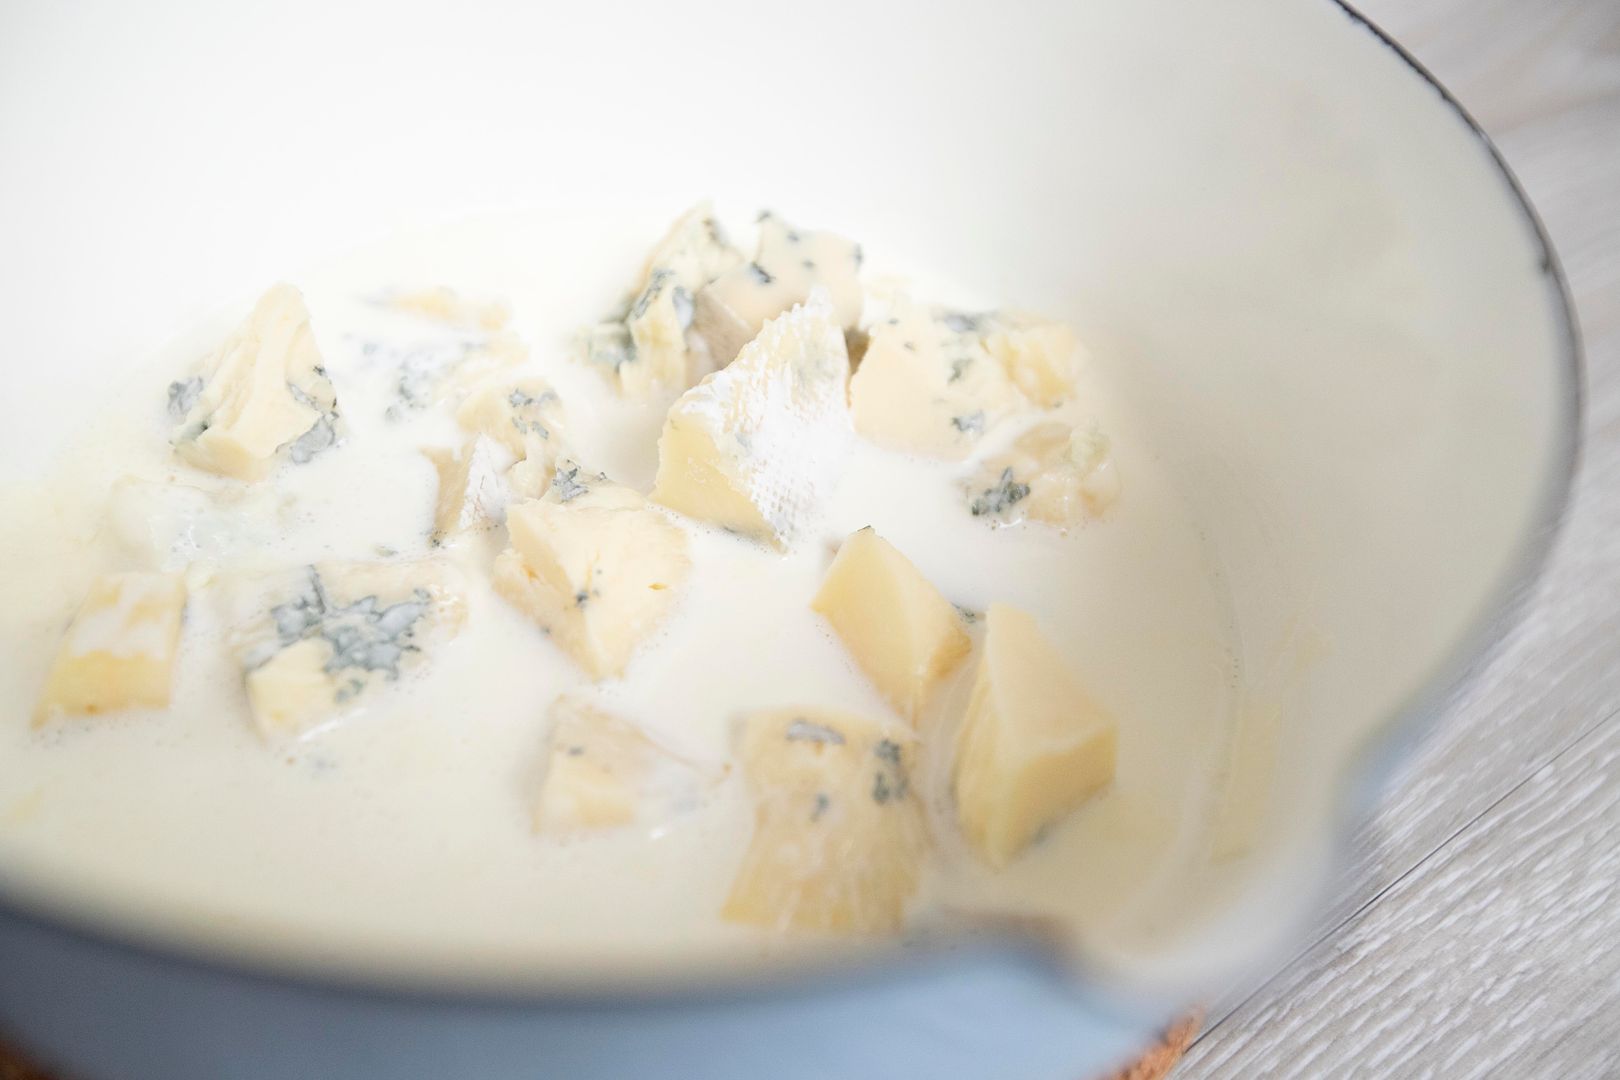
Melt the cheese ahead of time since it needs to cool down again in the fridge for about an hour. Fill a pot with heavy whipping cream and bring to a simmer. Break the cheese into the pot and turn to medium low heat. Keep whisking and wait till the cheese has been nearly melted and incorporate with the cream.
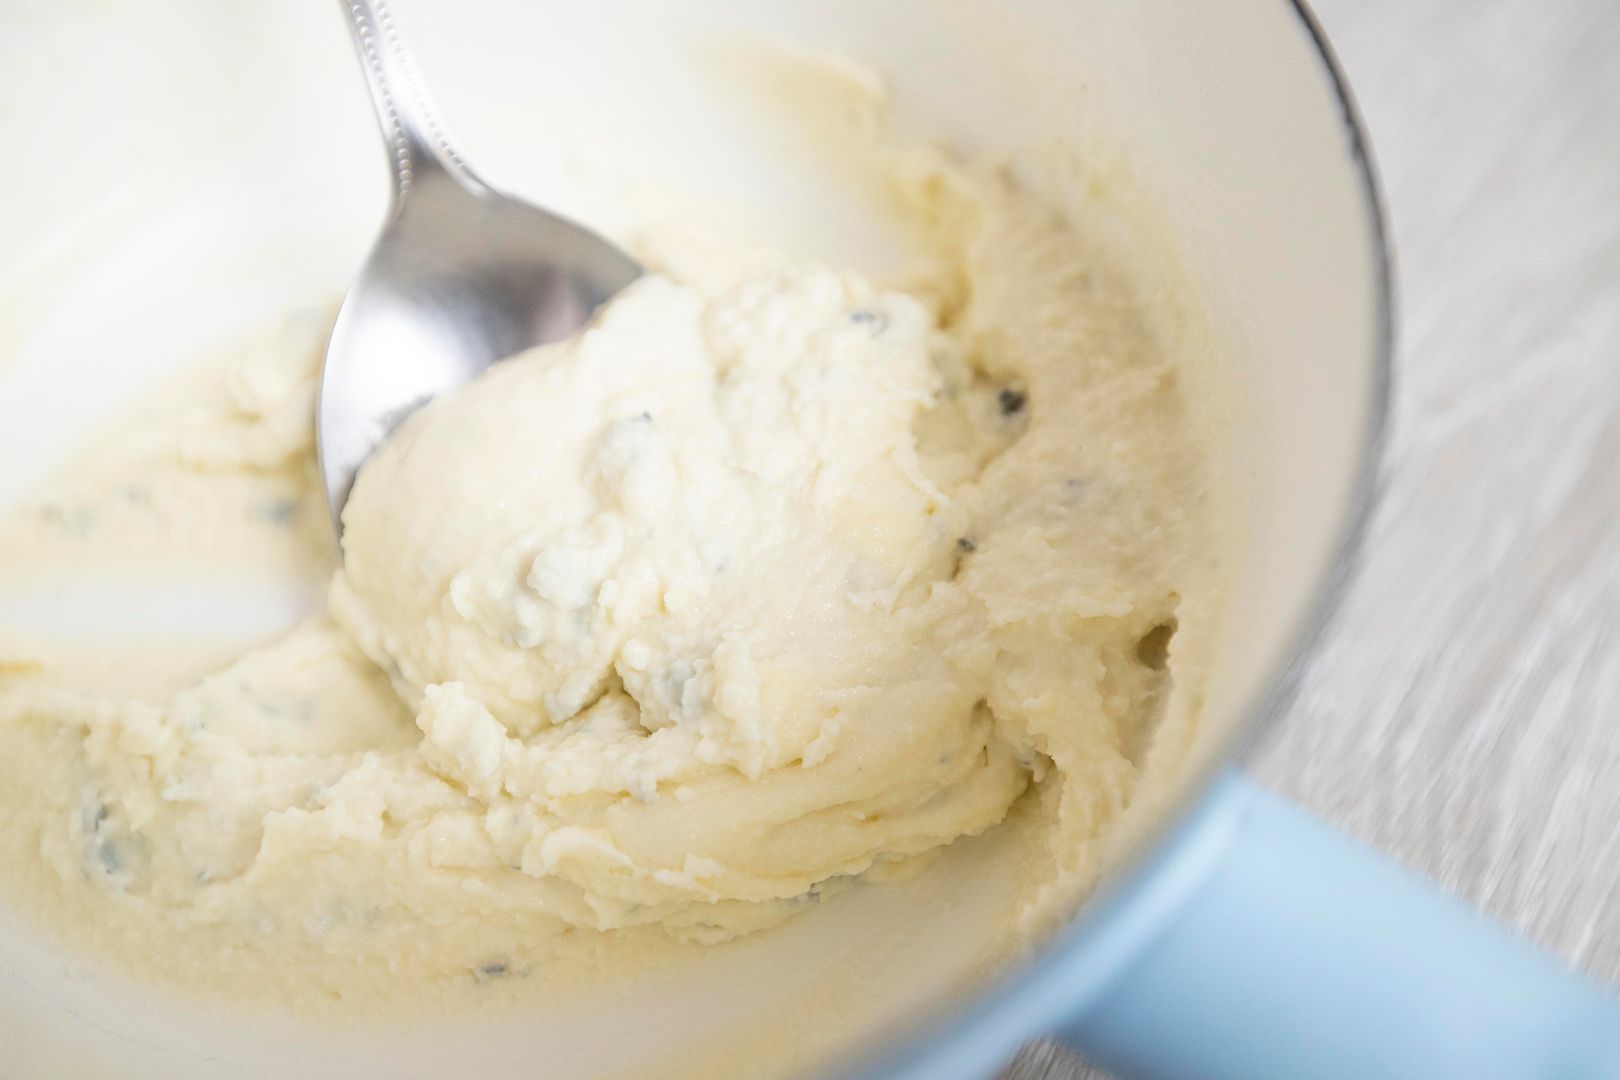
Cover with foil and transfer the whole thing into the fridge. Wait till the cheese and cream mixture firms up a little, with texture similar to a very thick paste, about one hour.
Preheat the oven to 400 degrees Fahrenheit or 204 degrees Celsius. Line a baking sheet with parchment paper.
Thaw the frozen puff pastry according to package instruction. Beat one egg as egg wash and set aside for later use. Trim the asparagus if needed, also trim off the very end that might be too tough to chew on.
Transfer the puff pastry to the baking sheet, shape into one single rectangular layer. The pastry size might not be the same as baking sheet, so some trimming or sealing work are required. Score about one-inch border around the pastry with the back of the knife, be careful not to cut all the way down.
Cut the asparagus into suitable length, which should fit within our pastry border just created.
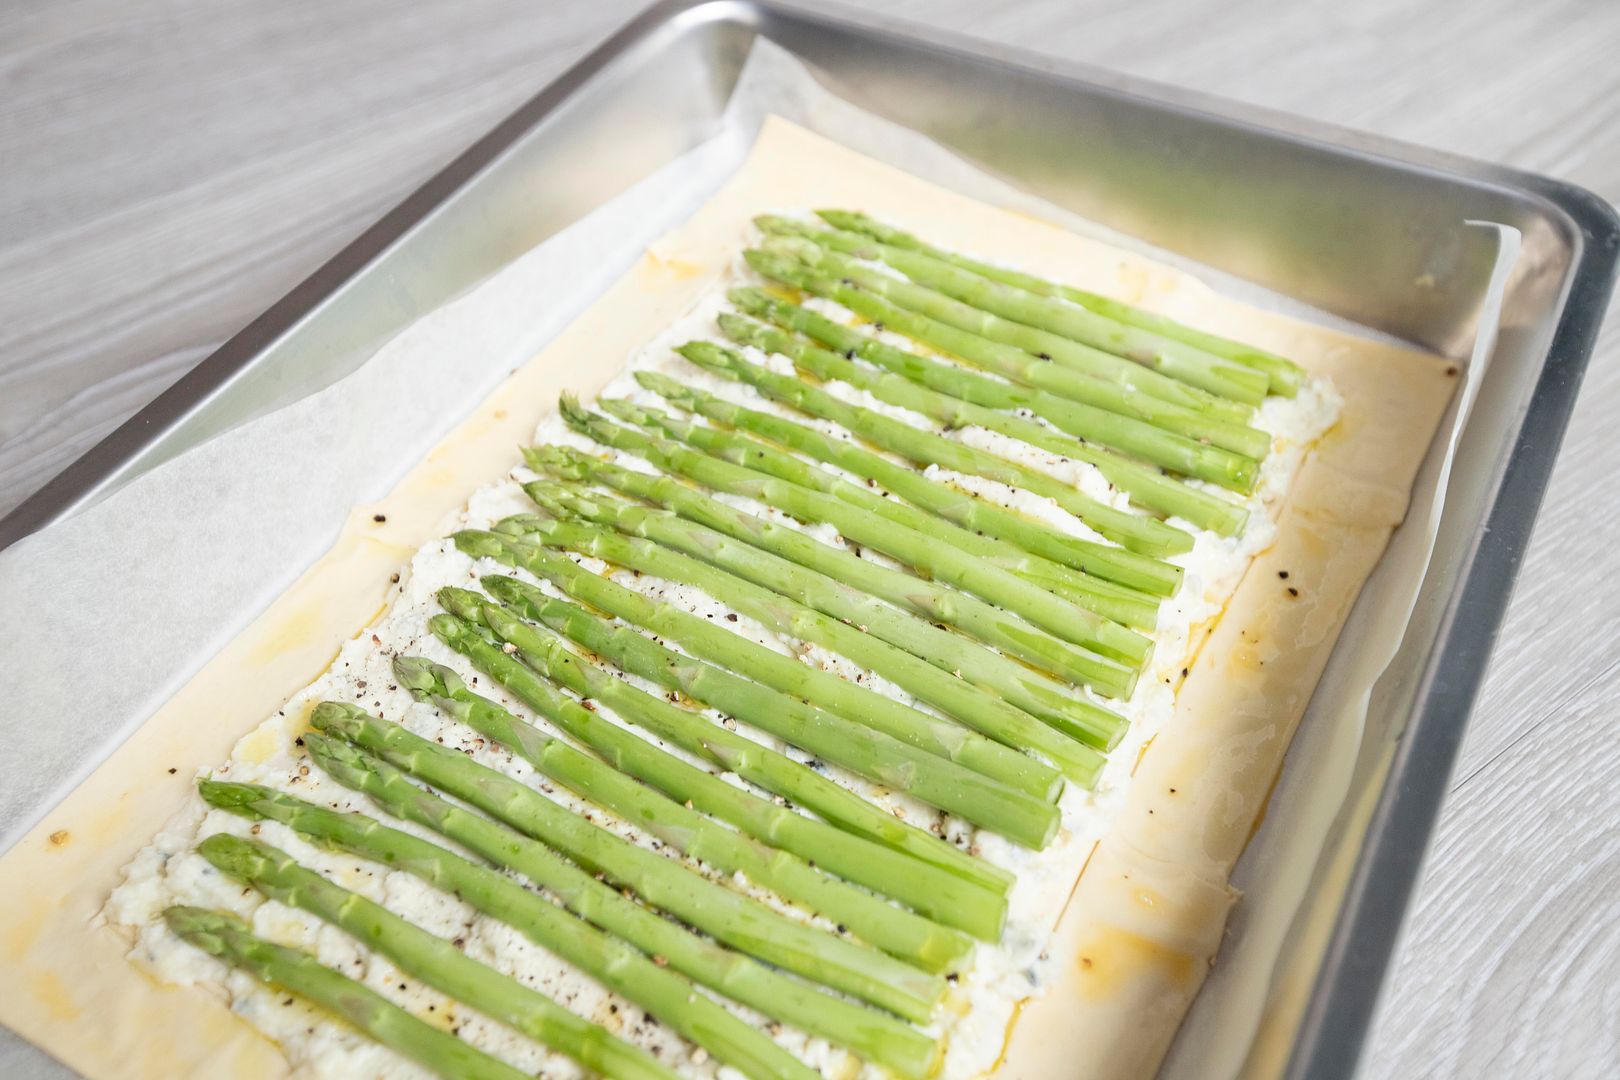
Spread the cheese and cream mixture within the pastry border.
Place asparagus on top. Drizzle some olive oil over the asparagus and sprinkle with some salt and black pepper. Depending on the cheese used, some can be quite salty so not to over-salt the tart. Taste and adjust.
Brush the edge of the tart with egg wash.
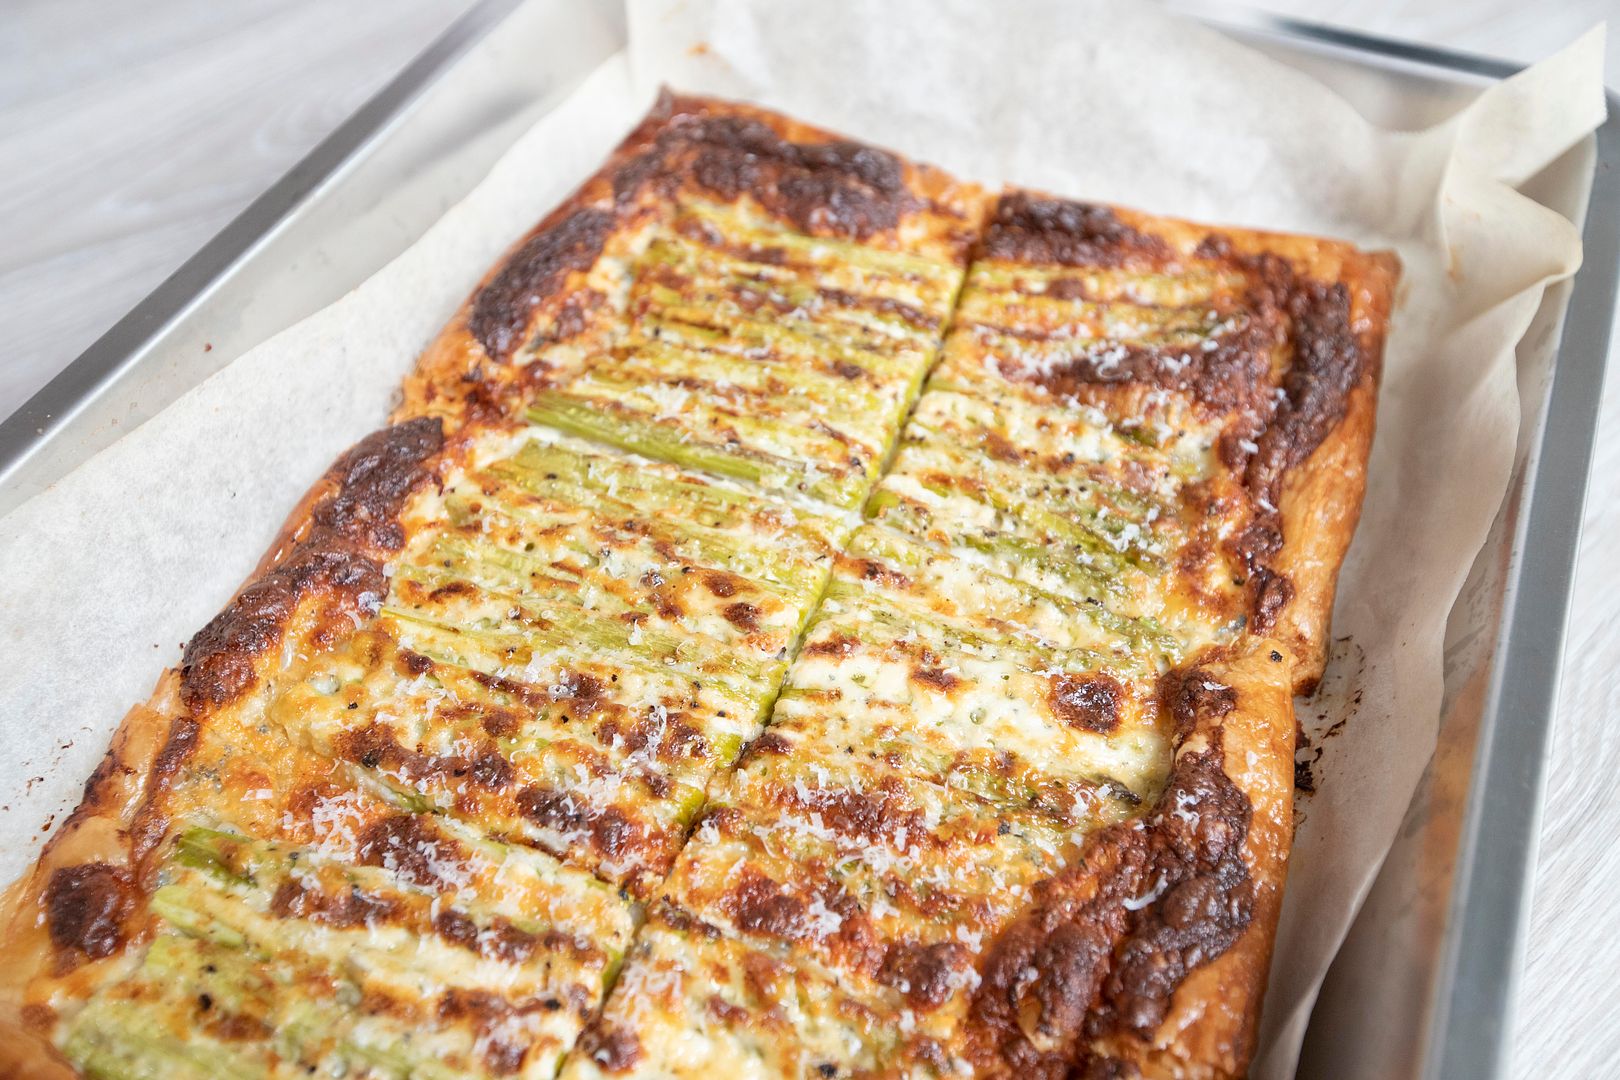
Into the oven for 30 to 35 minutes, or till the edge turned golden browned.
Remove from heat and let cool. Cut into smaller pieces.
Grate some aged Parmigiano Reggiano right before serving.
The blue cheese used can be salty already, then we finished off the tart with even more grated Parmigiano Reggiano. So really need to watch out on the salt used when sprinkle over the asparagus. Better safe than sorry. If the tart ended up not salty enough, it's always a great excuse to grate even more Parmigiano Reggiano all over.
If there's any leftover Chinese chives after making this recipe, just turn it into one other side dish. Perhaps add a few more ingredients such as bean curd strips or bean sprouts. Nothing goes to waste.
Pork and Chinese Chive Rolls 韭菜豬肉捲 -
Ingredients?
- 1 bundle of Chinese chives
- 12 to 14 pork slices
- 2 to 3 garlic cloves
- 1 to 2 tablespoons olive oil
- Small pinch salt
- Small pinch black pepper
- Some flour
- Some toasted white sesame seeds
Sauce -
- 2 tablespoons soy sauce
- 1 tablespoon mirin
- 1 teaspoon sugar
- 1/2 teaspoon grated ginger
How?
Peel and finely chop the garlic cloves. Mix all the sauce ingredients in a bowl and make sure the sugar is fully dissolved.
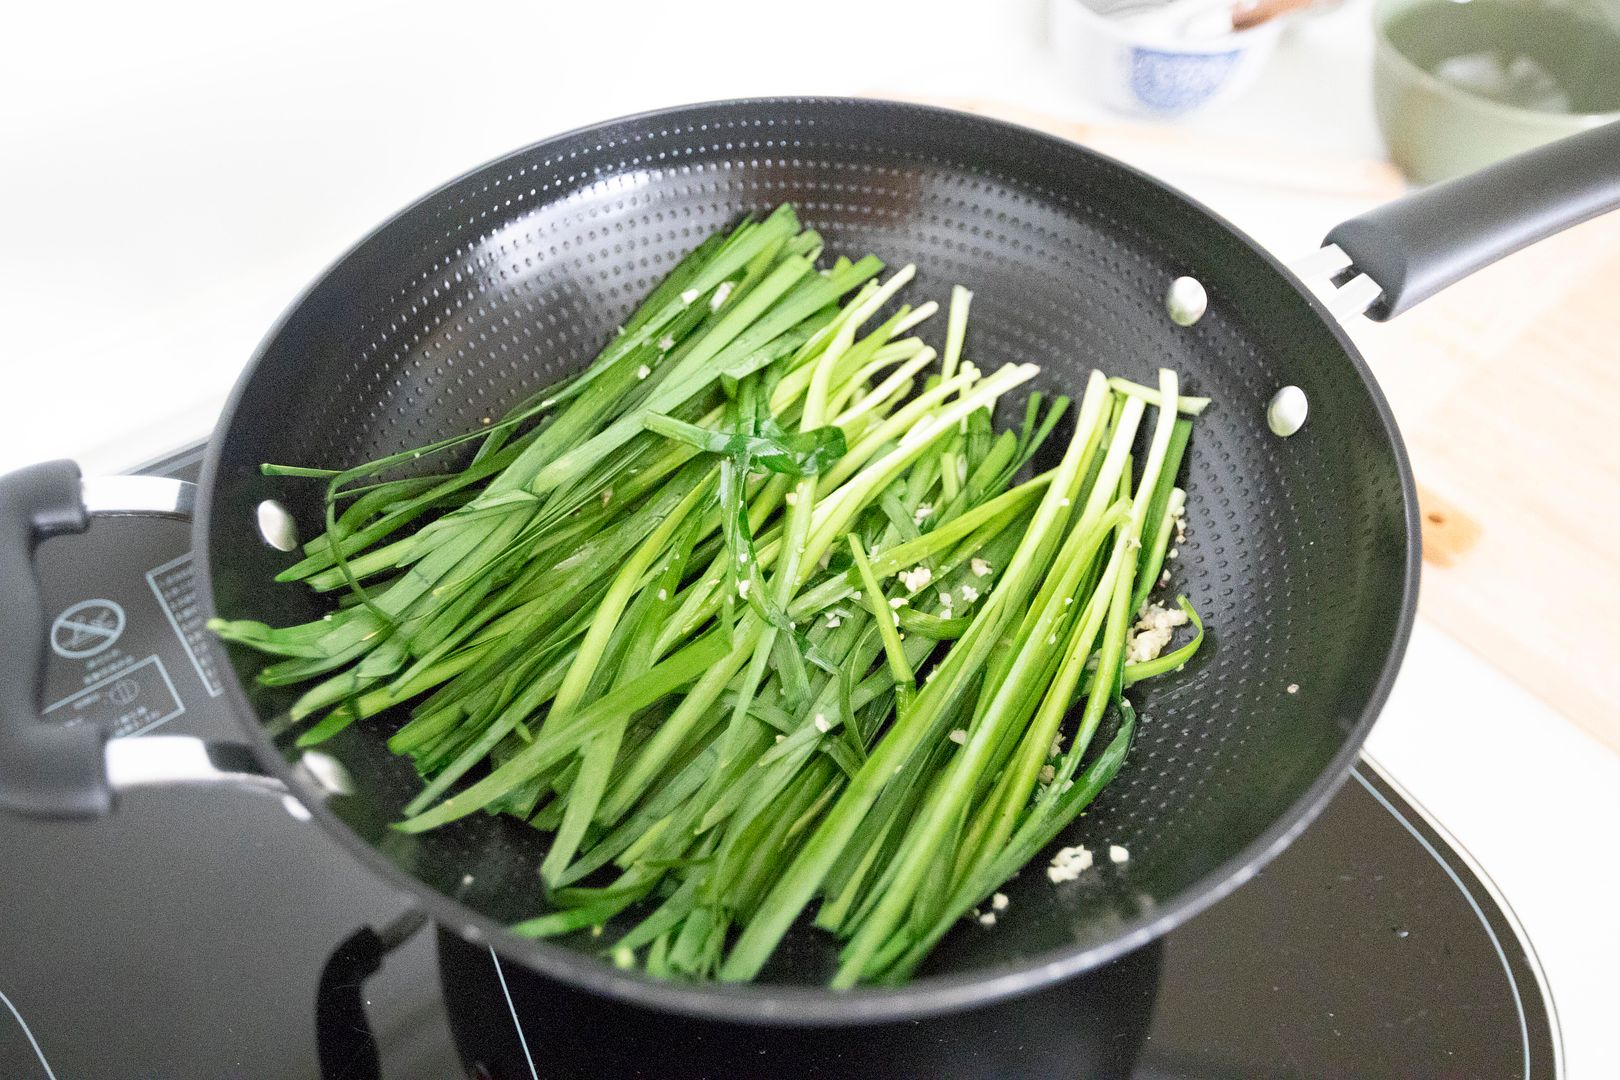
Trim off the very end of Chinese chives and cut in half if needed, as long as the whole chives can fit in the stir-fry pan or a wok.
Drizzle enough olive oil to evenly coat the bottom of the pan and turn to high heat. Add in garlic, salt, and black pepper. Give it a quick stir then transfer Chinese chives over. Cook for about 2 minutes the most, scoop out and set aside.
Once the Chinese chives are cool enough to handle by hand, cut into shorter sections, about 2 inches or slightly shorter, so the sections can fit within the width of pork slices.
Wrap the Chinese chives with pork slices and seal the end with some flour. Also coat or dust the whole pork roll with some flour too.
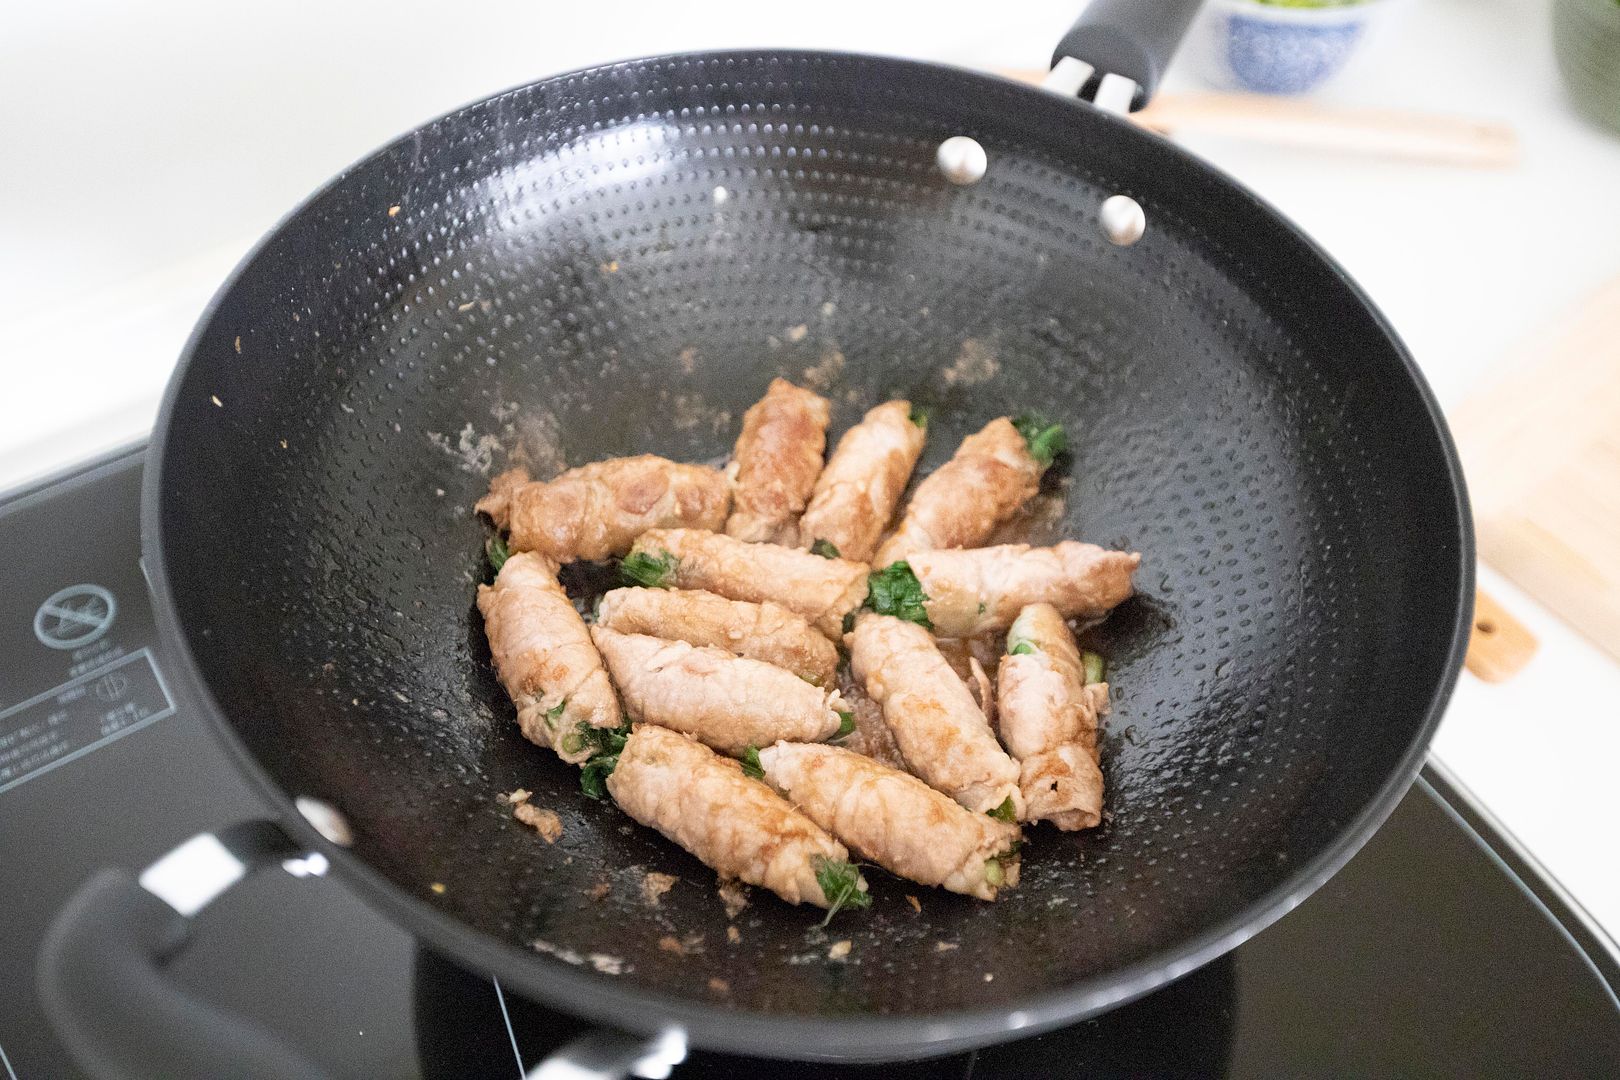
No need to add more oil, simply transfer pork rolls over to the same pan and use medium heat this time. Sear till slightly browned on all sides.
Pour in prepared sauce and bring to a boil. Lower the heat just a little and continue to reduce the sauce. Move the pork rolls around to get even color on all sides.
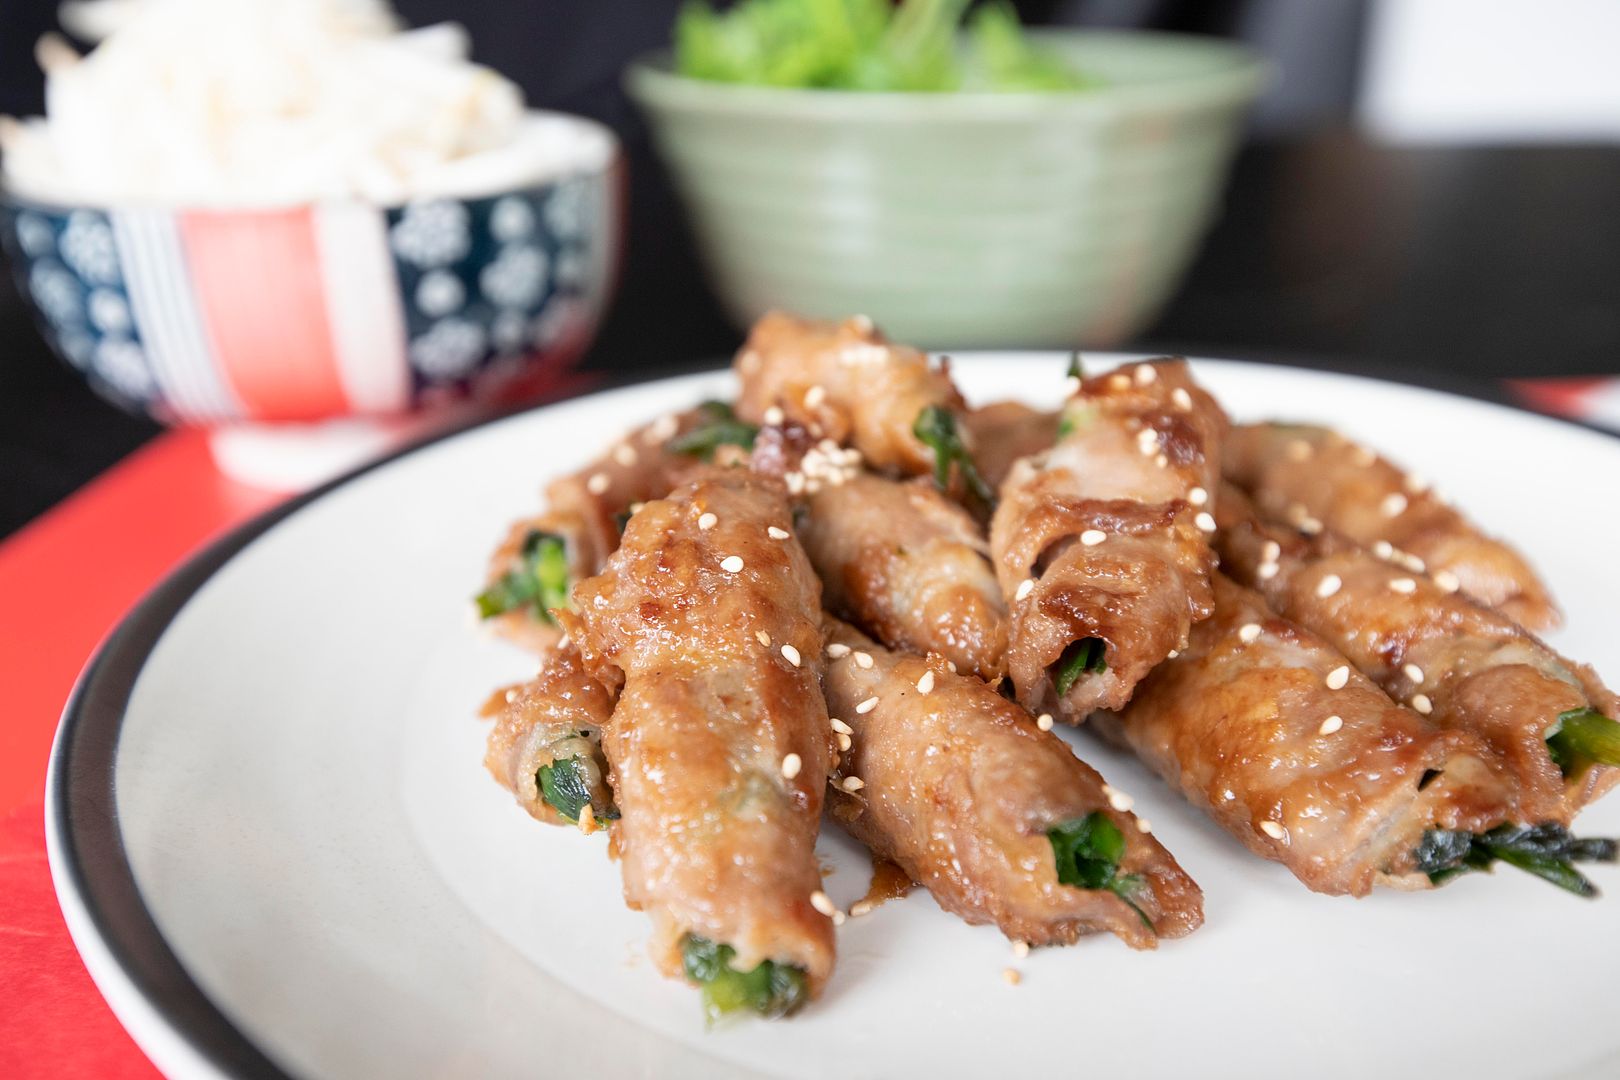
Once nearly dried up, transfer to serving plate and sprinkle with toasted white sesame seeds.
It's not absolutely necessary to cook the Chinese chives first, but it does yield a tenderer bite and easier to eat. On top of that, perhaps give the chives one more chop, break them into two shorter sections then wrap with pork slices. That way the Chinese chives can easily pull apart when biting the pork rolls in half.
As for me, I just eat the whole roll in one bite, like a beast.
Other recipes using Chinese chives: