
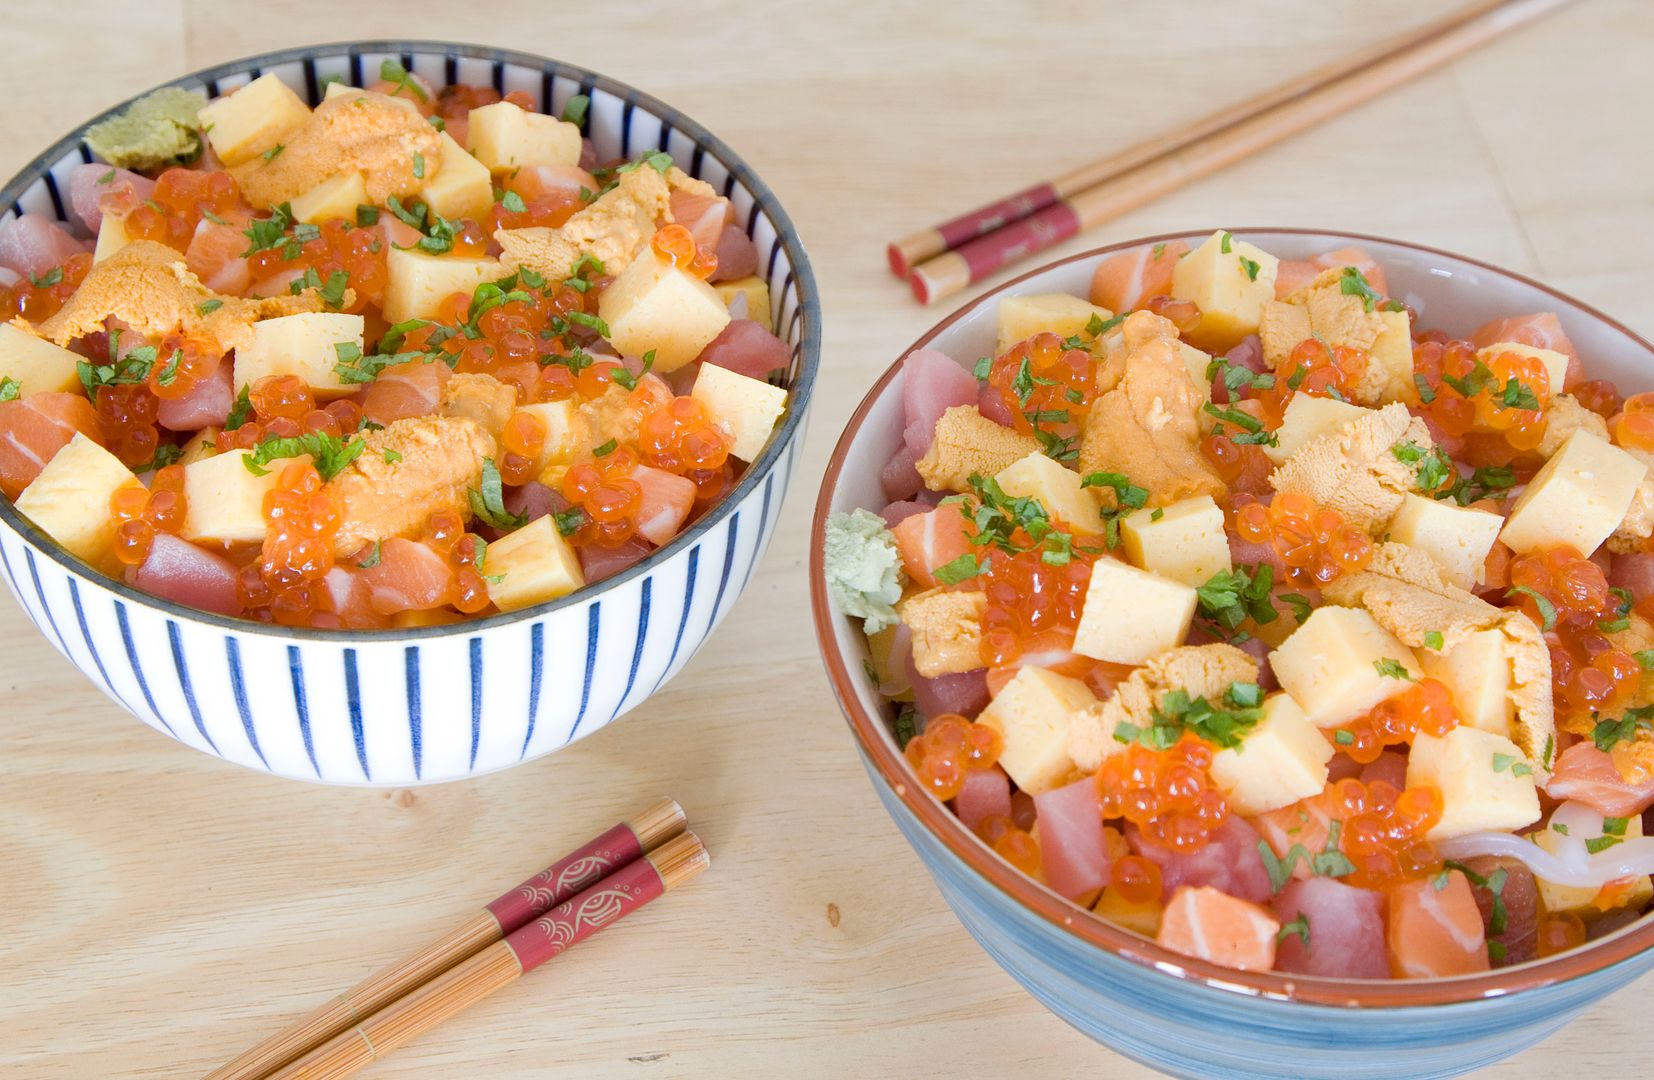
Ended up with packs after packs of sashimi ranging from salmon, tuna, uni, squid, and more. Very happy indeed. The homemade chirashi was colorful and festive (I have to come up with some sort of celebration excuses in order to lower my guilty feeling of overspending on these high quality ingredients). In addition, the sushi rice, if not too picky, is actually quite easy to make. There will definitely be a wide variety of sashimi donburi recipes coming up in the future.
Color chirashi with a touch of shiso leaves -
Ingredients (for 2 generous portions)?
Sushi rice:
- 2 cups of sushi rice/short grain rice/or any type of white rice
- 2 tablespoons of rice vinegar
- 1 tablespoon of granulated sugar
- 1/4 teaspoon of sea salt
Tuna marinade:
- 1 tablespoon of soy sauce
- 1 teaspoon of mirin
- 1/2 teaspoon of wasabi
Others:
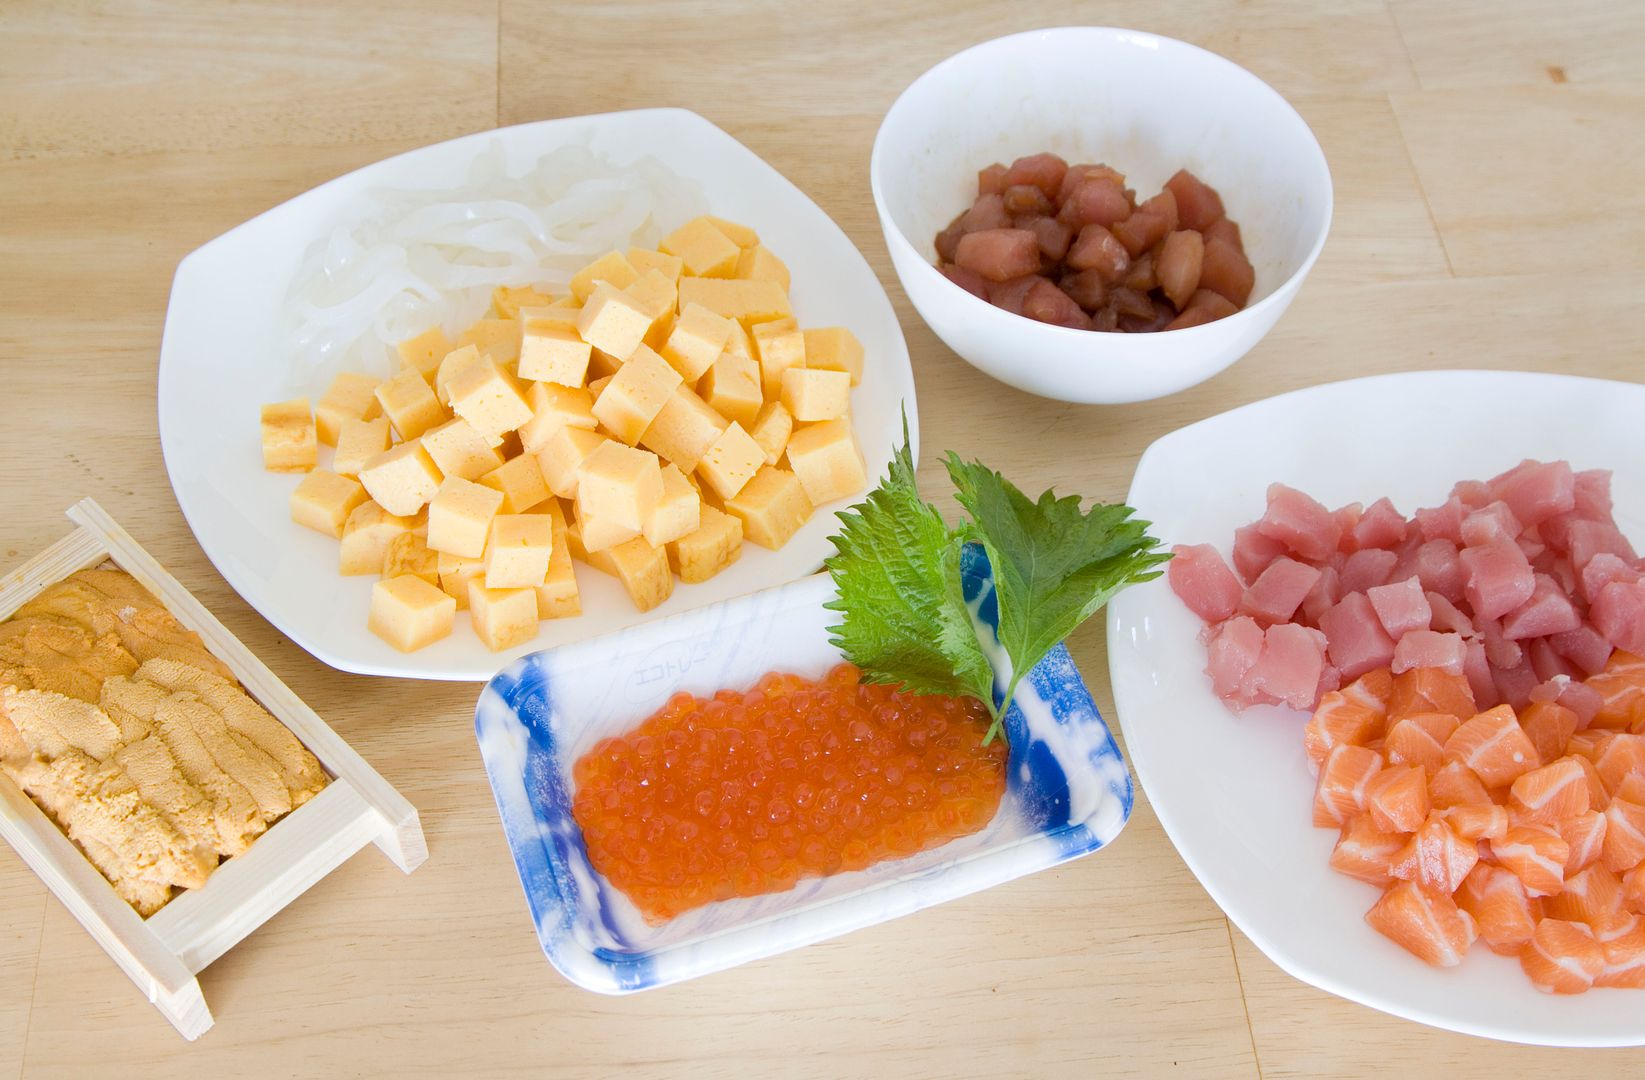
- Assorted sashimi grade seafood (I used about 0.25 lb of squid, 0.3 lb of salmon, 0.5 lb of tuna, 0.12 lb of salmon roe, and 0.25 lb of sea urchin)
- 1 square of tamago
- 2 to 4 shiso/perilla leaves
- Some wasabi
- Some light soy sauce or kombu infused soy sauce
How?
Sushi rice is preferred among all types of grains for making sashimi-related recipes. However, it can always be substituted with short grain or other types of white rice at your convenience. Prepare the rice as usual but cook it with a little less water in order to get slightly chewier rice.
Once the rice is ready, scoop them out to a wide wooden box or any other wide opening container to help the heat evaporates. Mix together 2 tablespoons of rice vinegar, 1 tablespoon of granulated sugar, and 1/4 tea spoon of sea salt. Make sure the sugar and the salt have been fully dissolved in the vinegar, otherwise try to heat up the blend in a small pot or in the microwave for just a little bit.

Sprinkle the mixture over while folding the rice gently, so that each grain is coated with the flavoring. The result will be better if there's also a fan on the side sending cool air, helping the heat to escape at a much faster rate.
Warning!! I was too eager on folding the rice the second time making chirashi for my friends. As a result, my sushi rice started to stick together and turned out way too chewy. Maybe they'll turn into mochi if I keep flipping and stirring..
Make sure not to over-fold the rice. The goal is to fluff the grains while spreading the liquid throughout, the heat will also help in distribution the seasonings. Let the rice cool down to room temperature before serving.
Cut the sashimi grade fish and tamago into smaller cubes. Slice the squid into strips. I purposely bought twice as much tuna compared to other seafood, using half as sashimi and the other as tsuke/marinated style fish.
Mix all the marinade ingredients and add in half of the cubed tuna. Blend gently and let the fish marinate for about 10 minutes.

Finely chop the shiso leaves, use more if a stronger minty scent is preferred.

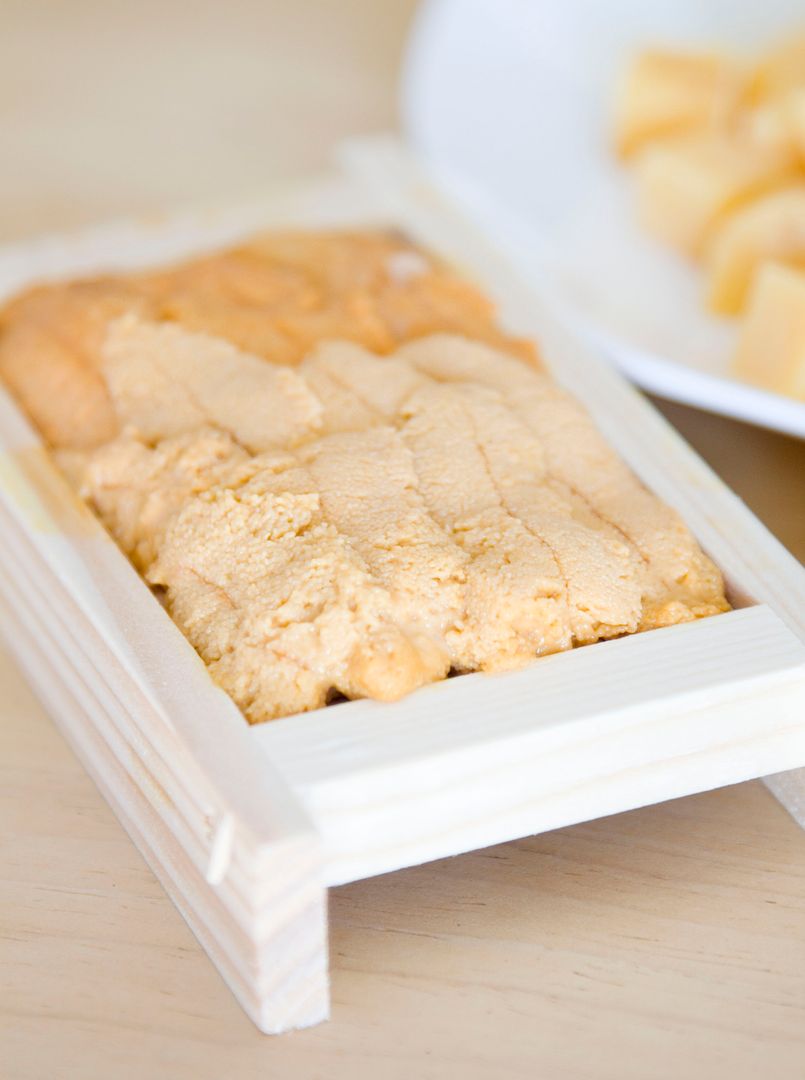
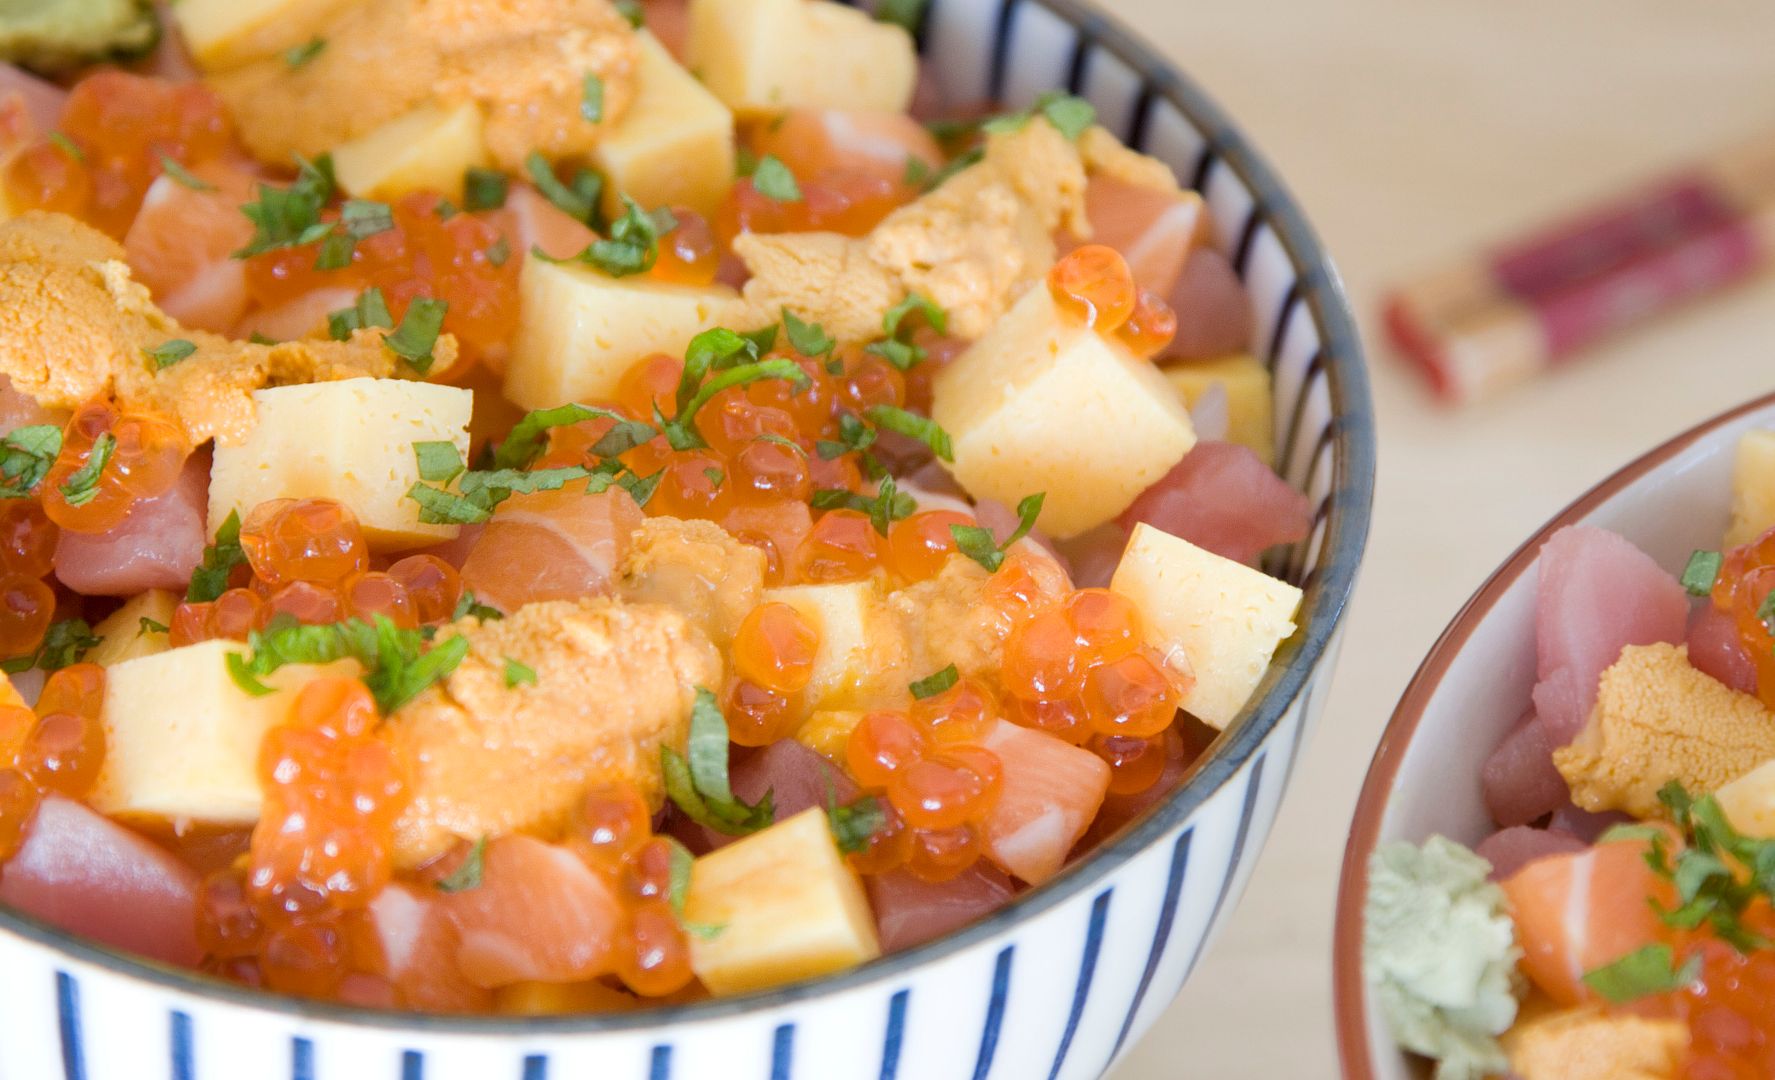
To assemble, scoop the rice to a bowl, save the sea urchin till last and arrange the remaining seafood and tamago onto the rice. Lastly, carefully transfer the sea urchin on top of the ingredients and sprinkle with some shiso leaves. Add a small spoonful of wasabi on the rim of the bowl and serve with light soy sauce on the side.

It's better to keep the sea urchin in the fridge till right before assembling to prevent from melting.

First time making simple sushi rice was such a success, despite the sticky result from the second attempt. Doubting if the success is a good thing or not...since I'll start making much more chirashi at home..not very wallet friendly (but definitely keeps my tummy happy).
Warning!! I was too eager on folding the rice the second time making chirashi for my friends. As a result, my sushi rice started to stick together and turned out way too chewy. Maybe they'll turn into mochi if I keep flipping and stirring..
Make sure not to over-fold the rice. The goal is to fluff the grains while spreading the liquid throughout, the heat will also help in distribution the seasonings. Let the rice cool down to room temperature before serving.
Cut the sashimi grade fish and tamago into smaller cubes. Slice the squid into strips. I purposely bought twice as much tuna compared to other seafood, using half as sashimi and the other as tsuke/marinated style fish.
Mix all the marinade ingredients and add in half of the cubed tuna. Blend gently and let the fish marinate for about 10 minutes.
Finely chop the shiso leaves, use more if a stronger minty scent is preferred.
To assemble, scoop the rice to a bowl, save the sea urchin till last and arrange the remaining seafood and tamago onto the rice. Lastly, carefully transfer the sea urchin on top of the ingredients and sprinkle with some shiso leaves. Add a small spoonful of wasabi on the rim of the bowl and serve with light soy sauce on the side.
It's better to keep the sea urchin in the fridge till right before assembling to prevent from melting.

First time making simple sushi rice was such a success, despite the sticky result from the second attempt. Doubting if the success is a good thing or not...since I'll start making much more chirashi at home..not very wallet friendly (but definitely keeps my tummy happy).


