Earlier last week I was making a sashimi appetizer and got a small pack of Japanese shiso leaves, which usually comes in 6 to 10 leaves. These leaves carry a distinct and almost perfume-like scent. Therefore, using one or two leaves usually go a long way for a simple dish. But what to do with the remaining leafy greens?
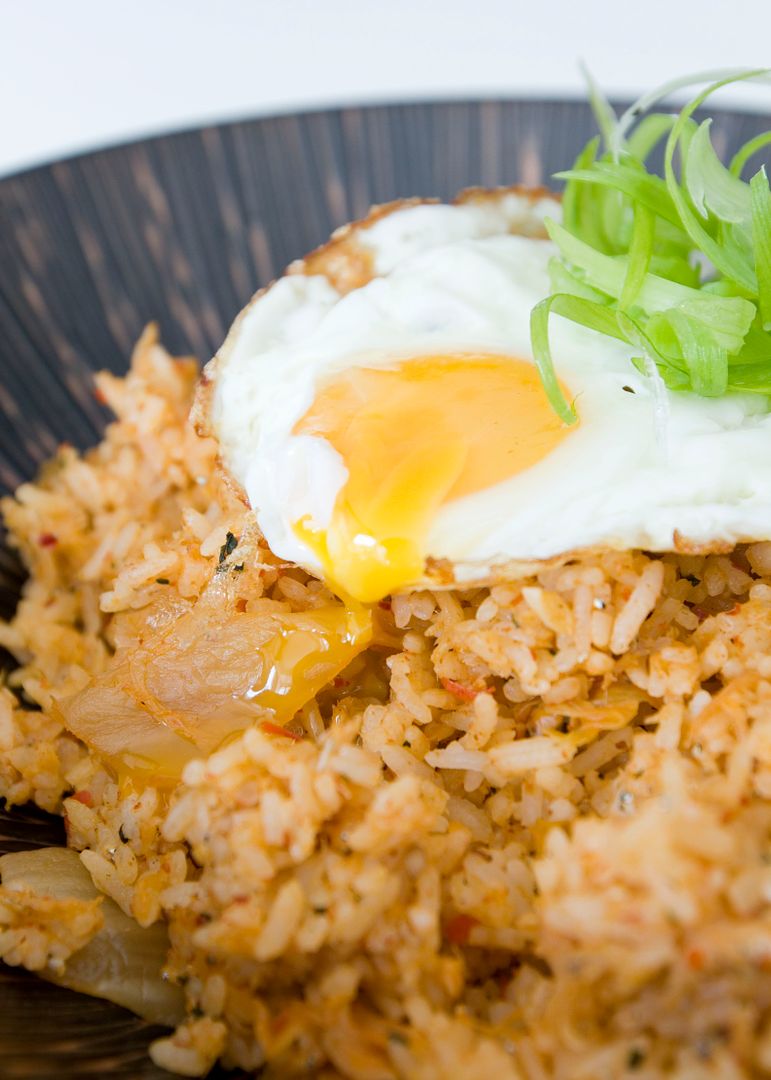
You can use shiso as a wrap for barbecued meat, mix in onigiri (Japanese rice ball), and even add to creamy salmon spaghetti. However, this time, I'm going to pair the fragrant plant with one other pungent veggie - Korean napa cabbage kimchi. As expected, these two strong flavors actually complement each other quite well. You get that spicy kick at first bite but soon follow aromatic scent from the shiso leaves. Don't even mention the sinful sensation from the runny egg yolk.
Kimchi and shirasu fried rice with a hint of shiso -
Ingredients (for 3 to 4 portions)?
- 2 1/2 cups of steamed white rice
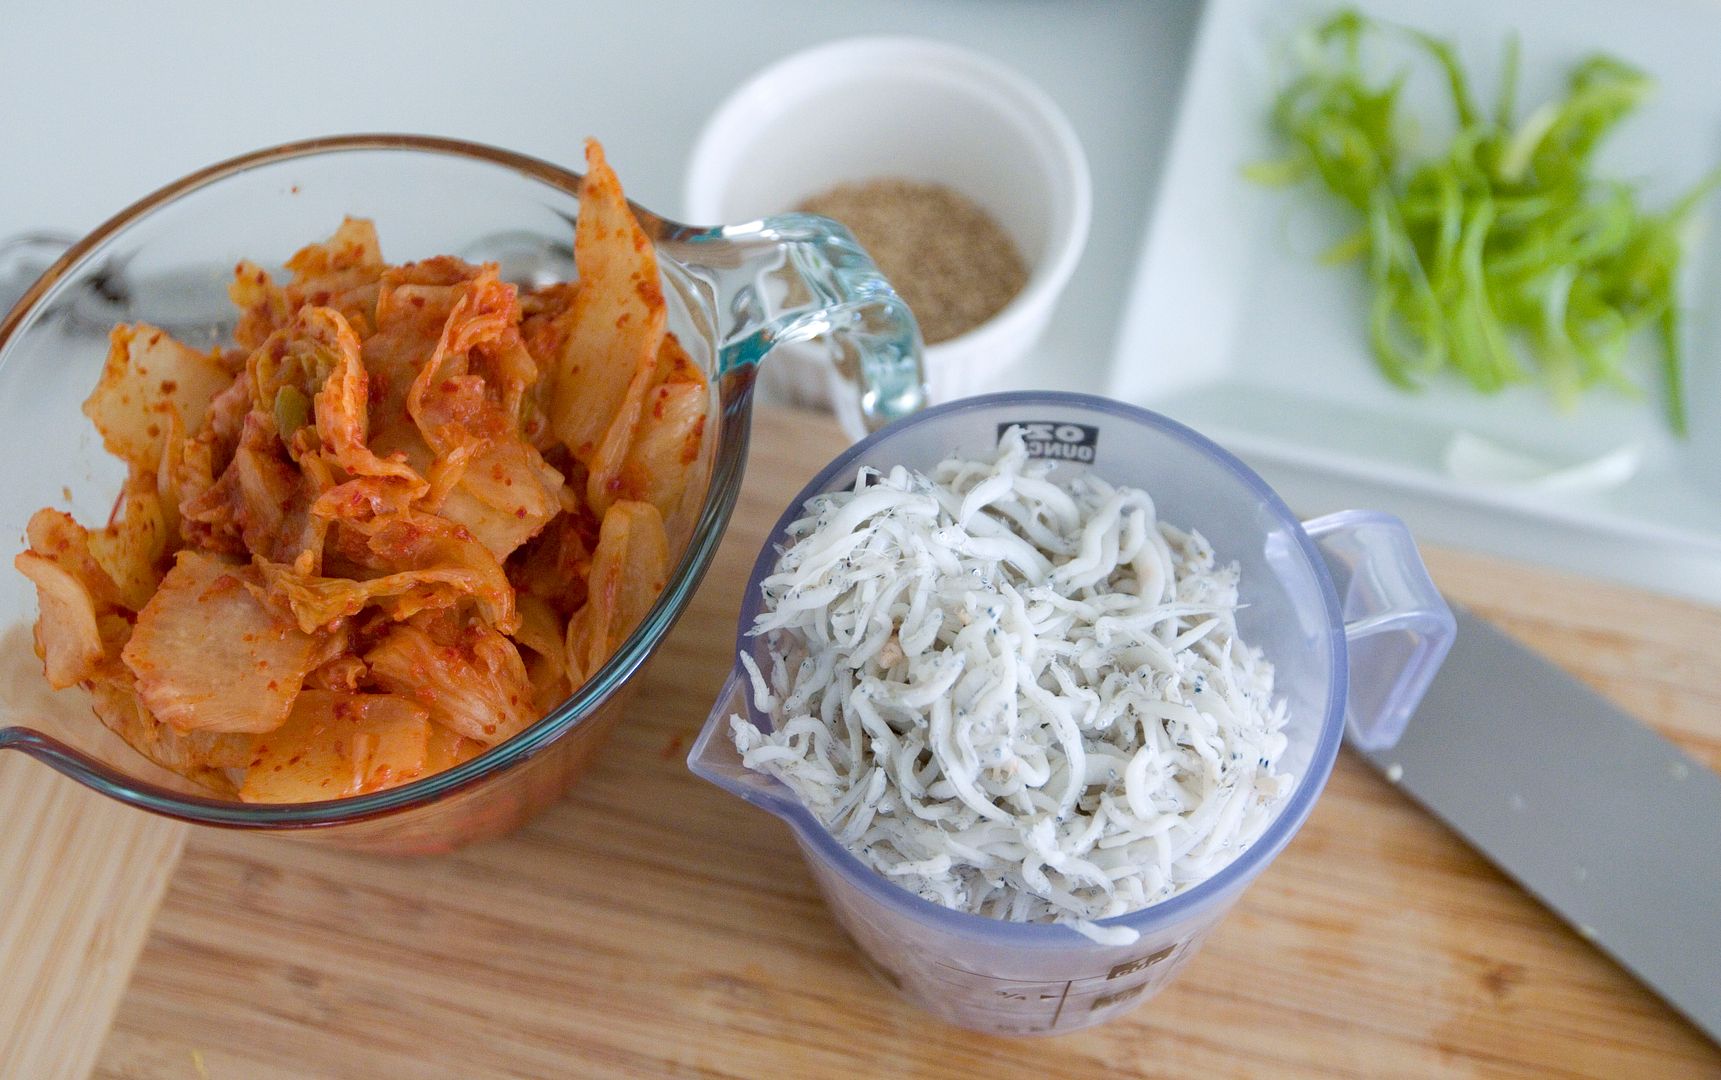
- 1 1/2 cups of napa cabbage kimchi
- 1 1/2 cups of shirasu
- 3 to 4 eggs
- 8 shiso leaves
- 4 garlic cloves
- 3 to 4 red chilies
- 1 string of scallion
- 1 tablespoons of toasted white sesame seeds
- 1 tablespoon of soy sauce
- 1 tablespoon of fish sauce
- 1/4 teaspoon of salt
- 1/4 teaspoon of black pepper
- Some olive oil
- Few dashes of sesame oil
How?
Freshly made or leftover steamed white rice are both fine for this recipe. I prefer using freshly steamed rice because it's easier to mix with the fried rice ingredients. Just remember to use less water when cooking the rice if intended to use it for fried rice right away. Otherwise too much liquid might left you with a smooshy mess in the end.
Cut the scallion into thin strips diagonally, as thin and long as you can. Soak in icy cold water till they curl up then drain well. Pat dry and set aside for later use.
Peel and finely chop the garlic cloves. Roll up the shiso leaves and finely chop them. Discard the chili stems and finely chop the remaining. Chop the kimchi into bite size pieces.
Drizzle about 2 tablespoons of olive oil to the pan and turn to medium heat, add in chopped garlic. Cool till the aroma comes out but not burning the garlic, quickly add in the kimchi and chilies, cook for about 1 minute.
Turn to medium high heat. Add in shirasu and give it a quick stir. Pour in soy sauce from the sides of the pan, so the direct heat can further release the soy sauce aroma. Also add in the fish sauce. Cook for another minute.
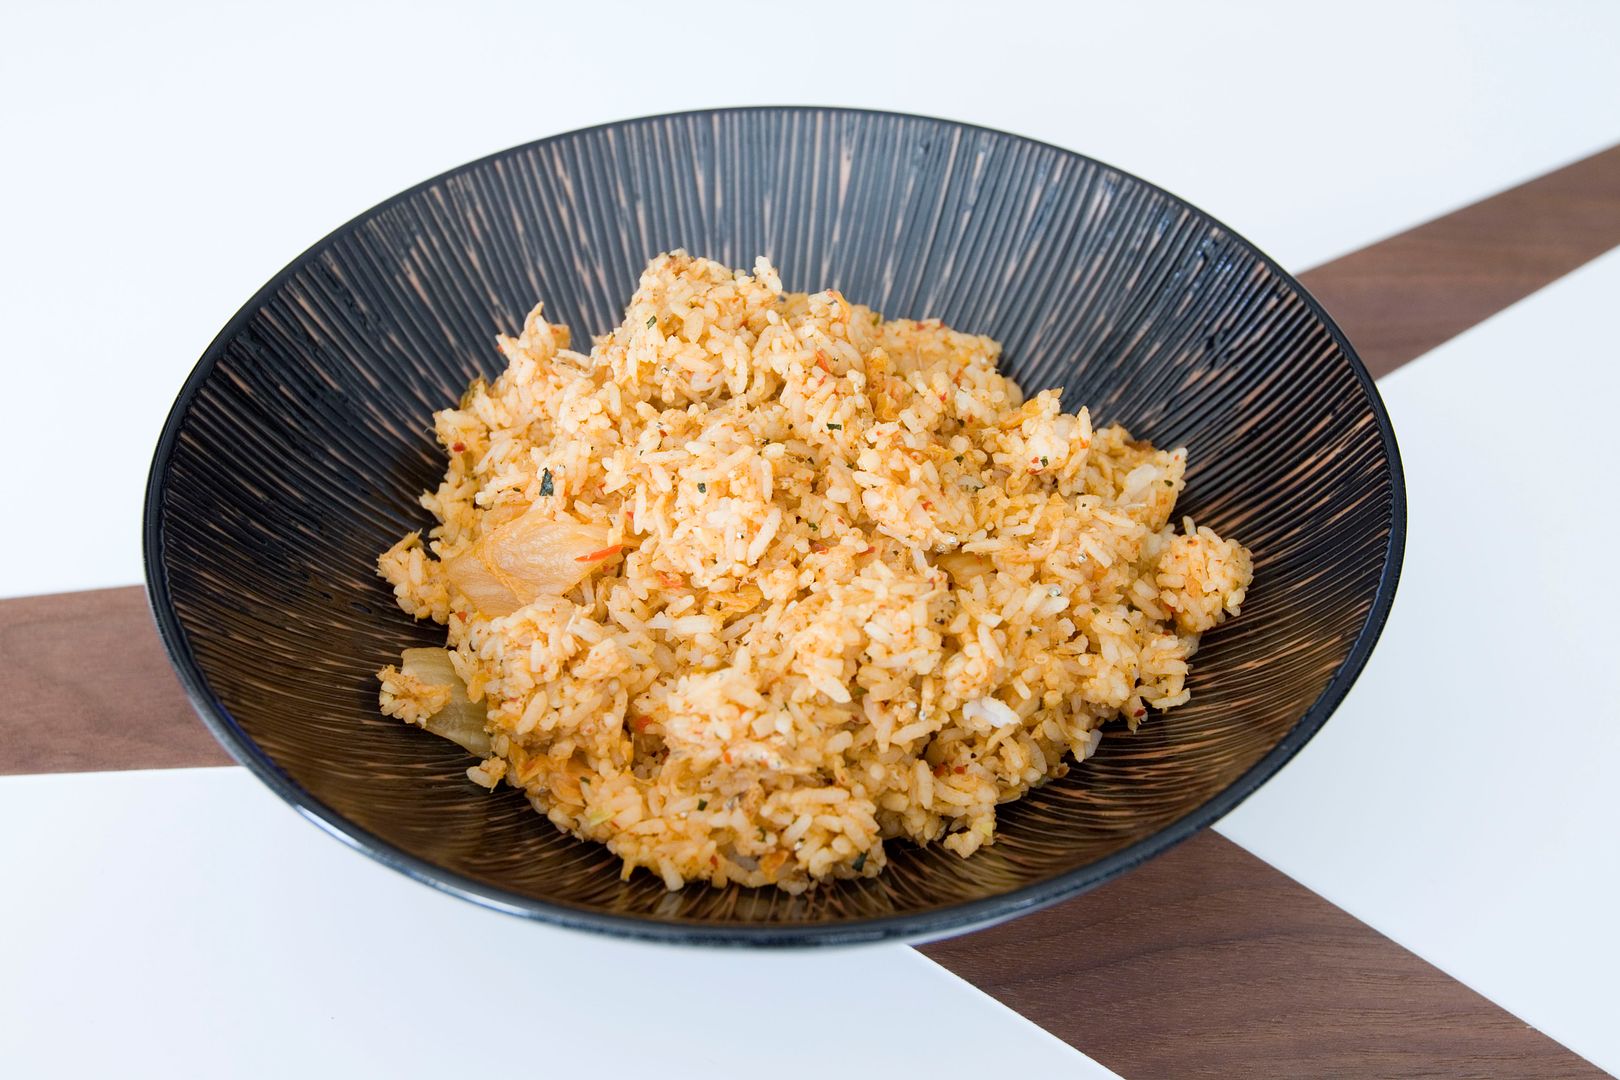
Add the shiso and toasted white sesame seeds, mix with all the ingredients. Blend in the rice in two batches. Make sure no lumps or white grains present before plating.
Use a non-stick pan, drizzle enough olive oil to evenly coat the bottom of the pan. Turn to medium high heat. Wait till the oil gets hotter then break in one egg. Try to make a sunny side up egg with the yolk still runny in the center. Transfer the egg on top of the fried rice and serve with curled scallion strings.
You can substitute shirasu with small pieces of chicken or fatty pork, both giving you comforting result.
Other fried rice recipes:
It's convenient and hassle free when buying already peeled and deveined shrimp from the grocery store. However, the shells are not just merely rubbish. When used properly, they can enhance the flavor of your seafood dishes, doesn't matter western or Asian cuisine.
Keep reading this recipe below, you'll see how I store and utilize the shrimp heads. Perhaps you can give it a try next time. Instead of buying prepared seafood, maybe pick up some fresh whole shrimp at the market in the future.
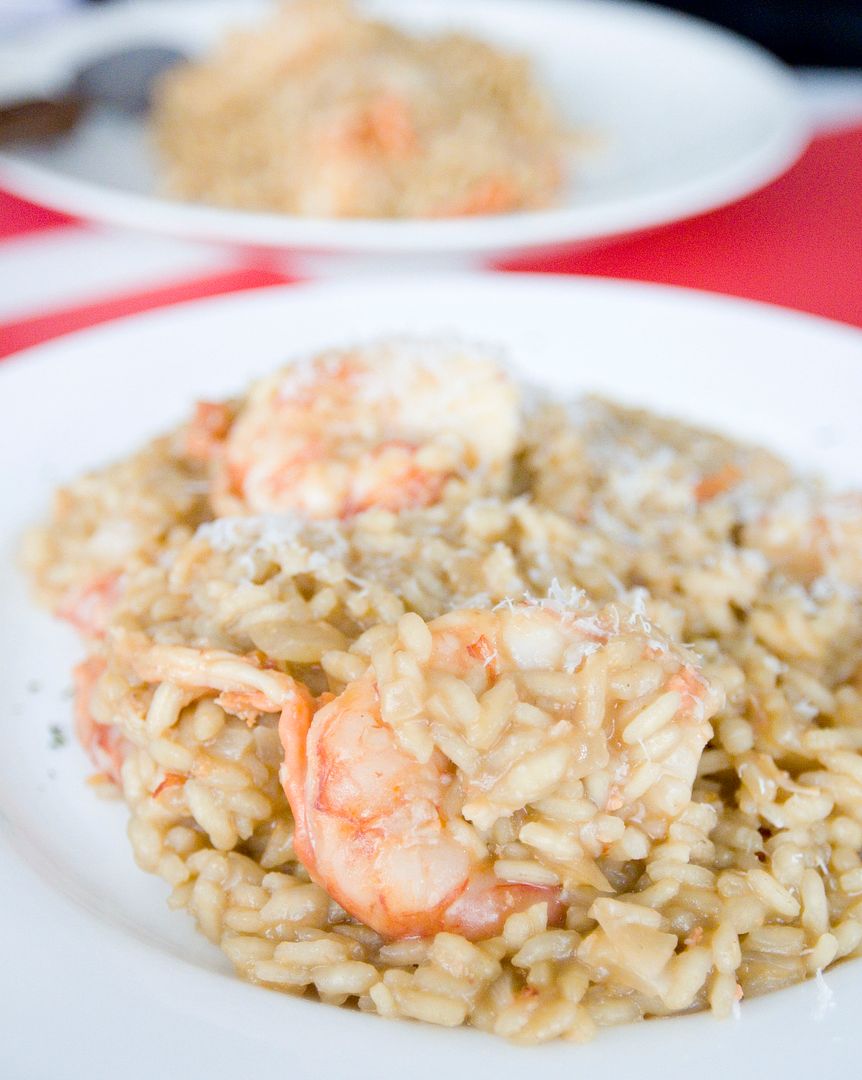
Lemony shrimp risotto with homemade shrimp stock -
Ingredients (for 2 to 3 portions)?
- 1 cup of Acquerello, Arborio, or other high starch white rice
- 3 cups of homemade shrimp stock
- 1/3 cup of dry white wine
- 1/2 onion
- 2 tablespoons of olive oil
- 2 tablespoons of unsalted butter
- 12 shrimp (peeled and deveined)
- 1 teaspoon of sea salt
- 1 lemon
- Some grated Parmigiano Reggiano
- Some parsley (optional)
Shrimp stock:
- 20 shrimp heads
- 2 celery stalks
- 1 big carrot
- 1 onion
- 1 teaspoon of sea salt
- 1 tablespoon of olive oil
- 7 cups of water
How?
When I buy whole shrimp, if not cooking them with shells intact, I'd like to peel, devein, and butterfly the shrimp then store in the freezer for future use. Most of the times the shells are discarded but the heads are kept for making stock. Just be sure to use a scissor and cut away the pointy thing sticking out the head called "rostrum." Even though the shrimp are dead, but their body armor remains feisty.
Let's start with the stock, which can be made ahead and stored in the freezer up to one month.
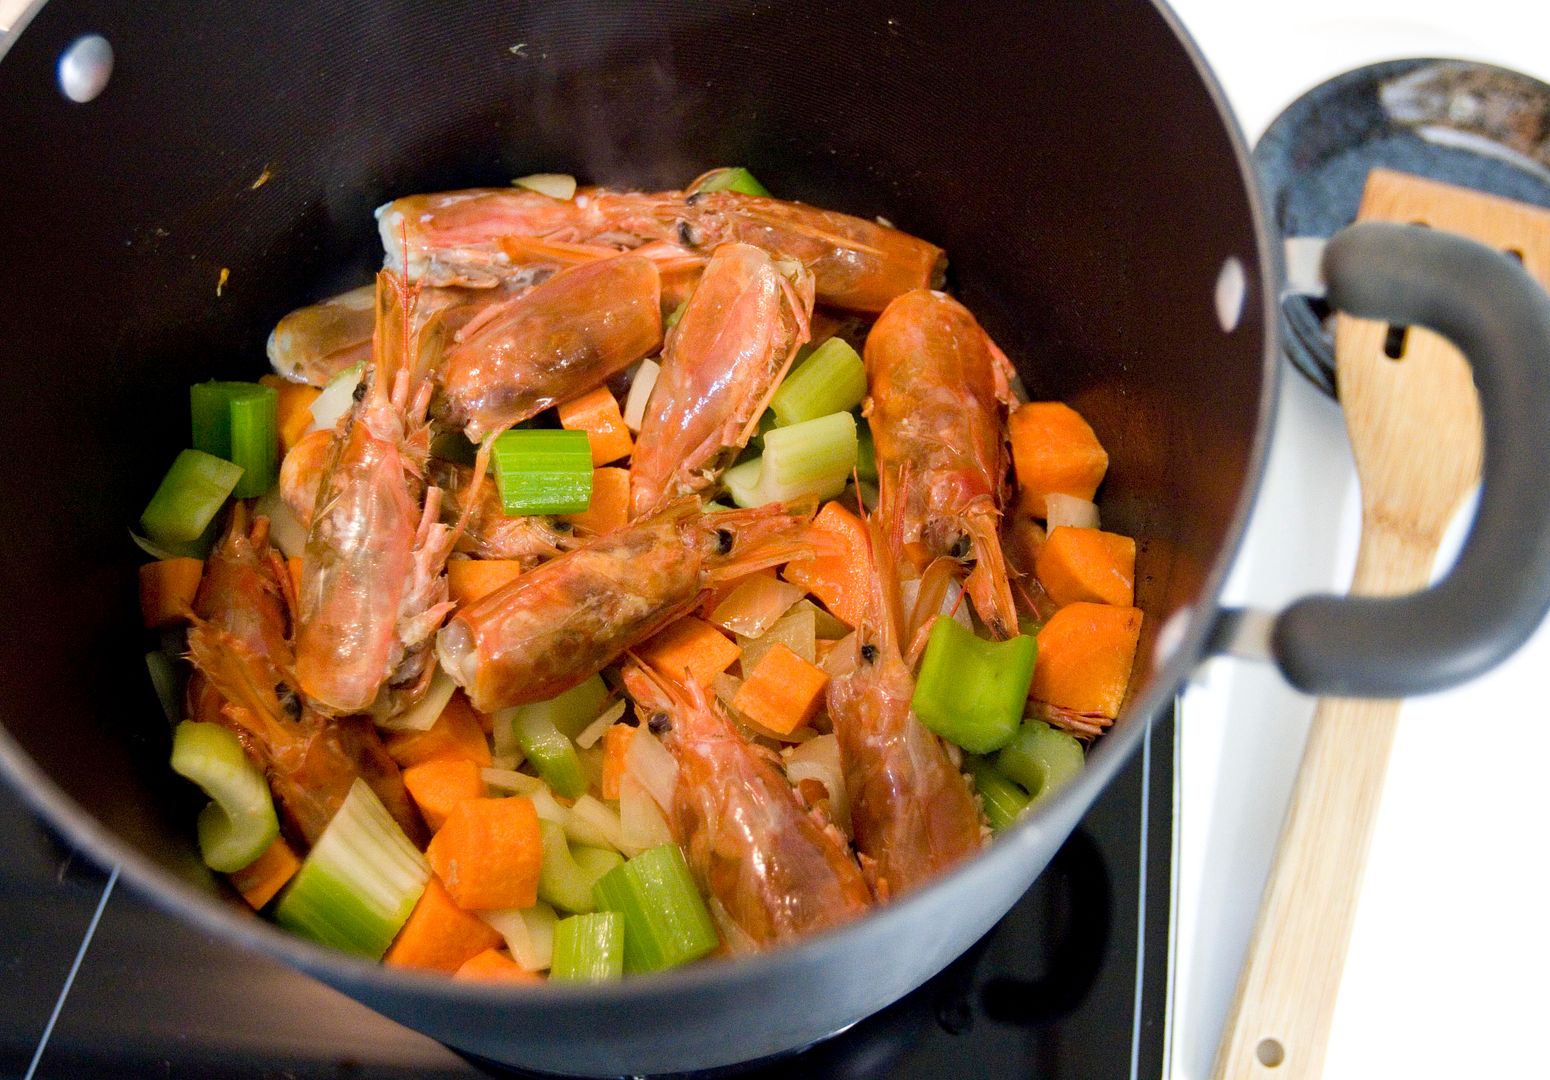
Drizzle some olive oil to a big non-stick pot and add in peeled, cubed onion along with some salt. Turn to medium high heat and cook till the onion turns translucent.
Peel and chop the carrot into large cubes, also chop the celery into same sized pieces. Toss both into the pot and give it a quick stir, cook about 2 minutes.
Add in defrosted shrimp heads and crush them with a spatula, so the flavors can get released more easily to the stock.
Pour in 7 cups of water, bring to a boil then keep it at a slight simmer for about one hour. Skim off the foam floating on the surface during the process. In the end, the liquid should be reduced by at least half, leaving you condensed and aromatic stock. Drain and even sift the stock if needed. Cool down before storing in the freezer.
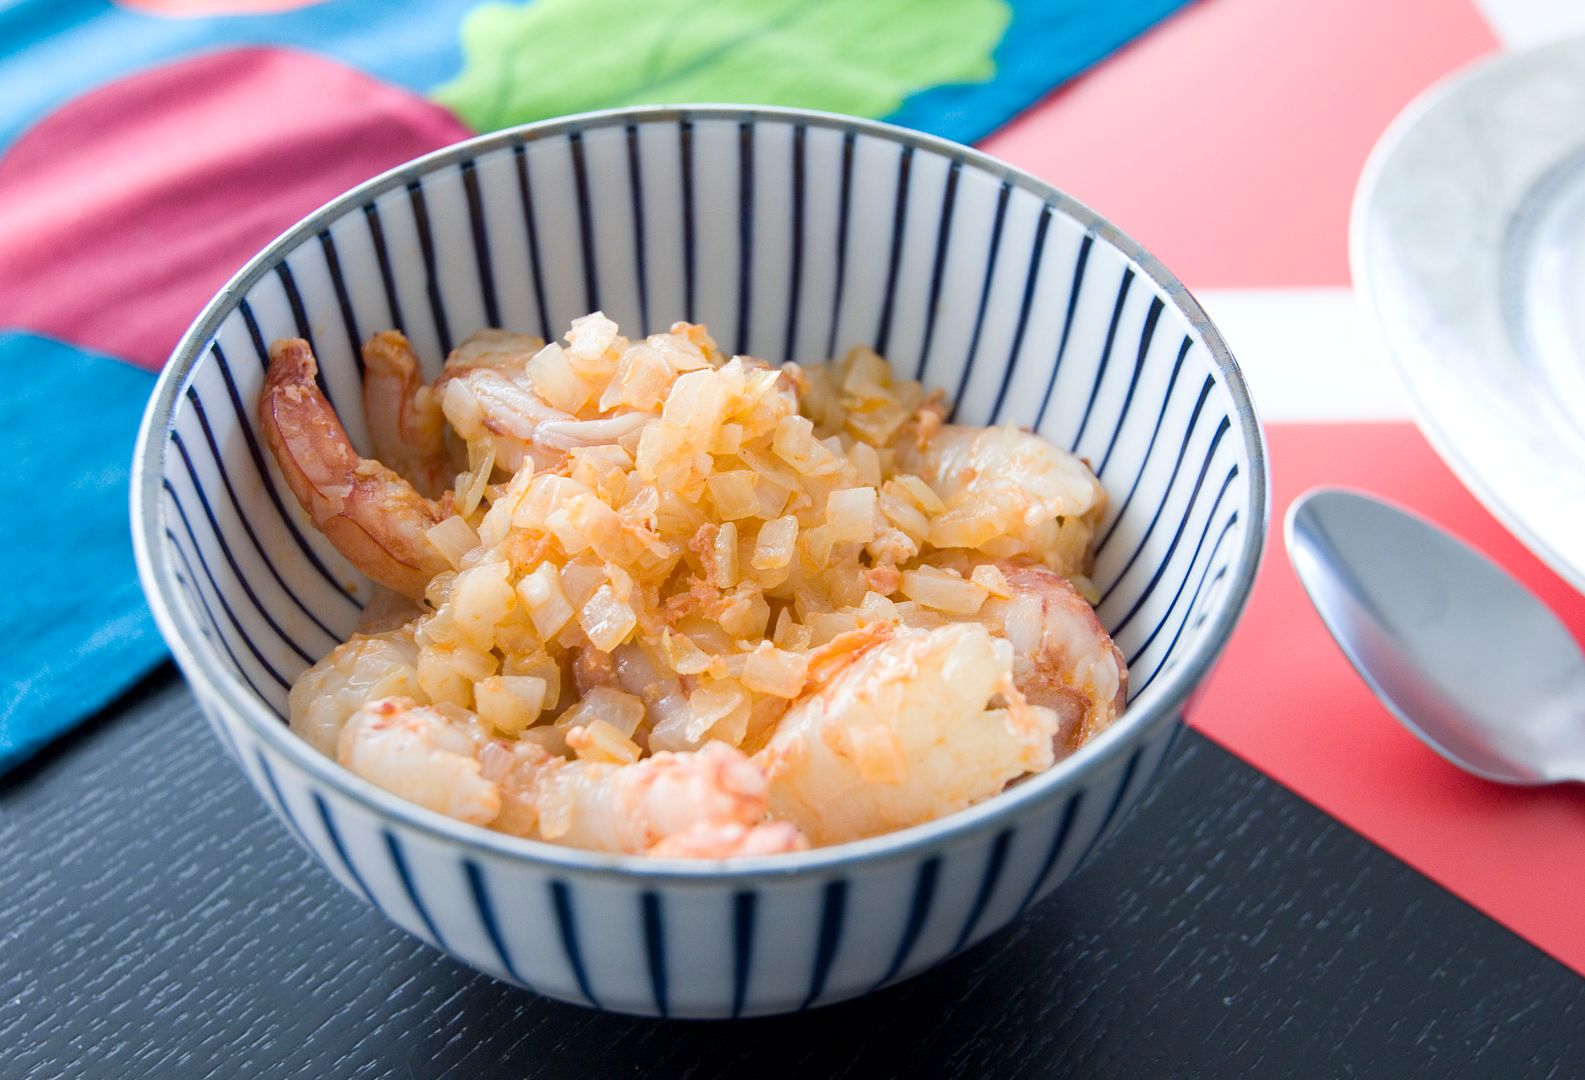
As for the risotto, peel and chop half of the onion into small cubes. Add 2 tablespoons of olive oil to a nonstick pot and turn to medium high heat. Add in cubed onion along with 1 teaspoon of sea salt. Give it a quick stir and cook till the onion turns translucent.
Add in about a dozen peeled and deveined shrimp and cook till half way through. Scoop it out and set aside for later use.
In the same pot, add in 2 tablespoons of unsalted butter. Once it melts a little, pour in one cup of rice and stir gently, make sure every grain has been coated with butter. About one minute.
Pour in 1 cup of shrimp stock and 1/3 cup of white wine. Cook till the liquid has almost been absorbed by the rice then add in a few ladles of stock again. The key here is to add in the liquid a little bit at a time instead of pouring everything into the pot all at once. Check the texture of the grains towards the end, cook till your preferred consistency. However, the recipe here yields al dente textured rice.
Zest and juice one lemon. Add both to the pot when the risotto is almost ready. Mix well and pour the previously stir fried shrimp back to the pot. Quick stir and turn off the heat, the shrimp should be just cooked through when the risotto is ready to serve.
Plate the risotto and grate some Parmigiano Reggiano all over for extra savory flavor. Garnish with finely chopped parsley if desired.
On a side note, Riesling kabinett pairs well with lemony shrimp risotto in case you want to dress up this semi-fancy meal.